10 Trendy Acrylic Nail Designs to Elevate Your Style
Acrylic nail designs are having a real moment right now, but not the loud, over-the-top kind from a decade ago. The acrylic nail designs trending in 2026 lean into shape and finish more than heavy decoration, which actually makes them easier to recreate and easier to live with day to day. Below are ten specific looks, in order of how often I see them requested, along with what to actually ask for at the salon or how to build each one at home if you do your own set.
Why Acrylic Nail Designs Are Worth the Extra Step
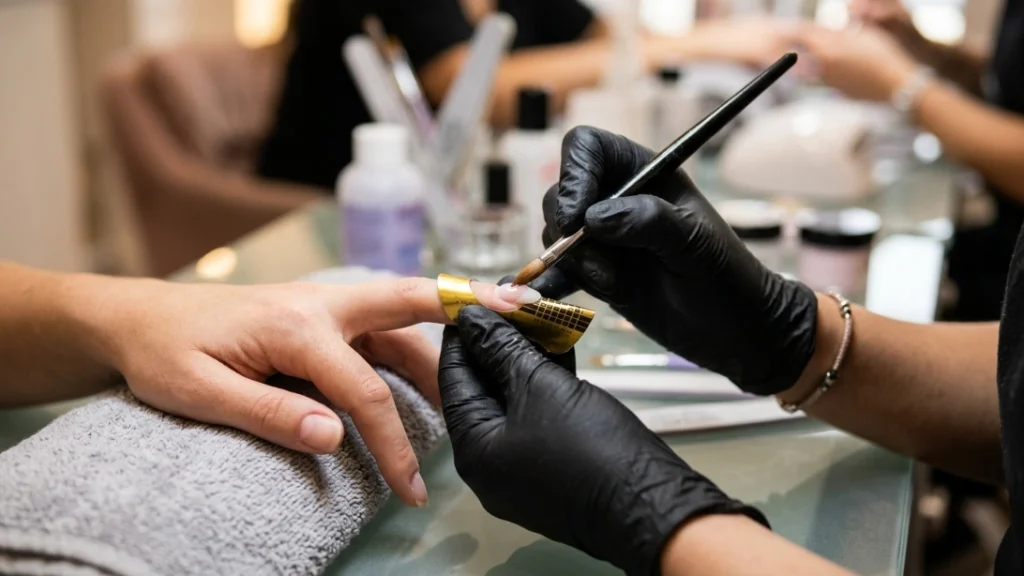
Gel and press-ons are faster, but acrylic still wins for anyone who wants real structural length or intricate 3D work that needs a stable base to sit on. Acrylic powder builds harder than gel, holds sculpted shapes better, and gives nail artists more working time to get chrome, rhinestones, or fine linework exactly right before it sets. If your design idea involves texture, extreme length, or anything sculpted, acrylic is still the technique built for it.
10 Trendy Acrylic Nail Designs to Try Right Now
1. Milky Jelly Bean Acrylics
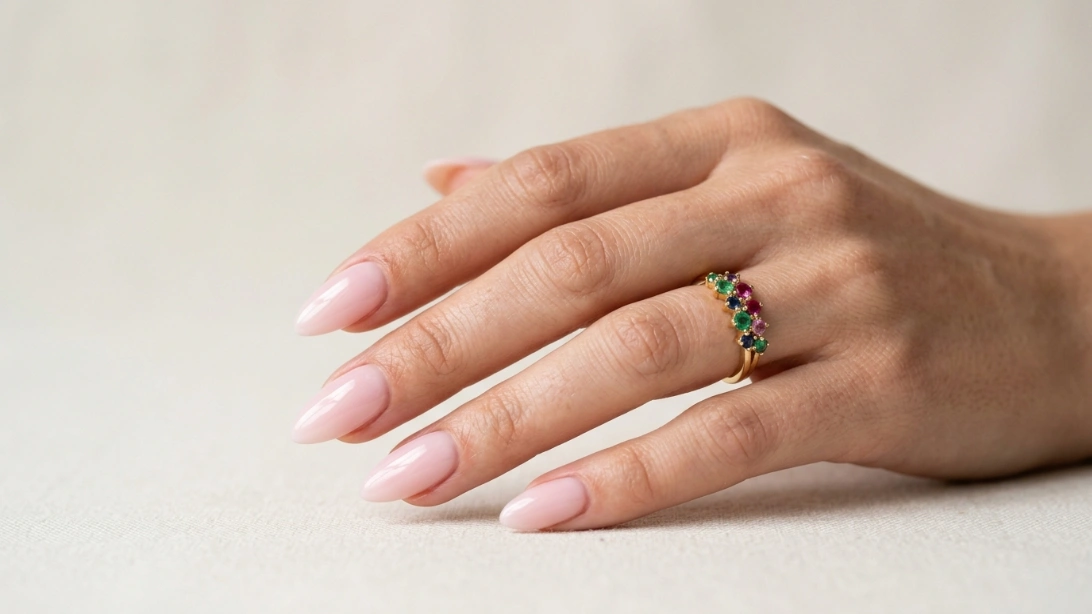
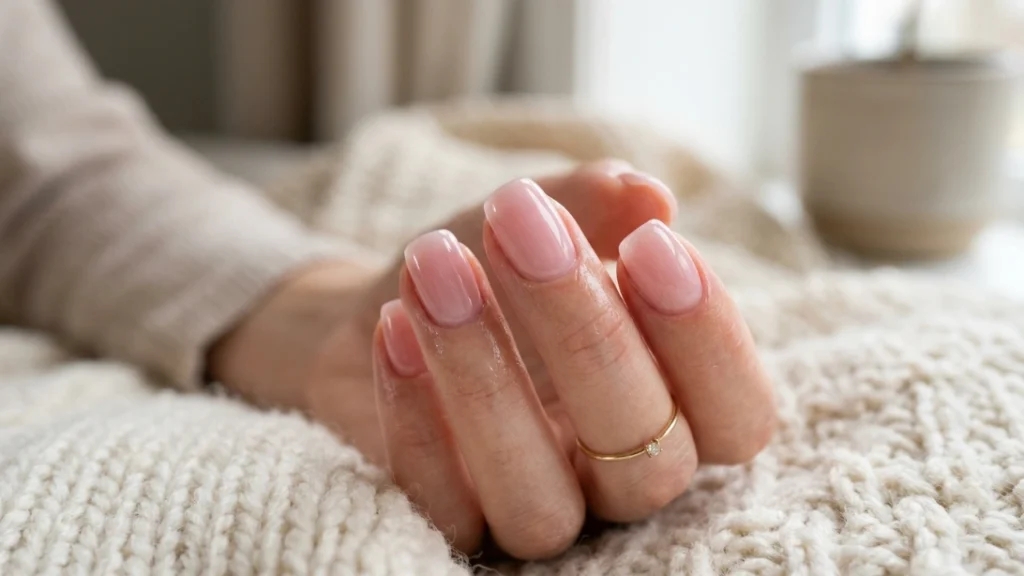
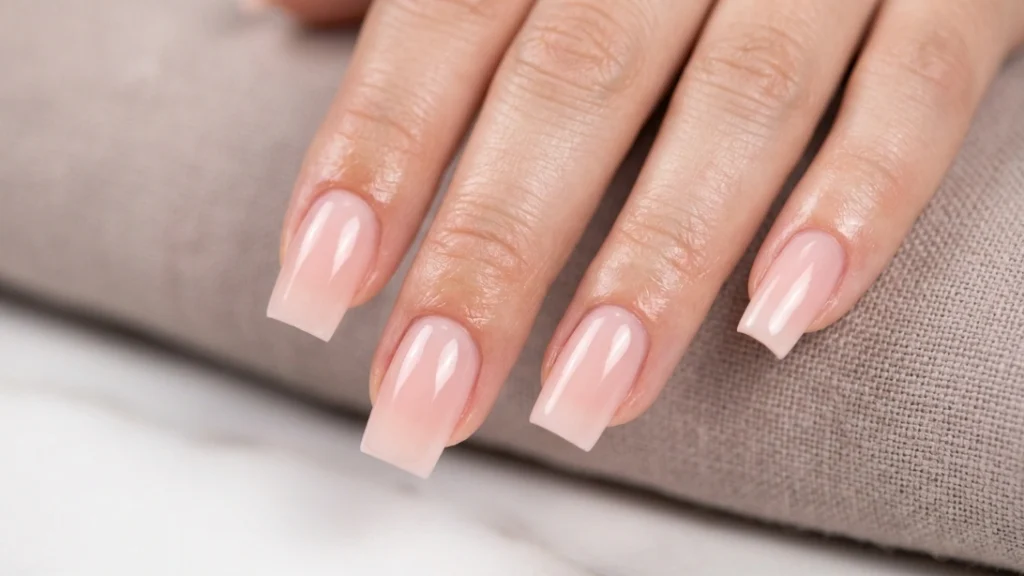
This is the single most requested look of the season, and for good reason — it reads clean and expensive without doing much at all. Instead of solid opaque polish, the color coat is a translucent, jelly-like white or soft pink applied over a clear acrylic base, so it has real depth instead of looking flat.
How to get it: ask for a sheer, milky-toned gel color over a clear acrylic build, finished with a glossy, no-wipe top coat. Almond or short square shapes show the translucency best.
2. Quiet Luxury Negative Space
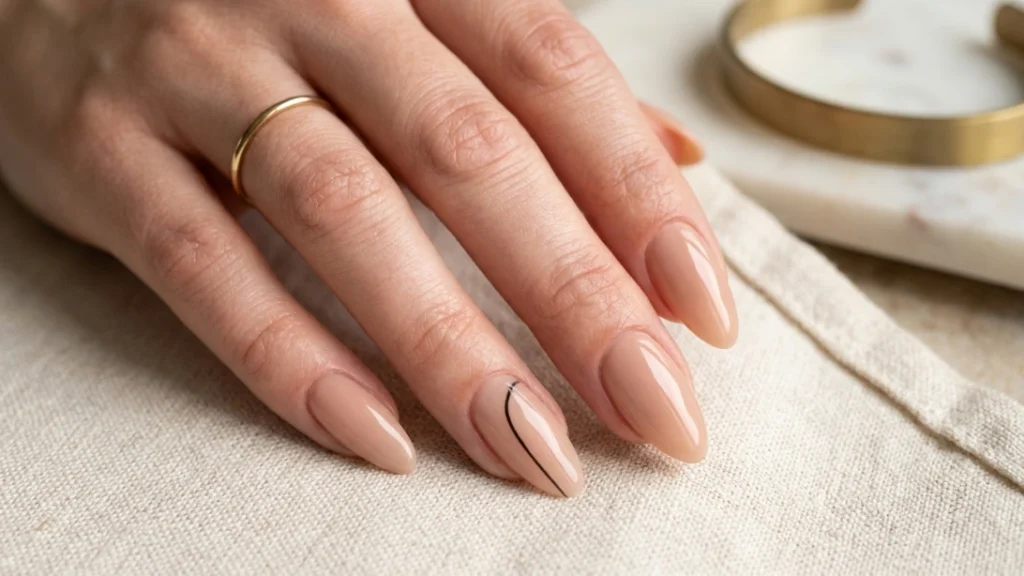
The opposite of maximalist acrylic nail designs — one thin black line, a single geometric shape, or a sliver of exposed natural nail against a nude acrylic base. It only works because everything else on the nail stays deliberately empty.
How to get it: a nude or milky acrylic base, then one fine detail line drawn with a striping brush and black gel paste. Resist the urge to add a second detail — the whole point is restraint.
3. Chrome French Tips
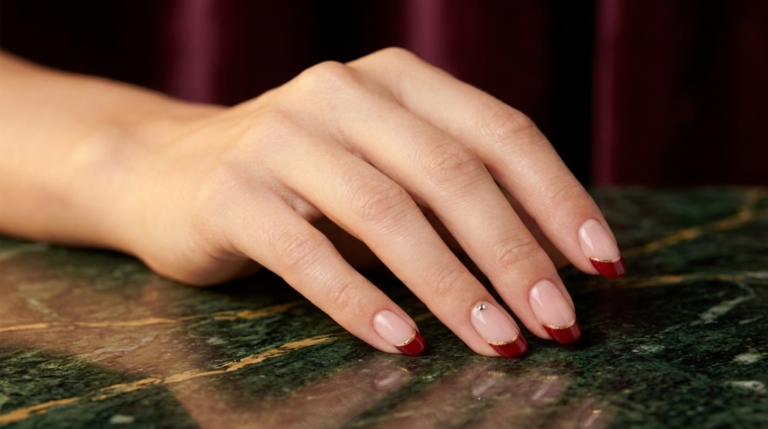
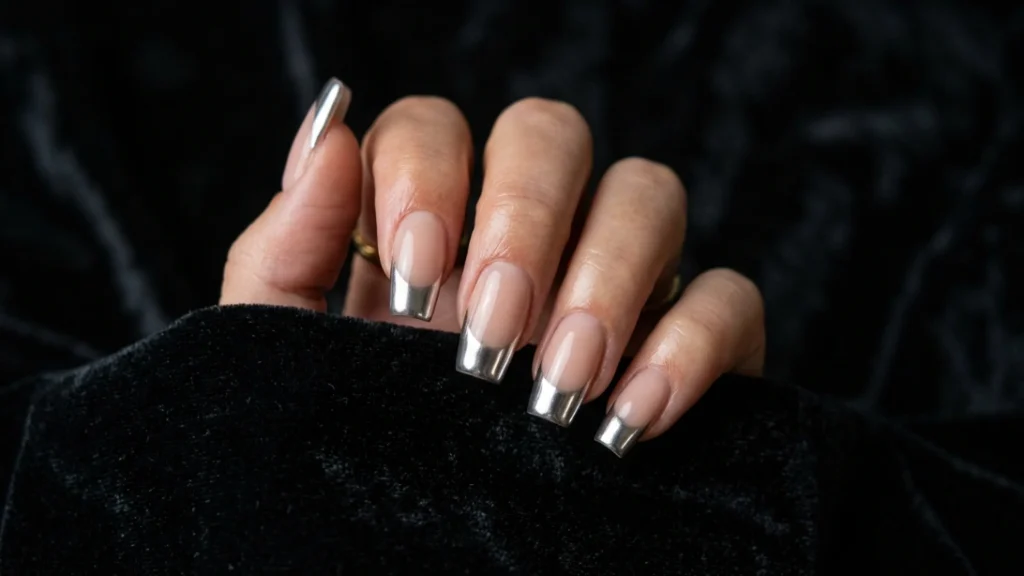
The classic French manicure gets a metallic upgrade — instead of a plain white tip, the tip is finished in mirror-effect chrome powder over the acrylic extension. It photographs incredibly well because of how much it interacts with light.
How to get it: build the acrylic tip as usual, apply a no-wipe gel top coat while tacky, then buff in chrome powder with a silicone applicator over just the tip section.
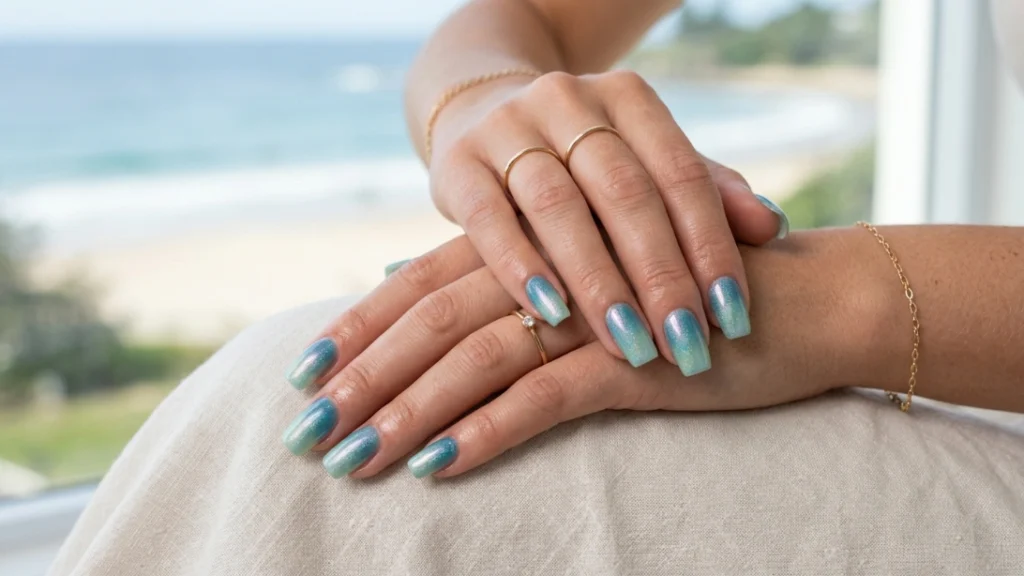
4. Ocean Nails
The successor to mermaid nails — watery, translucent layers in sea-glass blues and greens with a pearl shimmer running through them, meant to look like light moving through shallow water rather than a solid color block.
How to get it: layer two or three sheer blue-green gel polishes wet-on-wet before curing, then seal with a pearl-shimmer top coat. Coffin or almond shapes give the color more surface to move across.
5. Leopard Print French Tips
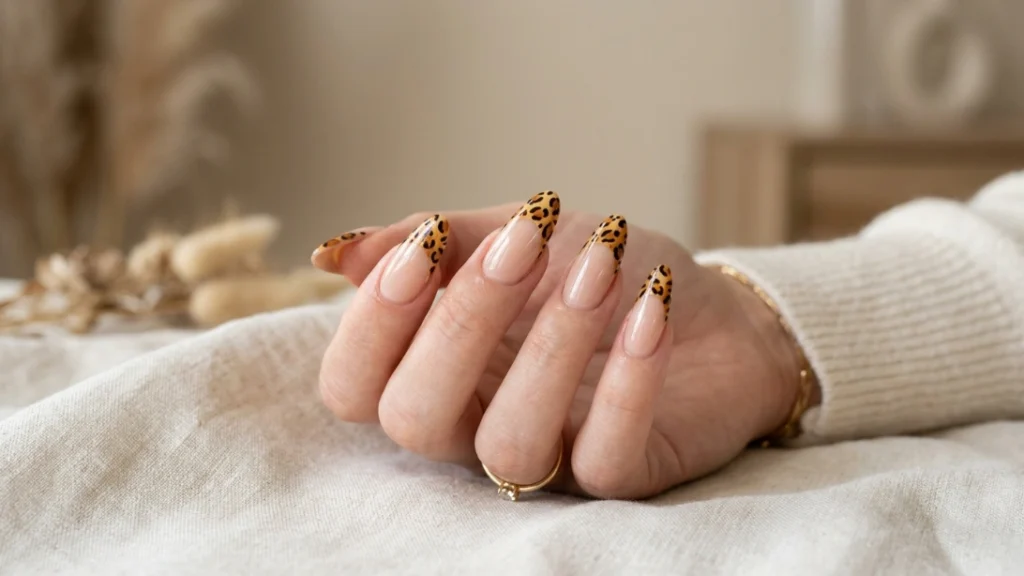
A playful twist on the traditional French manicure — the white tip is swapped for a hand-painted leopard pattern in warm browns and black, usually paired with detailed cuticle work to match.
How to get it: paint the tip in a warm tan base, then dot irregular black shapes with a fine detail brush, outlining a few in brown for depth. Keep the print looser and more irregular than perfectly symmetrical for a natural look.
6. Aura Nails
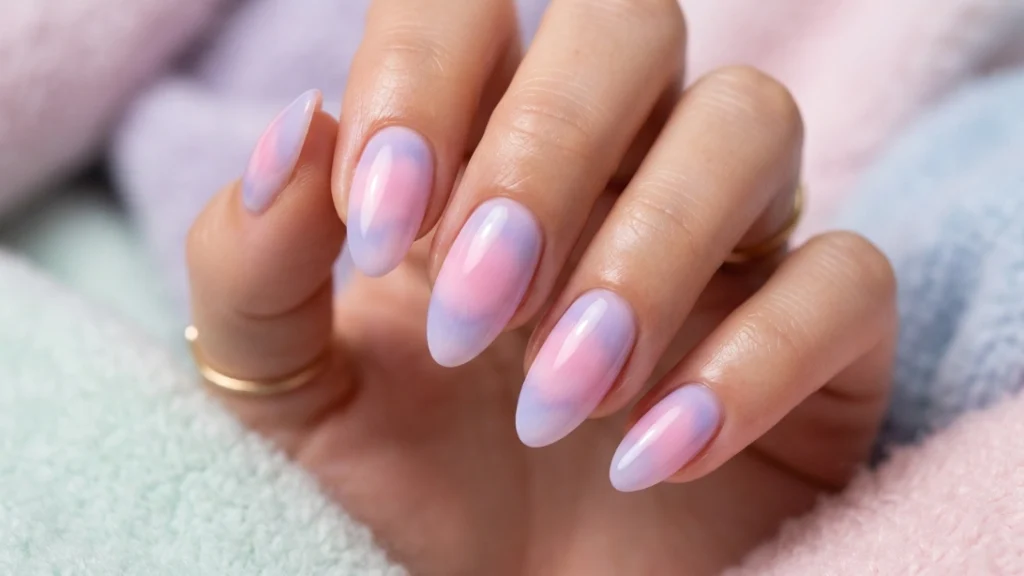
A soft, blurred gradient cloud in the center of the nail, usually two contrasting pastel shades, applied with a makeup sponge instead of a brush for that diffused, glowing effect.
How to get it: paint a light base color, dab a contrasting pastel in the center of the nail with a makeup sponge while it’s still wet, and seal with a glossy top coat once dry. No line should be sharp — the blur is the entire look.
7. Baby Boomer Ombre
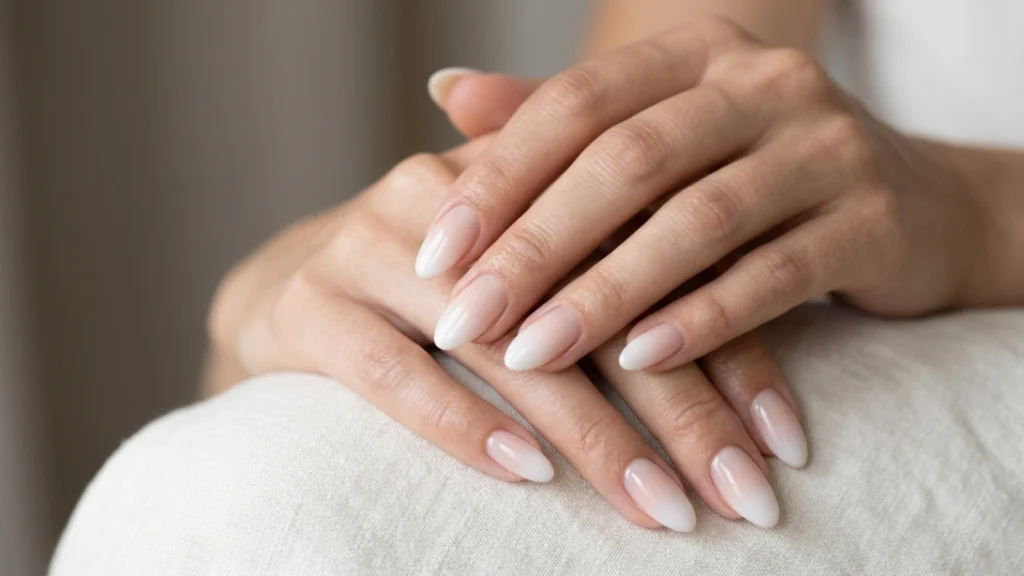
A softer, more gradual take on the classic French, where the white tip fades gently into the natural or nude base instead of a hard line. It’s one of the longest-running acrylic nail designs because it grows out cleanly with fewer visible seams.
How to get it: apply a sheer nude base, then use a makeup sponge to gradually build white polish from the tip upward, blending the edge until there’s no visible line.
8. 3D Floral Accents
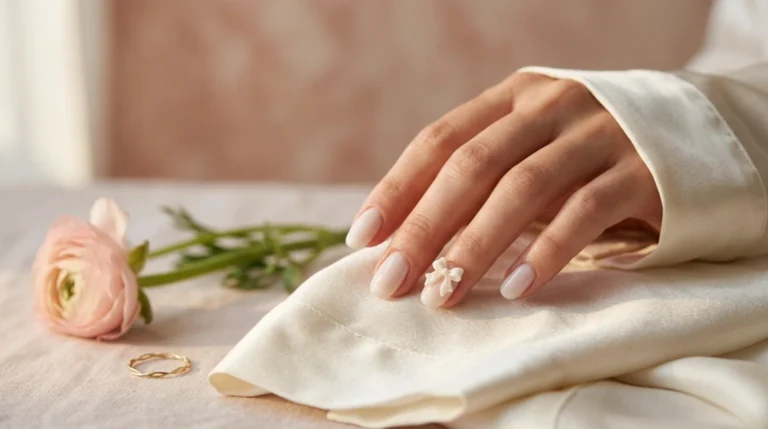
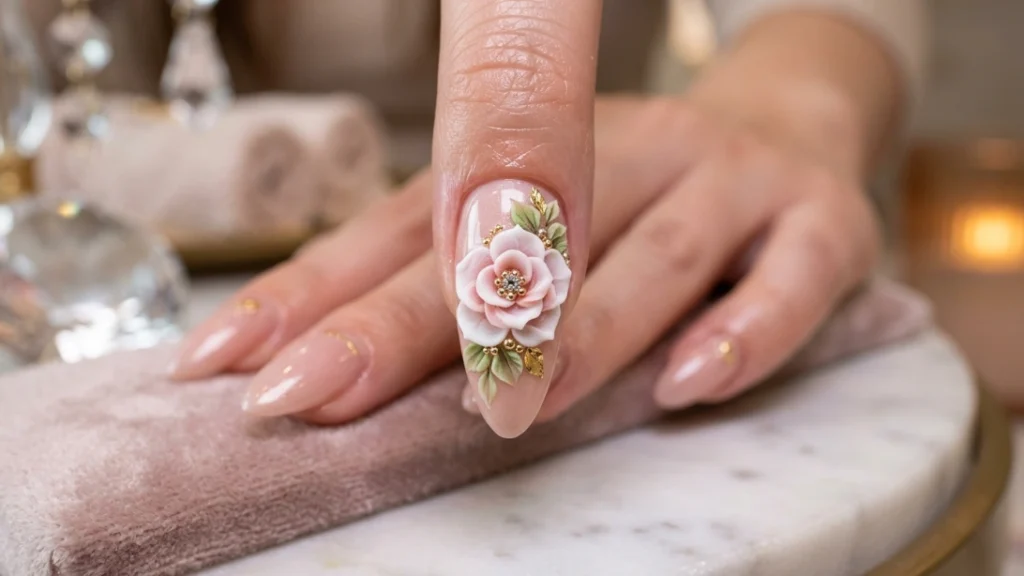
One accent nail, usually the ring finger, gets a small sculpted 3D flower built directly into the acrylic rather than painted on. It adds texture without covering the whole set in busy detail.
How to get it: sculpt a tiny flower shape with clear or tinted acrylic powder on a separate palette, let it firm up, then adhere it to the accent nail before sealing with top coat. One flower per hand is usually enough.
9. Electric Neon Tips
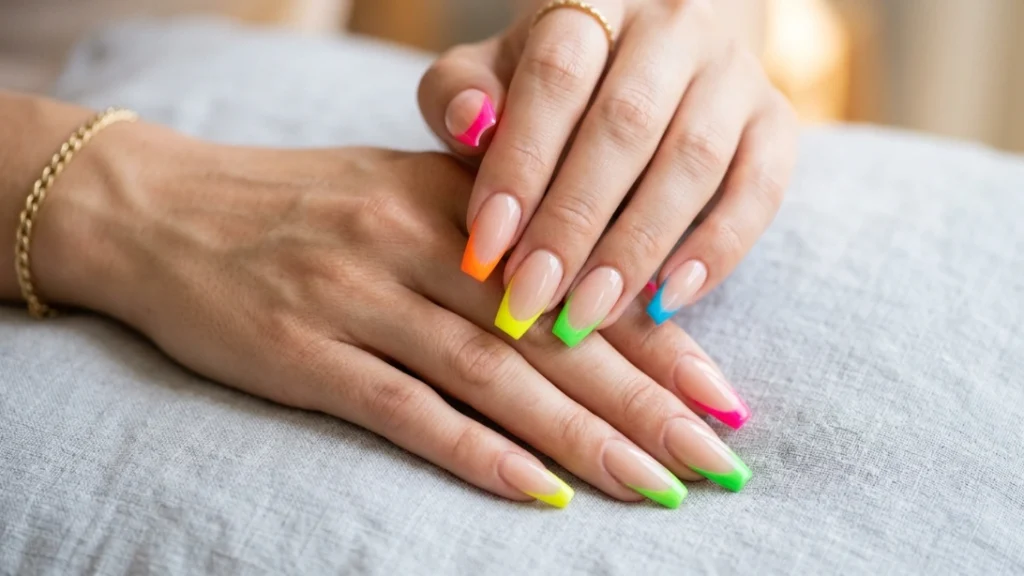
A bold, saturated neon tip against an otherwise neutral base — the loudest look on this list, and the one that photographs the most vividly under natural light.
How to get it: apply a base coat of white polish under the neon color first. Neon pigments are naturally sheer, and the white base is what makes the color read as truly bright instead of washed out.
10. Glazed Donut Acrylics
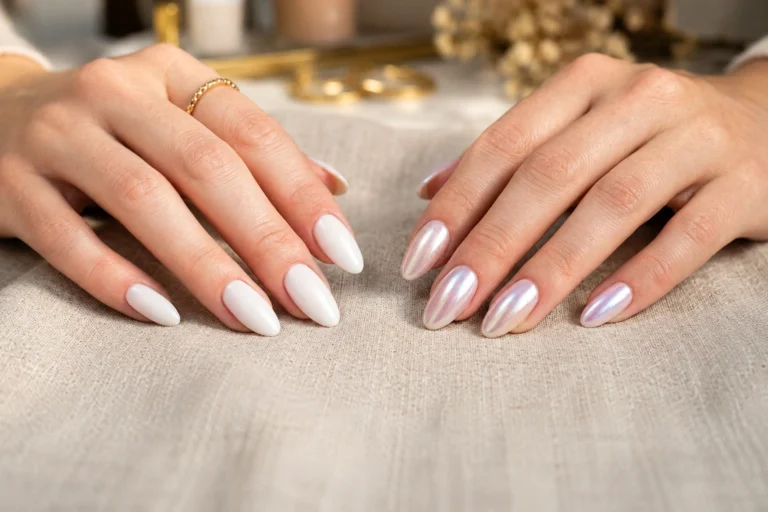
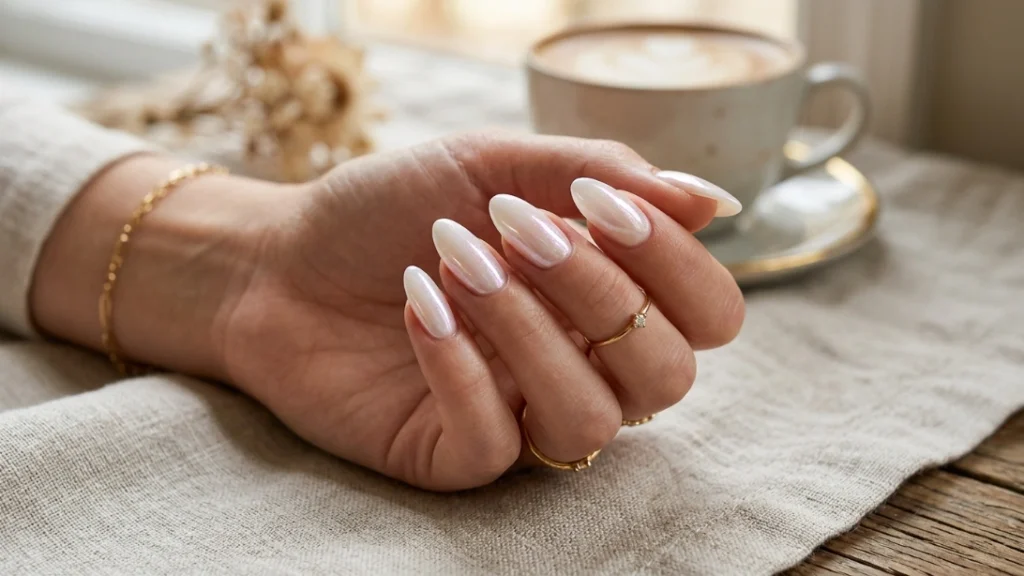
A high-shine, opalescent topcoat finish over a milky base — the effect is meant to look wet, like the glaze on an actual donut, and it’s one of the most requested finishes for anyone who wants shine without a heavy color underneath.
How to get it: apply a sheer milky base, then finish with a pearlescent, opal-shimmer top coat rather than a plain glossy one. The shimmer is what creates the “wet glaze” illusion under light.
Which Shape Works Best for Which Design?
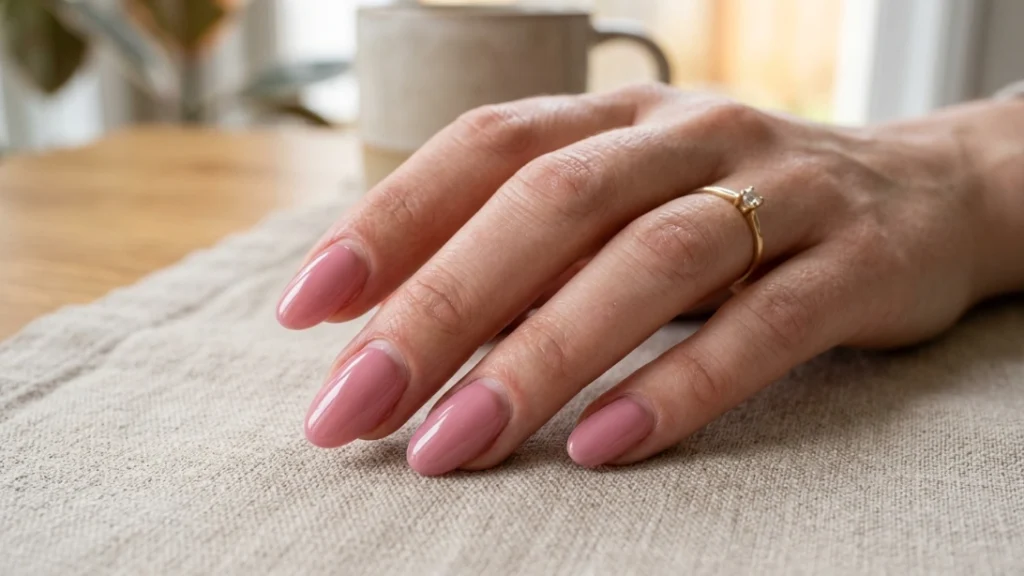
Not every acrylic nail design suits every shape. Coffin and almond give the most surface area for anything sculpted or hand-painted, like the leopard print or 3D floral accents. Short square holds up best for minimalist looks like negative space or quiet luxury, since there’s less tip to chip. If you’re newer to acrylics, start with a shorter length regardless of the design — it’s easier to maintain and it’s the shape most nail techs recommend for a first-time full set.
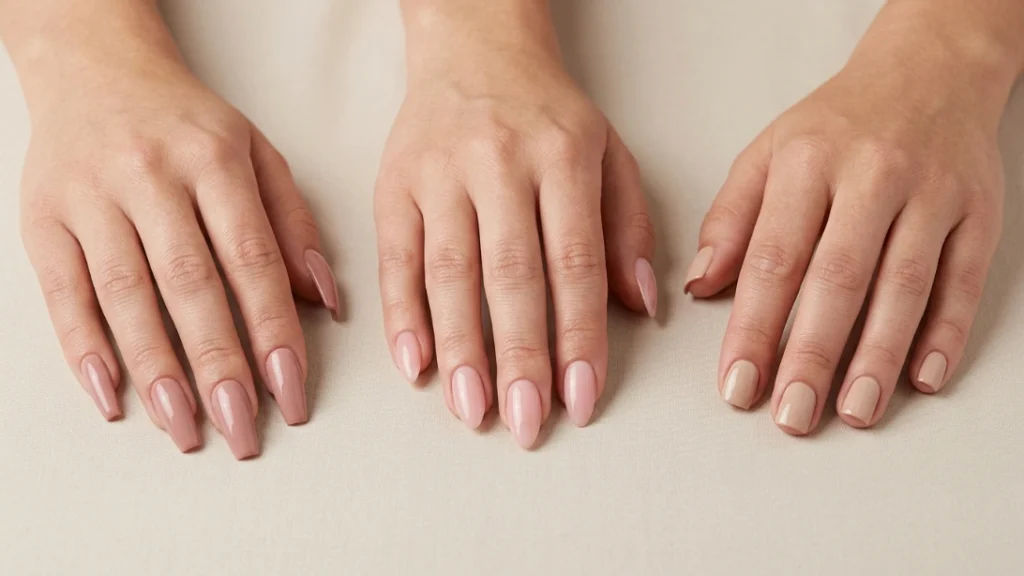
I switched from long coffin to short almond acrylics after my third broken nail in one month, and honestly the designs still looked just as intentional — sometimes more, since there was less surface for a design to get lost in.
How Long Do Acrylic Nail Designs Actually Last?
A full acrylic set typically lasts two to three weeks before the regrowth gap becomes too visible to ignore, regardless of which design sits on top. Hand-painted or 3D details like the leopard print or floral accents tend to hold up for the full set’s lifespan since they’re sealed under gel top coat, while chrome and glazed finishes can dull slightly around the two-week mark and may need a quick top coat refresh at your fill appointment.
Quick FAQ
Do acrylic nail designs damage your natural nails? The acrylic itself isn’t the main risk — improper removal is. Soaking off with acetone rather than filing or picking the set off is what protects the natural nail underneath.
Can I do these acrylic nail designs at home? Simpler looks like baby boomer ombre, negative space, and neon tips are realistic for an experienced at-home acrylic user. 3D floral work and precise chrome French tips are harder to control without professional tools and are usually worth a salon visit.
How much do trendy acrylic nail designs typically cost at a salon? Cost varies widely by region and detail level, but expect hand-painted or 3D designs to run higher than a simple one-color set, since they add real time to the appointment.
According to the American Academy of Dermatology, proper soak-off removal — rather than peeling or filing acrylic off — is the single biggest factor in whether repeated acrylic sets damage the natural nail underneath.
If the French tip looks on this list caught your eye, our milky French manicure guide breaks that technique down step by step. Choosing between a glossy chrome finish and something softer like the aura or glazed looks above? Our matte vs. glossy nails comparison covers which finish actually holds up longer. And before your next fill, our everyday nail care basics guide has more on keeping acrylic sets healthy between appointments.
Ten acrylic nail designs, one thing in common: every one of them holds up because the shape and finish were chosen to match, not layered on as an afterthought. Pick the one that matches how much upkeep you actually want to do, not just the one that looks best in a photo.