Marble Effect Nails: The Ultimate Luxury Manicure
Marble effect nails are the kind of manicure that photographs like it belongs in a magazine, and yet the actual technique behind them is far more forgiving than it looks. The swirling, stone-like pattern that makes marble effect nails read as expensive and editorial isn’t painted with a steady hand tracing perfect lines. It’s built from controlled imperfection, two or three colors dragged and feathered together while the polish is still wet, which is exactly why this look is so achievable at home once you understand the sequence.
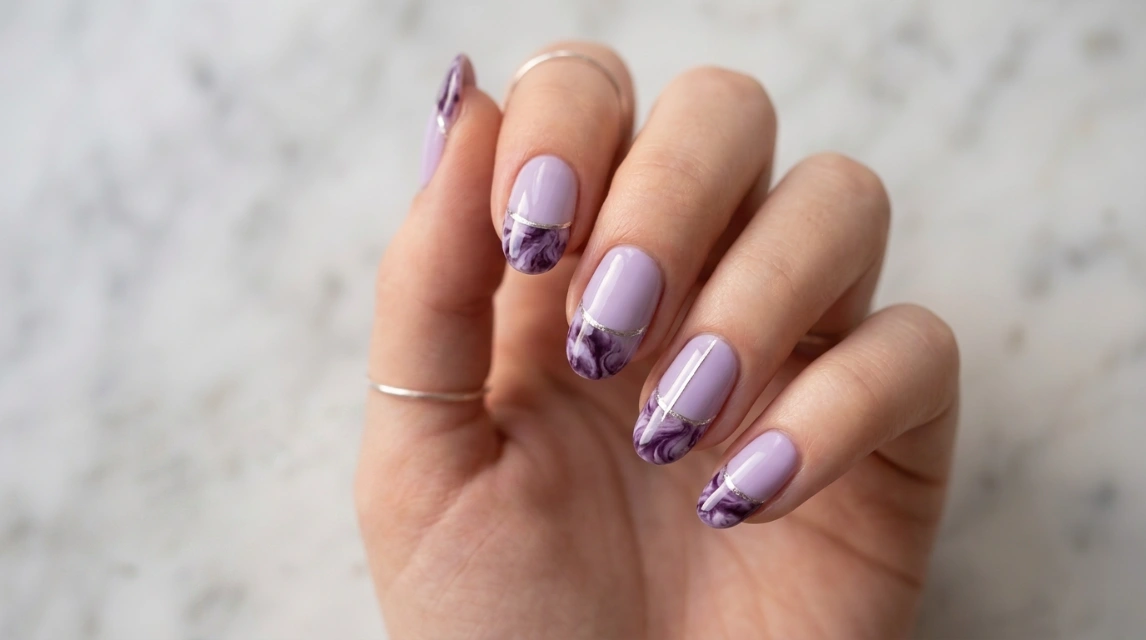
This guide walks through the complete process, step by step, using the exact technique shown in the reference images, a soft lavender base, a rich purple and white marbled tip, a fine metallic line to define the edge, and a glossy glass-effect top coat to finish. By the end, you’ll have a repeatable method you can use in almost any color combination.
Why This Look Has Become Such a Sought-After Manicure
Marble effect nails sit in a category most nail art doesn’t reach, genuinely luxurious without needing rhinestones, charms, or elaborate 3D detail. The appeal comes from how organic the pattern looks. No two sets ever come out exactly alike, which is part of the charm rather than a flaw, since real stone marble has that same quality of unrepeatable, natural variation. A metallic line running along the marbled edge adds a hint of shine that elevates the whole look from “pretty pattern” to something that reads as genuinely considered, the kind of detail a salon would charge a premium for.
What You’ll Need
- A base coat
- A soft, solid base color, lavender or another pale shade works beautifully as the canvas
- Two marbling colors, a rich, saturated purple and a bright white
- A thin detail brush or dotting tool for creating the marble pattern
- Fine tweezers or a pointed tool for refining the swirl
- A gold or silver fine-line polish, or metallic striping tape, for the accent line
- A glass-effect or high-shine top coat
Step 1: Apply Your Base Color
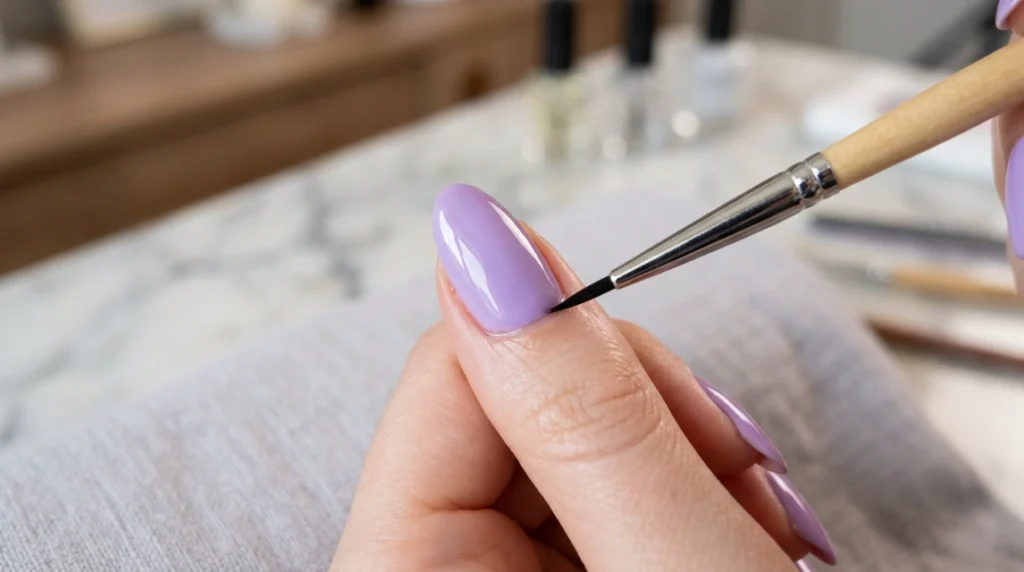
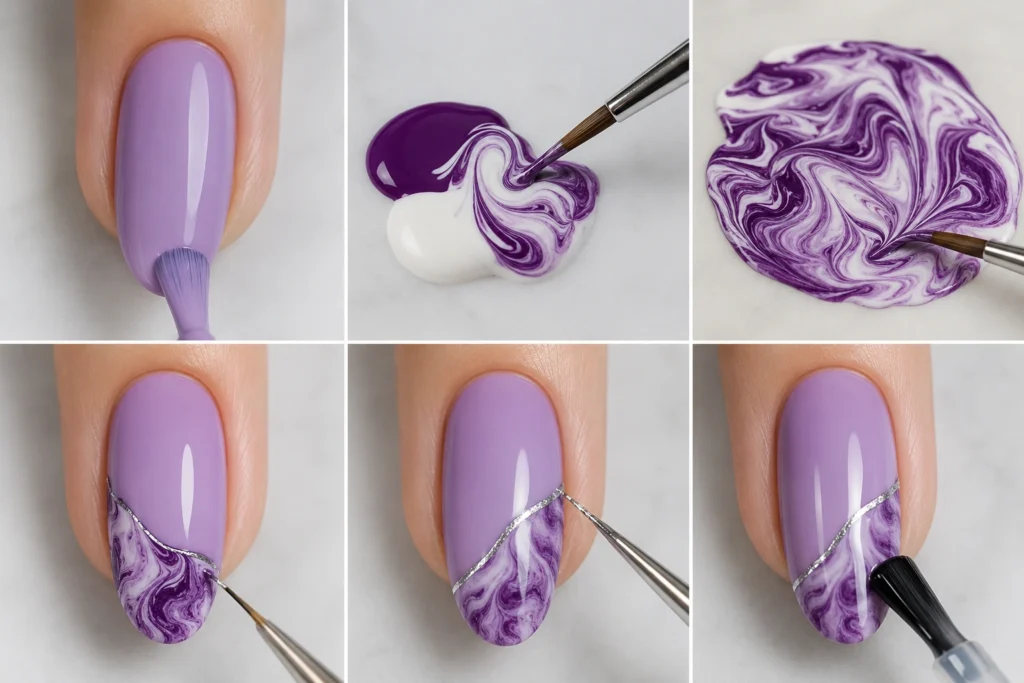
Start with a base coat, then apply your chosen solid color across the full nail. A soft lavender reads especially well against a purple and white marble pattern, since it echoes the marbling colors without competing with them. Let this base coat dry completely before moving forward, since this technique depends on a smooth, fully cured surface underneath the pattern work.
Step 2: Prepare Your Marble Colors
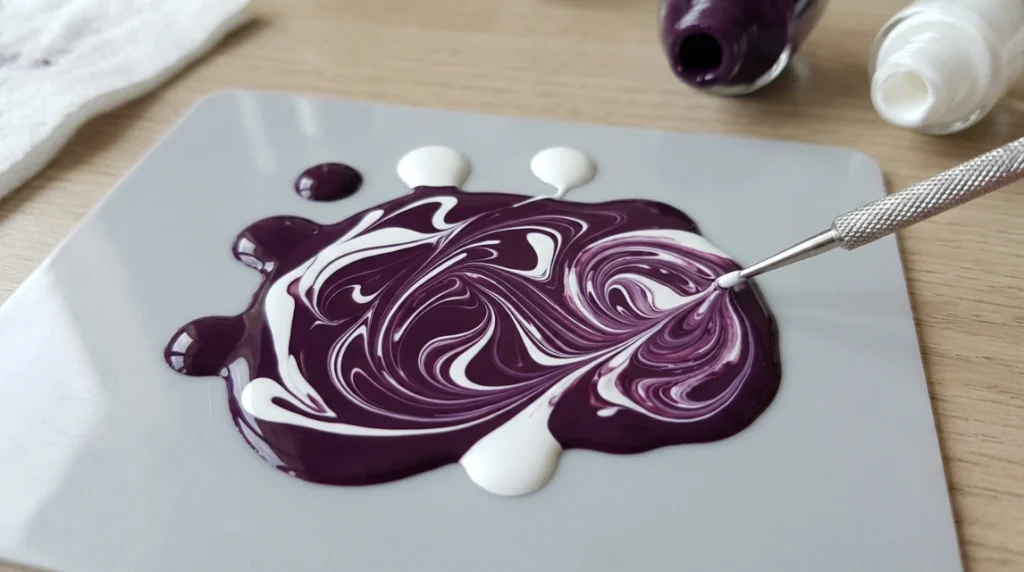
Rather than working directly on the nail right away, it helps to practice blending your two marbling colors on a clean surface first, a silicone mat, a palette, or even the back of your hand. Apply your dark purple in a thick, deliberate stroke, then add streaks of white directly into it while both colors are still wet. This gives you a feel for how the two shades move and blend together before committing to the actual nail.
Step 3: Build the Marbled Swirl Pattern
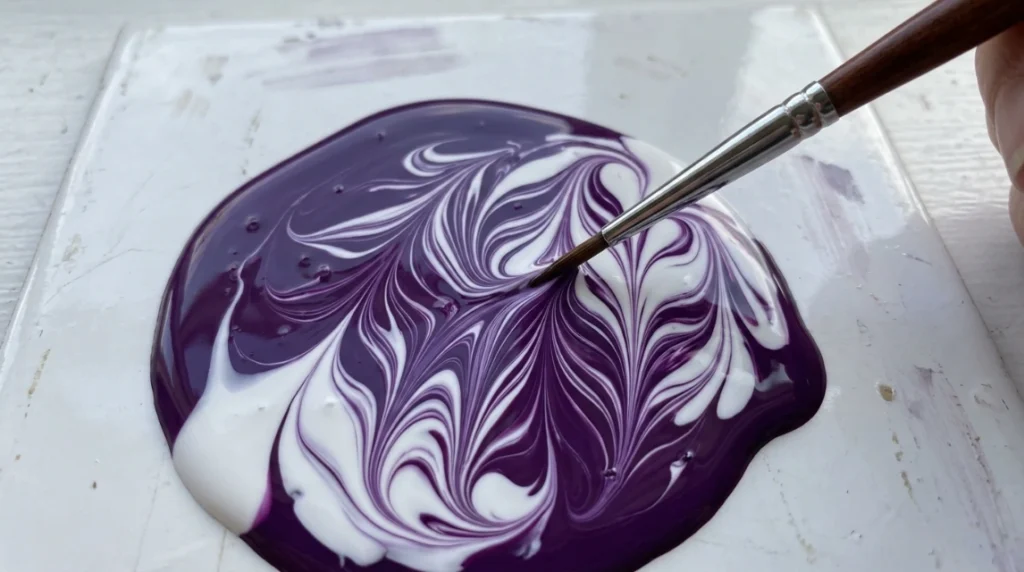
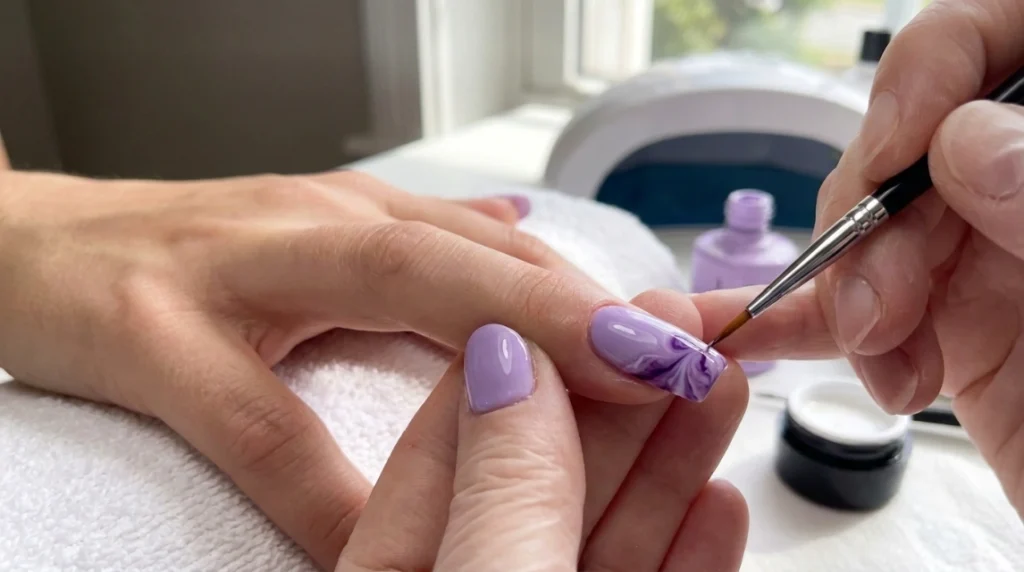
With your base color fully dry, apply your dark purple polish in an uneven, organic shape toward the tip or edge of the nail, rather than a solid, even block. While it’s still wet, add streaks of white directly into the purple, then use your detail brush to drag the two colors into each other in gentle, wavy motions. The goal isn’t a perfectly even blend, marble’s whole appeal comes from natural, slightly irregular veining, so resist the urge to over-blend until the colors turn into a flat, uniform tone.
Step 4: Refine the Pattern With Fine Tools
Once the basic marble swirl is in place, switch to a fine-pointed tool or a pair of tweezers to pull thin, delicate lines through the design, echoing the fine veining you’d see in real polished stone. This step is what separates a rough color blend from a genuine marble effect. Small, deliberate pulls at the edges of the pattern create the illusion of depth and dimension that makes this technique look so much more sophisticated than a simple two-tone swirl.
Step 5: Add the Gold or Silver Line Accent
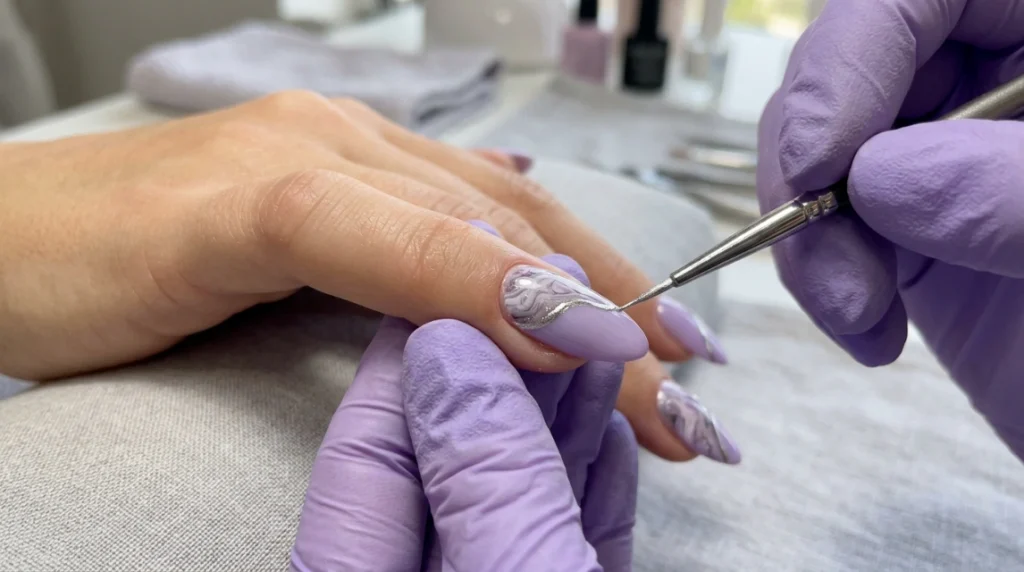
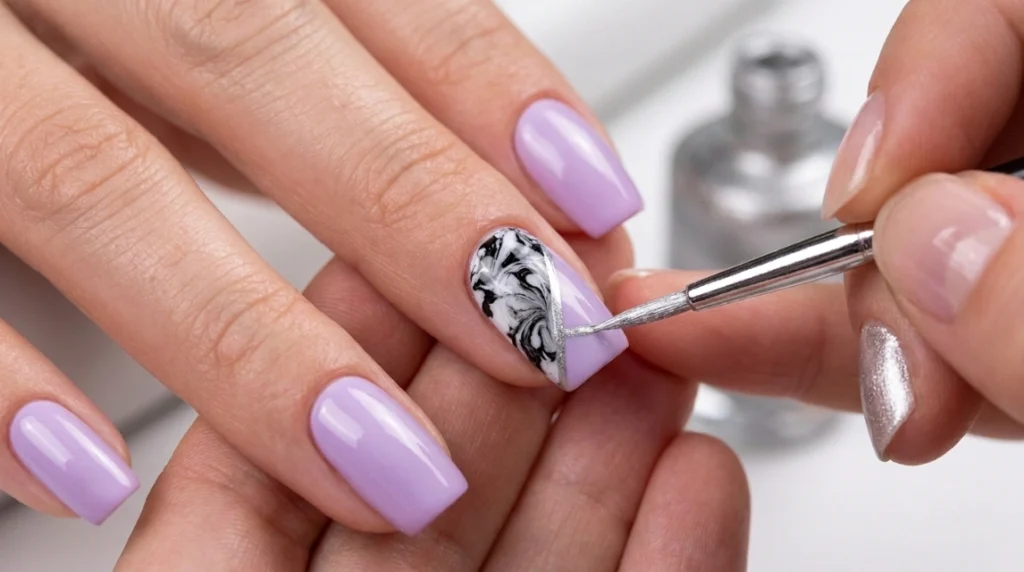
Once your marble pattern is dry, use a fine-tip metallic polish, gold or silver both work beautifully, to trace a single thin line along the border where your marbled section meets the plain base color.
This line does a surprising amount of visual work. It sharpens the transition between the two sections, catches light in a way the matte-feeling marble pattern doesn’t, and gives the whole design a clean, finished edge rather than letting the marble simply fade off unfinished. Keep the line thin and confident rather than thick, a delicate line reads as elegant, while a heavy one can overwhelm the marbling underneath it.
Step 6: Seal With a Glass-Effect Top Coat
The final step is what pulls the entire look together. A high-shine, glass-effect top coat applied generously over the whole nail gives the finish its signature wet-look glaze, the kind of glossy depth that makes the swirling pattern underneath look like it’s suspended in glass rather than simply painted on the surface. Apply it in one smooth, even coat, letting it self-level rather than working it back and forth, which helps avoid streaking across the delicate marble detail underneath.
Common Mistakes to Avoid
Over-blending the marble pattern. Dragging your brush through the colors too many times flattens the swirl into a single muddy tone rather than distinct, marbled veining. A few deliberate strokes create far better texture than a dozen scattered ones.
Working too slowly. Marbling depends on the colors staying wet enough to move and blend into each other. If too much time passes between applying your colors and dragging them together, the polish begins to set and the pattern loses its fluid, natural movement.
Skipping the fine-line refinement step. It’s tempting to move straight from the basic swirl to the top coat, but the thin, tool-refined veining is what actually reads as “marble” rather than just “swirled polish.” This step takes an extra minute and makes a genuinely noticeable difference in the finished result.
Applying the metallic line too thick. A heavy metallic line competes with the marble pattern instead of framing it. Thin, confident strokes read as intentional detail work rather than a bold, separate design element.
Which Nail Shapes Suit Marble Effect Nails Best?
Almond and coffin shapes give the marbled pattern more surface area to swirl and flow across, which tends to produce the most dramatic, editorial version of this look. Shorter, square, or round shapes still work well, especially if you keep the pattern confined to just the tip rather than covering the full nail, which mirrors the exact technique demonstrated in the step-by-step sequence above.
How Long Do Marble Effect Nails Last?
Applied over a gel base and sealed with a proper glass-effect gel top coat, this manicure typically holds its finish for two to three weeks, in line with any standard gel manicure. If you’re working with regular polish rather than gel, expect a shorter wear time, closer to five to seven days, since regular lacquer wears faster regardless of the design underneath it.
Either way, the metallic line and glossy top coat are usually the first details to show wear, so a light top coat refresh partway through your wear cycle helps the whole design stay looking crisp.
Quick FAQ
Do I need gel polish to create this look, or does regular polish work? Regular polish works for the marbling technique itself, since the wet-blending method relies on liquid polish moving before it sets, not on gel’s cure process. Gel simply extends how long the finished look lasts once it’s sealed and cured.
What if my marble pattern comes out looking muddy instead of veined? This almost always comes down to over-blending. If your first attempt looks muddy, a quick wipe with a cleanup brush and acetone lets you start that nail over, working faster and with fewer overall strokes the second time through.
Can I use colors other than purple and white for this technique? Absolutely. The technique itself works with any two contrasting colors, black and gold, deep green and white, or a soft pink and cream all produce the same marbled effect with a completely different mood.
According to Wikipedia’s overview of nail polish composition, different polish formulas vary in viscosity and drying time, which is part of why some brands blend more easily into a marbled pattern than others, thinner, slower-drying formulas generally give you more working time to achieve a smooth swirl for marble effect nails. Our full nail art guide covers more hand-painted techniques like this one if marbling has you wanting to explore further, and our nail care tips page has more on keeping detailed, hand-painted manicures looking fresh for as long as possible.
According to the American Academy of Dermatology’s guidance on manicures, proper removal technique matters more for nail health than any specific nail art design, which applies just as much to a detailed marble effect nails set as it does to a plain manicure.