Cozy Sweater Nails: The 3D Cable-Knit Manicure for Winter
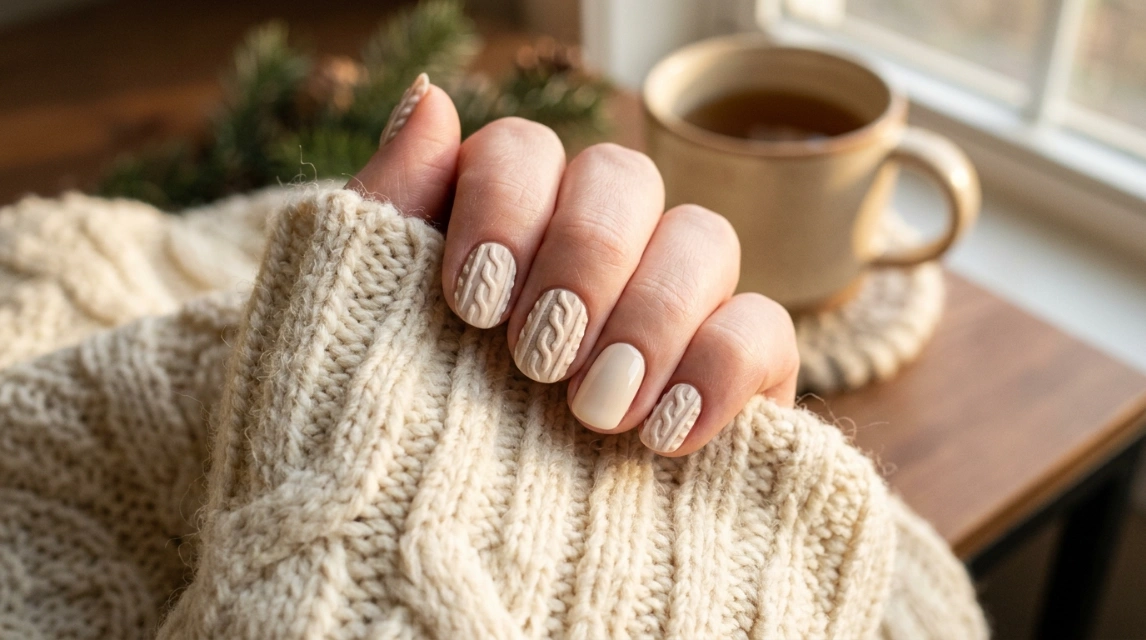
Cozy sweater nails are the manicure equivalent of pulling on your favorite chunky knit the moment the weather turns, textured, warm-looking, and instantly recognizable even from across a room. Unlike most nail art that relies purely on color or paint, this look actually builds real, touchable texture on top of the nail, a raised cable pattern that genuinely feels like knitwear under your fingertip. It’s one of the most satisfying effects in all of seasonal nail art, and it’s far more achievable at home than the finished result suggests.
This guide walks through an original take on the technique using a warm, oatmeal cream base rather than the grey most tutorials default to, since a lighter neutral tends to show off the raised cable detail with more contrast and reads as a touch more elevated for everyday wear. The core method below works in any color you choose, so treat the shade here as a starting point rather than a rule.
What Makes Cozy Sweater Nails Different From Regular Nail Art
Most nail art techniques are flat, color and pattern applied to a smooth surface. Cozy sweater nails break that rule entirely. The cable-knit lines are painted in raised gel, then a fine acrylic or flocking powder is applied while that gel is still wet, which is what gives the finished design its genuine three-dimensional, fabric-like texture rather than a flat painted illusion of one. Run a finger across a finished set and you can actually feel the raised pattern, which is exactly what separates this from every other seasonal nail trend that only looks cozy without actually feeling like it.
What You’ll Need
- A base coat and a cured gel color in your chosen shade, oatmeal cream works beautifully for a lighter, elevated take
- A fine detail brush or nail art liner for painting the raised cable lines
- Clear or color-matched gel for building the raised texture
- Fine acrylic or flocking powder in a shade close to your base color
- A UV or LED lamp for curing
- A soft, dry brush for dusting away excess powder
- A matte or satin top coat for the final seal
Step 1: Apply Your Base Color
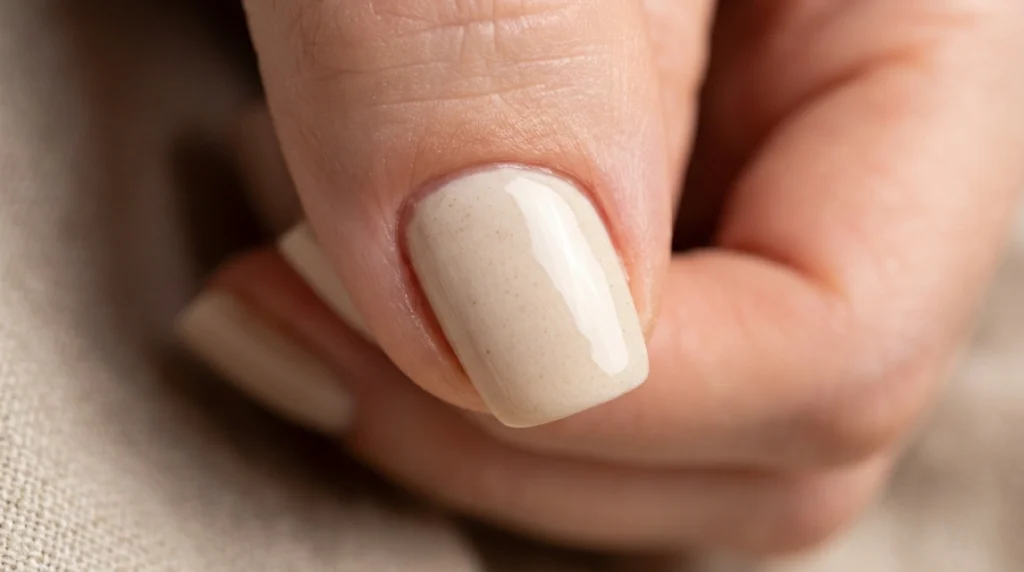
Start with a base coat, then apply and fully cure two coats of your chosen gel color. An oatmeal cream base gives the cable pattern a soft, warm canvas to sit on top of, and it photographs beautifully against the kind of muted winter styling this look is usually paired with. Make sure this base layer is completely cured before moving forward, since the raised linework needs a stable surface underneath it.
Step 2: Paint the Main Cable Lines
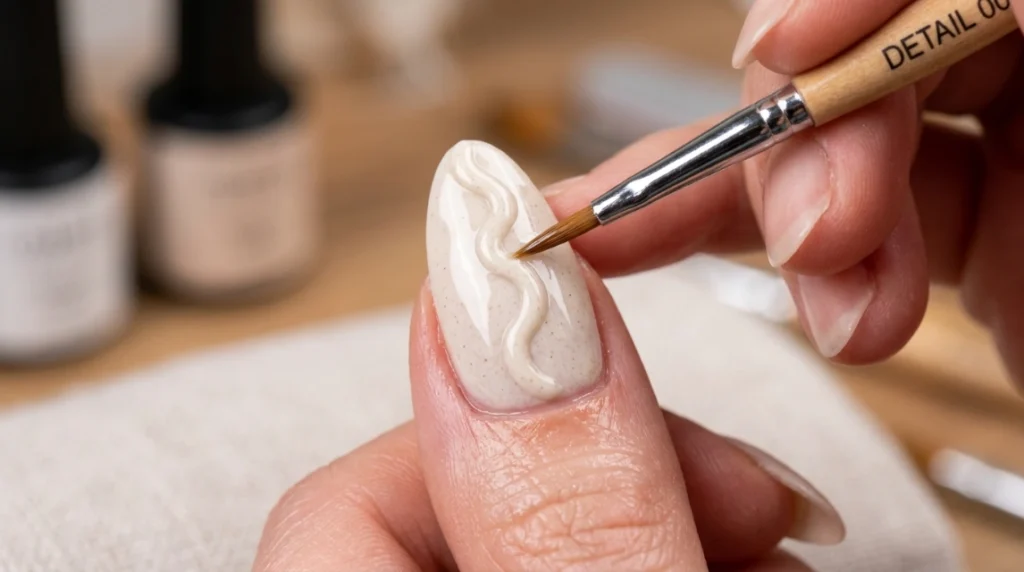
Using a fine detail brush loaded with a slightly thicker gel, paint the main structural lines of your cable pattern first, typically a gentle S-curve or braid shape running down the center of the nail. Keep this first pass simple, this is the skeleton of the design, and the smaller details will build on top of it in the next step. Don’t cure yet.
Step 3: Build the Inner Stitch Detail
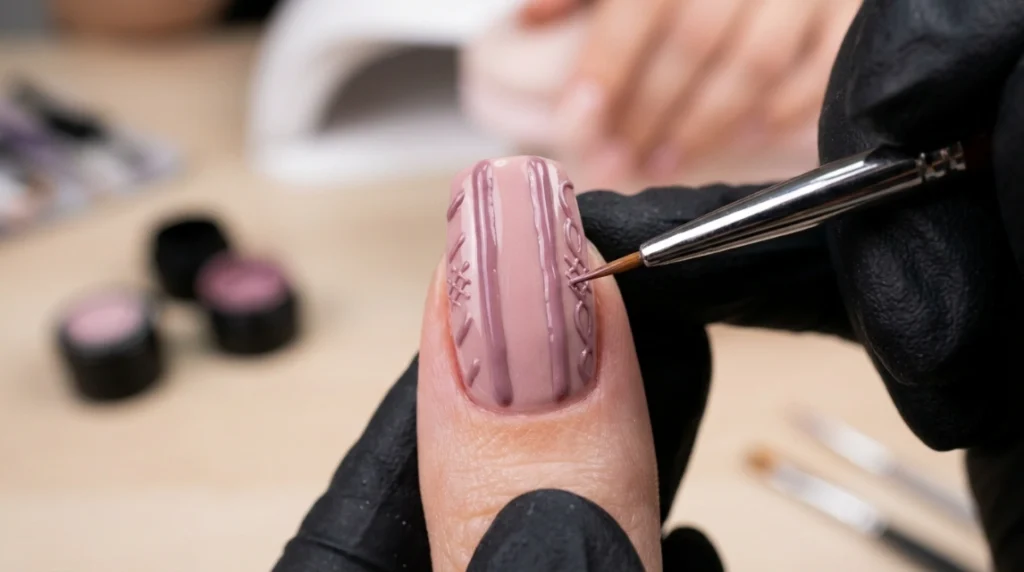
While the main lines are still uncured, add the finer inner details that make the pattern read as an actual knit rather than a plain braid, small crosshatches, short parallel lines, or tiny loops worked into the spaces between your main cable curves. This is the step that adds real visual complexity, and it’s worth taking your time here, since the texture powder in the next step will exaggerate every line you’ve painted, gaps and all.
Step 4: Apply the Flocking or Acrylic Powder
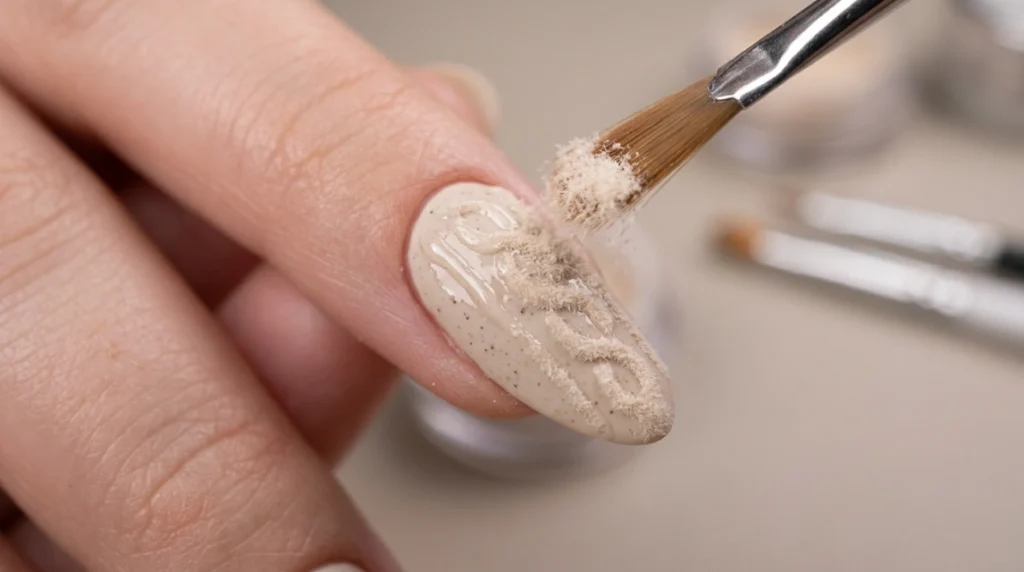
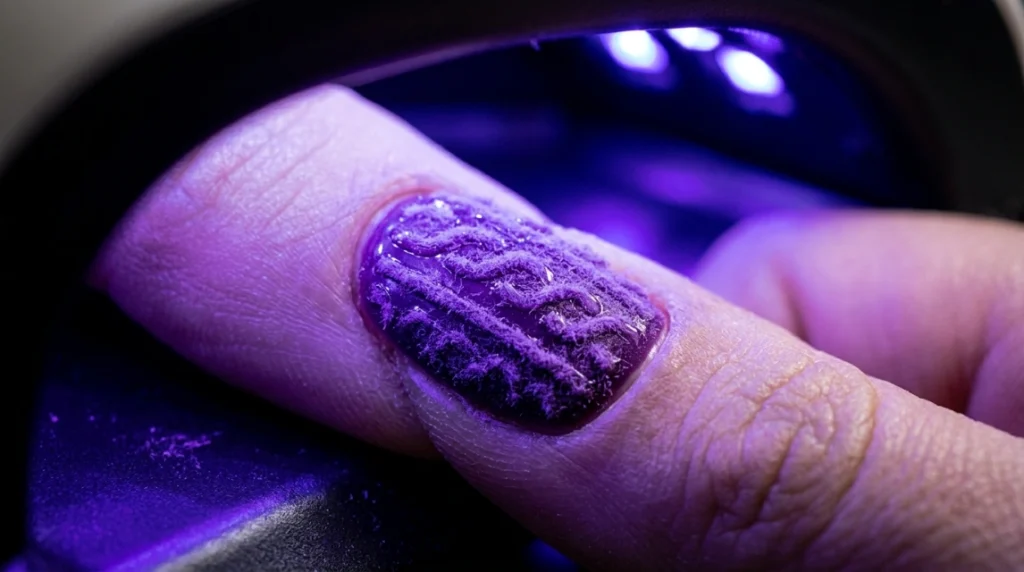
While your linework is still wet, spoon or sprinkle a fine acrylic or flocking powder directly over the design, covering the raised gel completely. Gently press or tap the nail to help the powder settle into every groove of the pattern, then let it sit for a few seconds before moving to the next step. This is the single most important step in the entire cozy sweater nails process, since it’s what transforms flat, painted lines into the plush, dimensional texture the whole look is known for.
Step 5: Cure and Remove Excess Powder
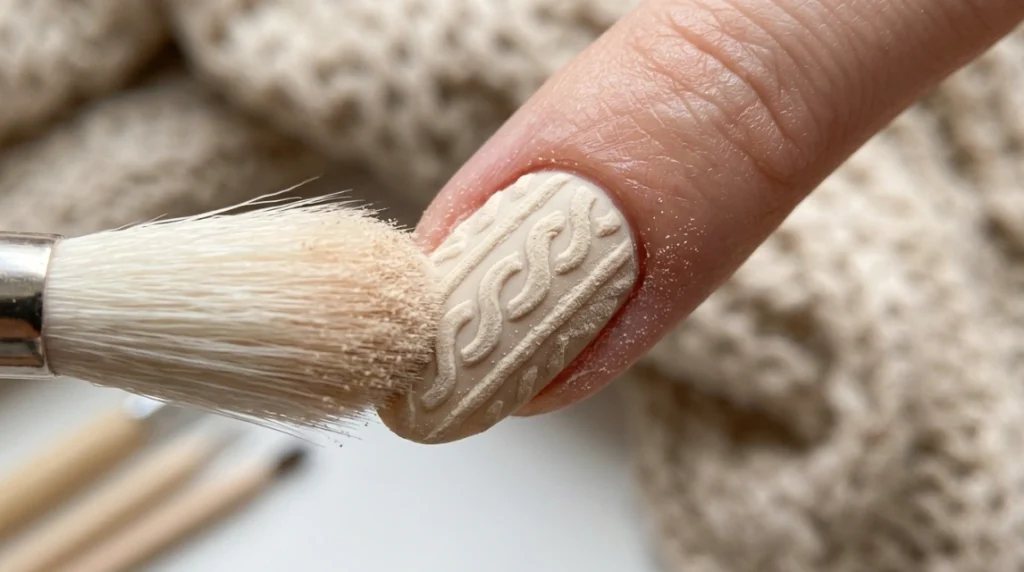
Cure the nail under your UV or LED lamp for the time recommended by your specific gel and powder combination, typically thirty to sixty seconds. Once cured, use a clean, soft, dry brush to gently sweep away any powder that didn’t adhere to the raised lines. What’s left behind should be a crisp, fully textured cable pattern with the excess powder cleared from the smooth base color around it.
Step 6: Seal With a Matte or Satin Top Coat
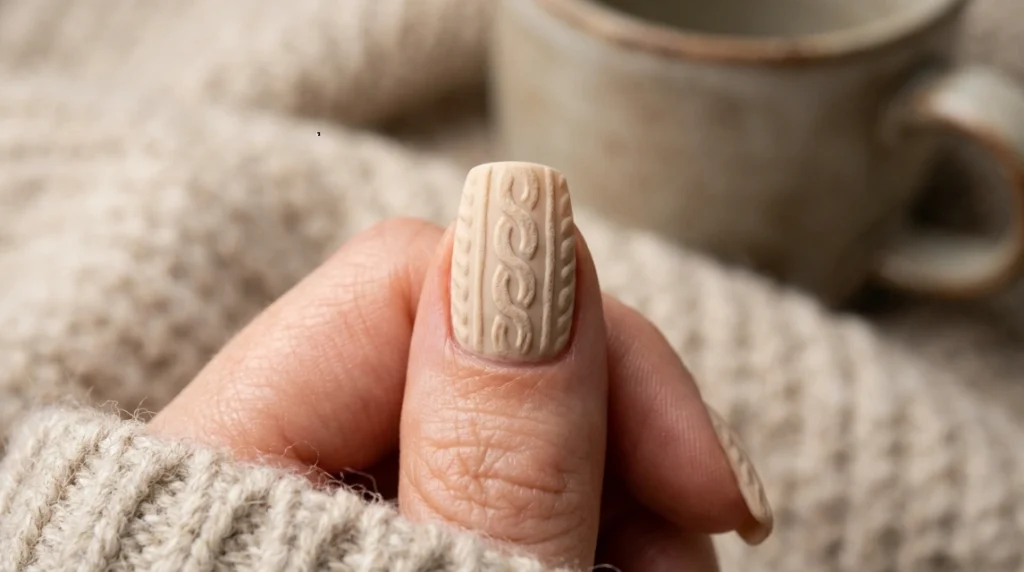
Finish with a matte or satin top coat swept carefully over the entire nail, including the raised texture. A matte finish tends to suit this design best, since it reinforces the cozy, fabric-like quality of the pattern rather than making it look glossy and artificial, though a satin finish works well too if you want a touch more shine without going fully high-gloss.
Common Mistakes to Avoid
Curing before applying the powder. The entire technique depends on the powder adhering to wet, uncured gel. If the linework cures first, the powder has nothing to grip onto and simply falls away.
Using powder in a color that clashes with the base. A powder shade too far off from your base color can make the texture look patchy rather than intentional. Staying close to your base tone, even a shade or two lighter or darker, keeps the whole design looking cohesive.
Skipping the inner stitch detail. Jumping straight from a simple cable outline to the powder step tends to produce a design that reads as vaguely bumpy rather than clearly knit. The inner detail lines are what make the pattern actually recognizable as a sweater texture once the powder is applied.
Over-brushing during cleanup. Sweeping too aggressively when removing excess powder can pull texture off the raised lines themselves, not just the excess sitting on the smooth base. A light touch with a genuinely soft brush protects the detail you just spent time building.
Which Nails Work Best for This Design?
This technique reads especially well as an accent nail rather than a full set for cozy sweater nails, one textured cable nail per hand alongside plain, glossy nails in the same base color, since the contrast between smooth and textured makes the sweater effect stand out even more. If you do want a full set, keeping the pattern to just the top third of each nail rather than covering the entire nail plate keeps the look from feeling overly heavy or hard to manage during everyday tasks.
Almond and coffin shapes give the cable pattern a bit more room to curve naturally, while short square or round shapes work well for a single, more compact stitch motif rather than a full flowing cable line.
How Long Does This Design Actually Last?
Because the base structure is gel and the texture is cured and sealed properly, this design typically holds up as well as any standard gel manicure, roughly two to three weeks before a fill or refresh is worth considering. The raised texture itself is genuinely durable once fully cured and sealed, though very fine detail work can wear slightly faster than the smooth surrounding gel simply because it has more surface area exposed to daily contact.
Quick FAQ
Do cozy sweater nails need special tools I don’t already have for regular gel manicures? The only genuinely new material is the acrylic or flocking powder itself, everything else, gel polish, a fine detail brush, and a UV or LED lamp, is standard gel manicure equipment most people already have on hand.
Can I do this design with regular polish instead of gel? Not really, at least not with the same lasting texture. The technique depends on curing wet gel with powder pressed into it, which regular polish’s air-dry process can’t replicate in the same durable way.
Is the raised texture uncomfortable or does it catch on things? Properly sealed with a top coat, the texture feels smooth to the touch despite its dimension, and it doesn’t catch on clothing or hair any more than a standard glossy manicure would.
According to Wikipedia’s overview of nail polish and gel product composition, gel formulas cure through a chemical reaction under UV or LED light rather than air-drying, which is exactly the property this technique relies on to bond the texture powder permanently into the design. Our full nail art guide covers more dimensional and hand-painted techniques like this one, and our winter nails guide has more seasonal color and texture ideas if cozy sweater nails have you in a full winter styling mood.
According to the American Academy of Dermatology’s guidance on gel manicures, proper curing time and gentle removal matter more for long-term nail health than any specific gel technique, which applies directly to a textured design like this one as much as it does to a plain gel set.