How to Create Spooky Bloody Halloween Nails at Home
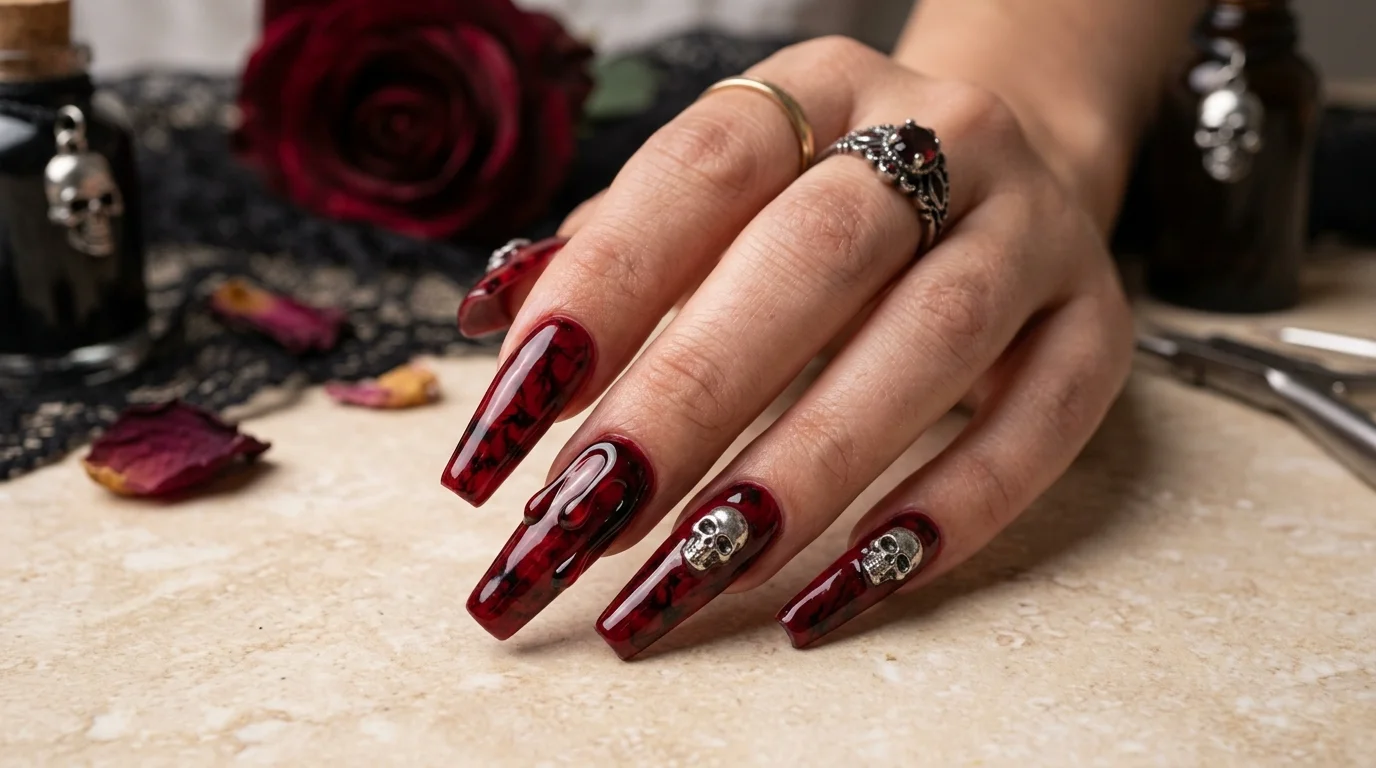
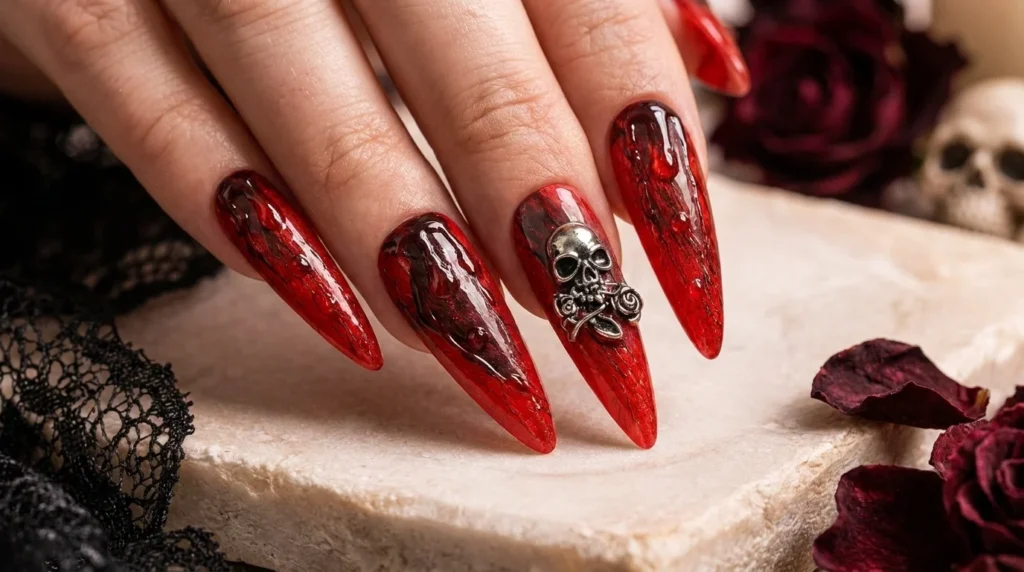
Bloody Halloween nails combine a deep crimson base, irregular black marbling, raised three-dimensional drip details and a small metallic skull accent into one dramatic, editorial-looking manicure. It looks advanced in photos, but every element breaks down into a technique an at-home beginner can actually manage, and this guide walks through each stage in the exact order you will perform it.
Difficulty: Intermediate, broken into beginner-friendly steps. Time: Roughly two to three hours for a full set, including cure time between layers. Who it’s for: Anyone comfortable with basic gel application who wants a genuinely dramatic Halloween look rather than a simple accent nail. Can beginners do it? Yes, especially using the simplified options near the end of this guide, though the full 3D drip and marbling version takes some patience on a first try.
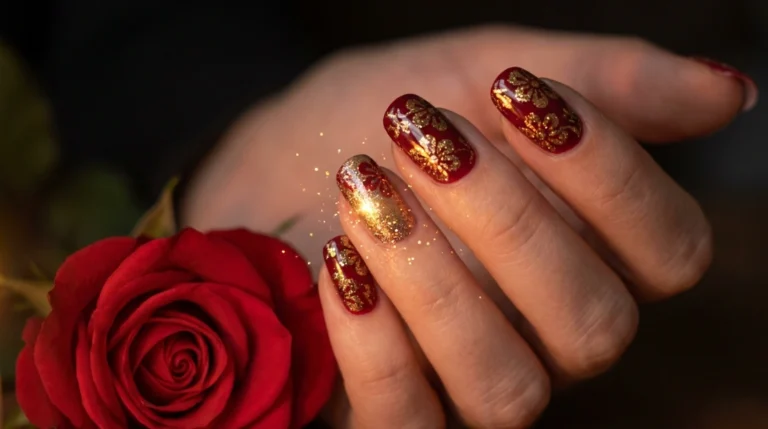
Here is the finished bloody Halloween nails result you are working toward. If you want more background on the long coffin shape this design is built on, Wikipedia’s overview of nail art covers where dimensional, sculptural techniques like this one come from.
What You’ll Need for Bloody Halloween Nails
| Item | Why You Need It |
|---|---|
| Base coat | Protects the natural nail and helps polish adhere |
| Deep red gel polish | The main crimson color |
| Black (or very dark burgundy) gel polish | Marbling and shadow detail |
| Fine nail-art brush | Draws the marbled veins and refines lines |
| Dotting tool | Adds small round detail and texture |
| Clear builder or 3D gel | Builds the raised blood-drip effect |
| Metallic silver skull charms | The accent detail on one or two nails |
| Nail adhesive or gel suited to charms | Secures the skull charm |
| Glossy top coat | Seals the design and creates the wet-look finish |
| Nail file and buffer | Shapes the nail and smooths the surface |
| Cuticle pusher | Preps the nail bed before polish |
| UV/LED lamp | Cures gel products between steps |
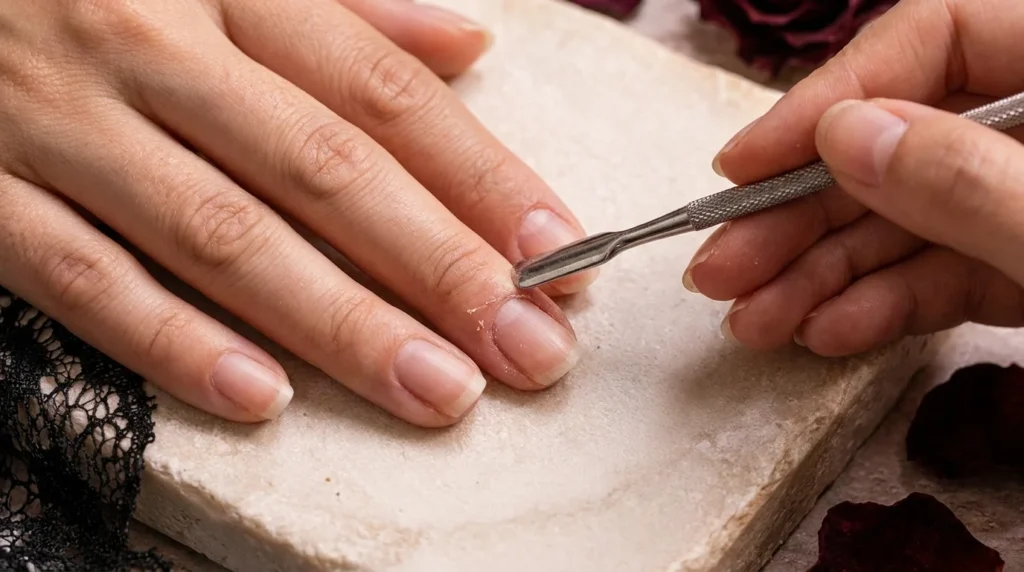
Step 1: Prep Your Nails
What to do: Remove any old polish, gently push back your cuticles, lightly buff the nail surface, wipe away dust, and finish with a thin layer of base coat.
Why it matters: Clean, dust-free, slightly buffed nails give gel polish something to grip, which is the difference between a manicure that lasts and one that lifts within a few days.
Beginner tip: Do not skip the dust removal step. A lint-free wipe with a little cleanser catches the fine particles a regular wipe leaves behind.
Common mistake: Pushing cuticles back too aggressively. Gentle pressure is enough, there is no need to force them.
Step 2: Shape Your Nails
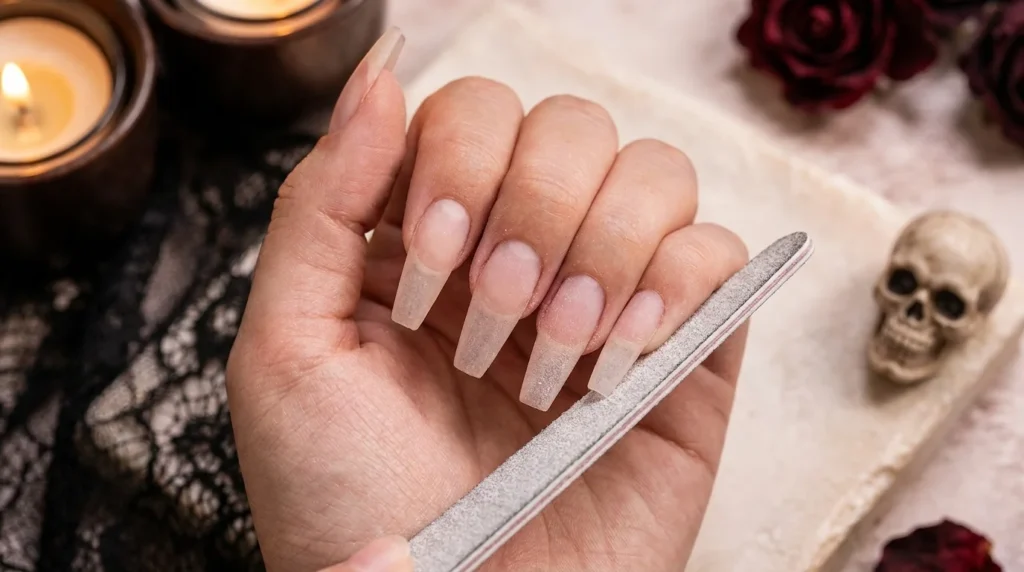
What to do: File your nails into a long coffin shape, squaring off the tip while tapering the sidewalls into a smooth, elegant silhouette.
Why it matters: The coffin shape gives the marbling and drip effects a long, flat canvas to work across, which is part of why this design reads as editorial rather than casual.
Beginner tip: File in one direction rather than sawing back and forth, which weakens the nail edge over time.
Common mistake: Making the sidewalls too narrow too fast. Shape gradually and check both hands against each other as you go.
If long coffin nails are difficult to maintain or new to you, medium-length coffin press-ons give you the exact same shape and surface to work with, without the extension step. Our coffin nails guide covers shaping and upkeep in more depth. The rest of this bloody Halloween nails tutorial applies identically on top of press-ons.
Step 3: Apply the Blood-Red Base
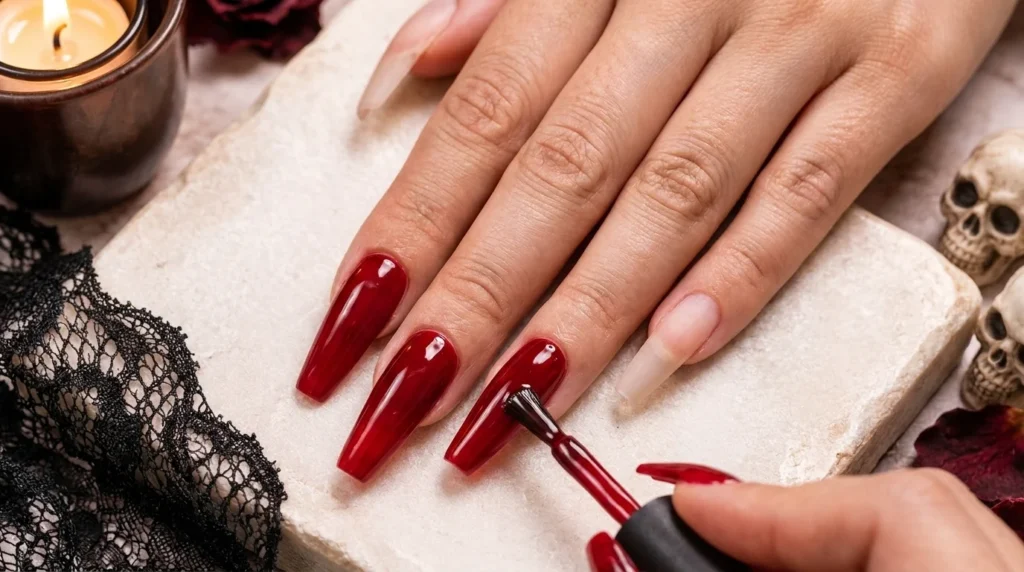
What to do: Apply one thin, even layer of deep crimson gel polish, cure according to your product’s instructions, then apply a second thin layer if the color needs it. Keep the surface smooth rather than textured at this stage.
Why it matters: The red base is what every later layer of bloody Halloween nails, marbling, drips, gloss, sits on top of, so an even, fully opaque base is what keeps the finished look clean instead of patchy.
Beginner tip: Two thin coats cure more evenly and look smoother than one thick coat, even though it takes an extra few minutes.
Common mistake: Curing a coat that is still pooled too thick near the cuticle, which can leave a soft or tacky spot.
Step 4: Create the Black Marbled Effect
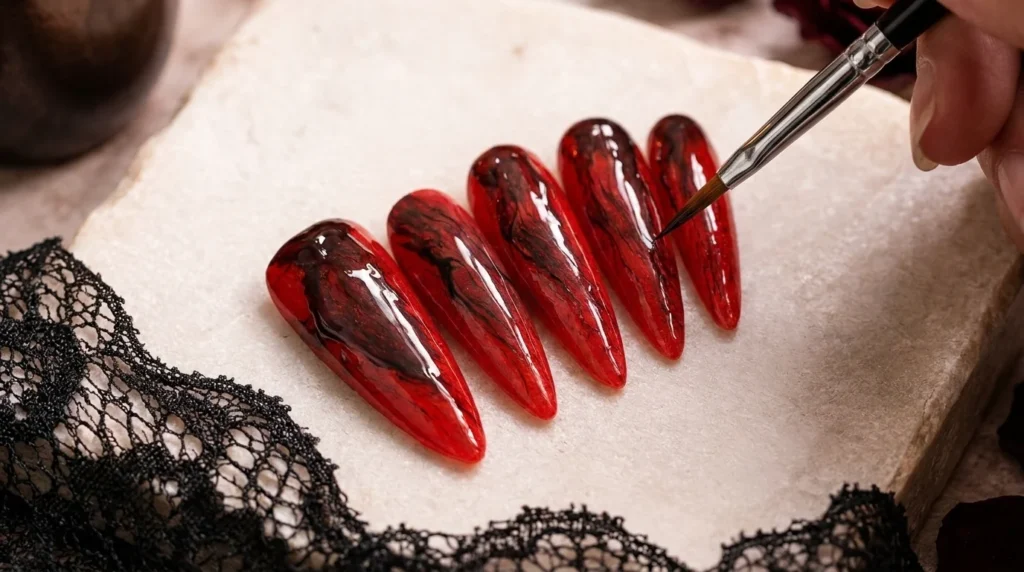
What to do: Using a fine nail-art brush loaded with black or very dark burgundy polish, add thin, irregular lines across the red base. Vary the thickness of each line, pull some lines into thinner tapered ends, and deliberately avoid any symmetrical or repeating pattern. Leave visible red between the lines rather than covering the whole nail.
Why it matters: Irregularity is the entire point of bloody Halloween nails. Think cracked glass, smoke, or dried blood rather than neat stripes, since a too-tidy pattern reads as decorative instead of spooky.
Beginner tip: Practice the line work on a spare nail tip first if you are new to a fine detail brush. The motion is light and quick, not slow and heavy.
Common mistake: Adding too many lines at once. It is much easier to add more than to remove excess black from a wet red base.
Step 5: Build the Dark, Bloody Texture
What to do: Go back over the marbling and refine it, softening a few lines, deepening others, and adding small irregular dots or smoky patches where the design needs more depth.
Why it matters: This refinement pass is what turns a first-attempt marbling pattern into bloody Halloween nails that look layered and dimensional once sealed under gloss.
Beginner tip: Step back and look at the whole nail, not just the section you are working on, since marbling that looks good up close can look unbalanced across the full nail.
Common mistake: Overworking one small area while the rest of the nail stays sparse. Spread your attention across the whole surface.
Step 6: Create the 3D Blood Drips
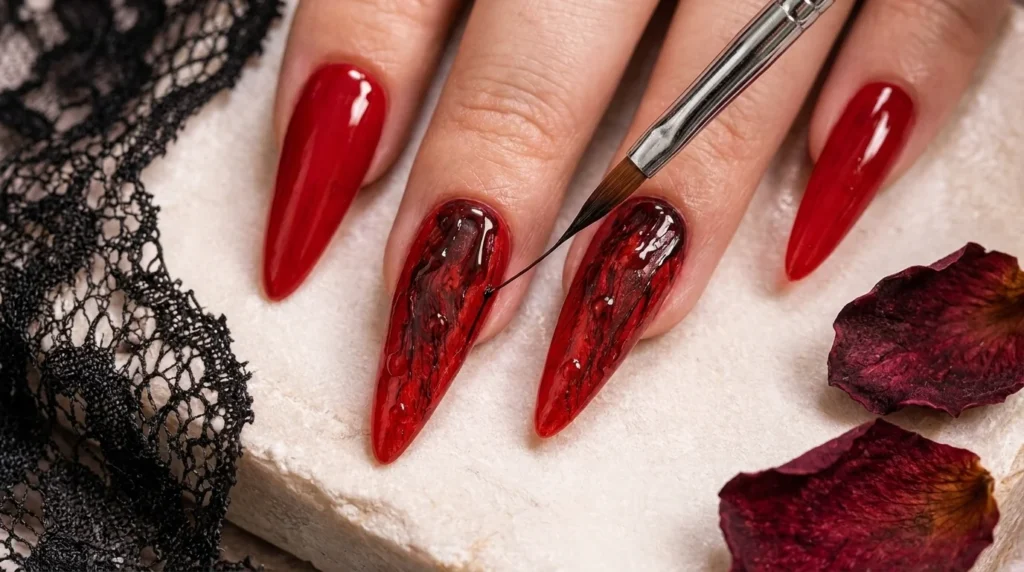
This is the step that gives bloody Halloween nails their dimensional, dripping effect, and it is worth taking slowly.
What to do: Using a small amount of clear builder or 3D gel on a fine nail-art tool, create small rounded pools in a few places on the nail. Pull some of that gel downward into narrow, elongated drip shapes. Keep the drips different sizes and lengths across different nails rather than making every one identical, since real variation is what sells the effect. Cure according to your specific gel product’s instructions between stages if your product calls for it.
Why it matters: This raised, glossy gel is what catches light and creates the illusion of wet, dimensional blood, which is the whole signature of bloody Halloween nails, rather than a flat painted drip shape that would read as a cartoon instead of something editorial.
Beginner tip: Start with less gel than you think you need. You can always build a drip up further, but excess gel is harder to correct once it is placed.
Common mistake: Making every drip the same size and spacing, which looks mechanical instead of organic.
Important safety note: Avoid getting gel products on the surrounding skin. If uncured gel touches your skin, remove it before curing and follow the specific product manufacturer’s instructions for safe use and removal. For general guidance on gel application and nail health between manicures, the American Academy of Dermatology’s gel manicure tips are a useful reference.
Step 7: Add the Skull Accent
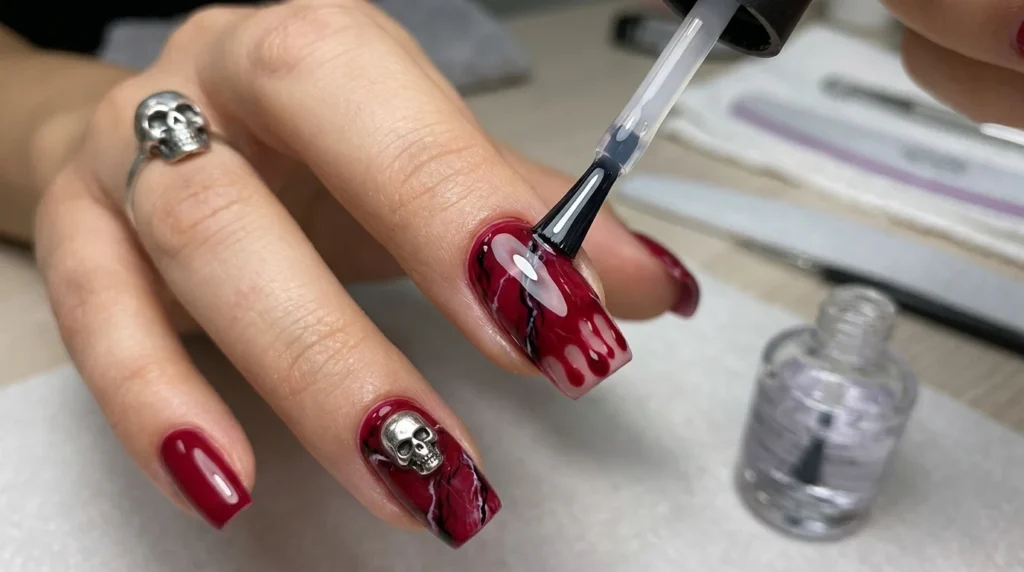
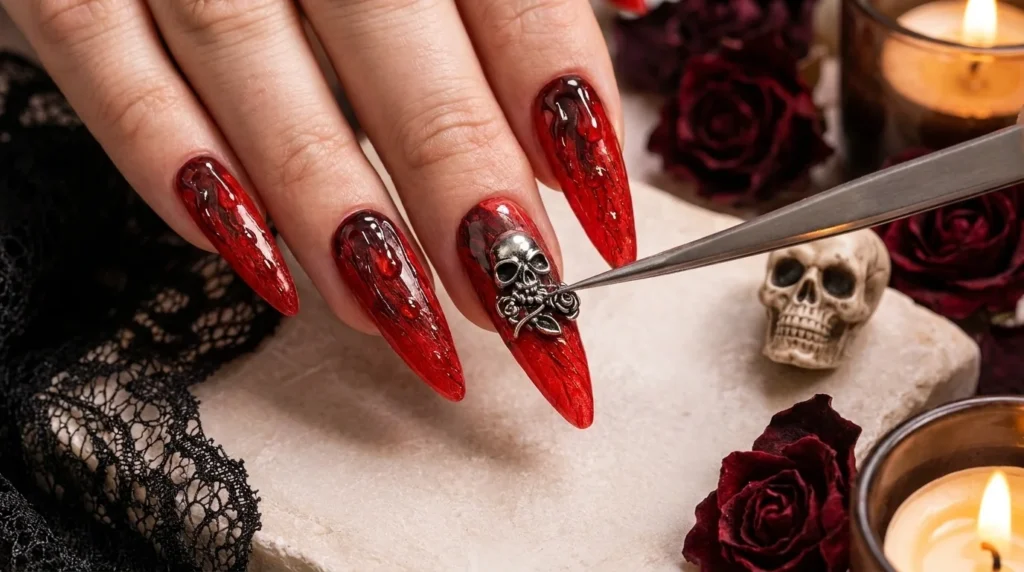
What to do: Choose one or two nails as your accent nails. Apply a small amount of nail adhesive or gel suited to metal charms, position the skull charm carefully with tweezers or a precision tool, and cure or set it according to the product’s instructions.
Why it matters: One or two accent nails keep the skull detail as a focal point rather than cluttering the whole bloody Halloween nails set, which is part of what keeps this look elegant rather than overdone.
Beginner tip: Position the charm while the adhesive is still workable, then hold it steady for the first few seconds before curing or letting it set.
Common mistake: Placing charms on every nail. The contrast between plain marbled nails and the one or two accent nails is what makes the skull detail stand out.
Step 8: Seal Everything With Top Coat
What to do: Apply one even layer of glossy top coat across every nail, sealing the marbling, the drip details and the skull accent together into one finished surface.
Why it matters: Glossy top coat is the clear direction for bloody Halloween nails rather than matte, since the entire concept depends on a wet, reflective, blood-like appearance that a matte finish would flatten out completely.
Beginner tip: Work in thin, even strokes and pay extra attention around the raised drip details, since they need full coverage to catch light properly.
Common mistake: Rushing the top coat and missing the edges of raised 3D details, which leaves a dull patch where the gloss should be strongest.
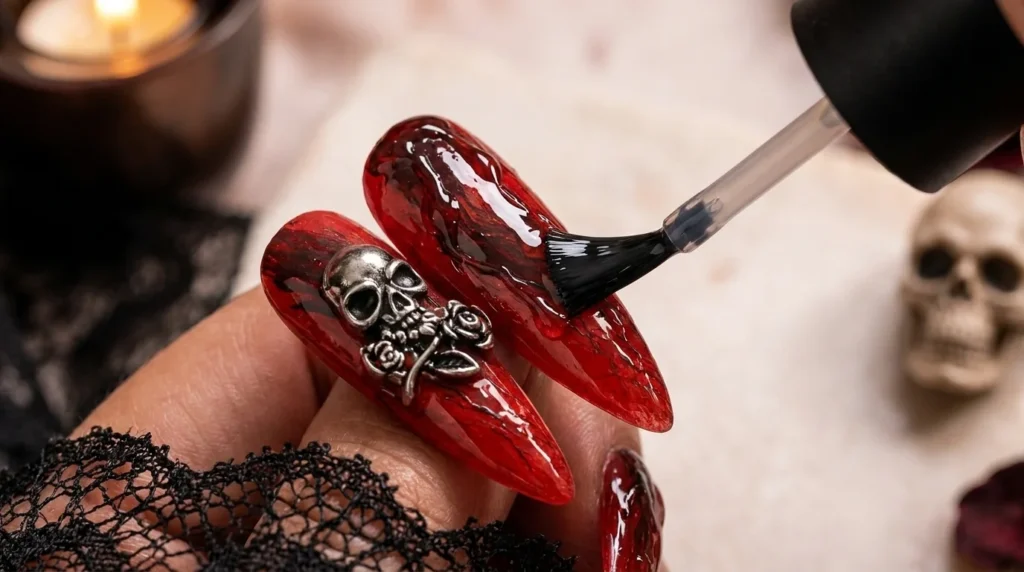
The Finished Bloody Halloween Nails
Here is the completed bloody Halloween nails manicure, up close.
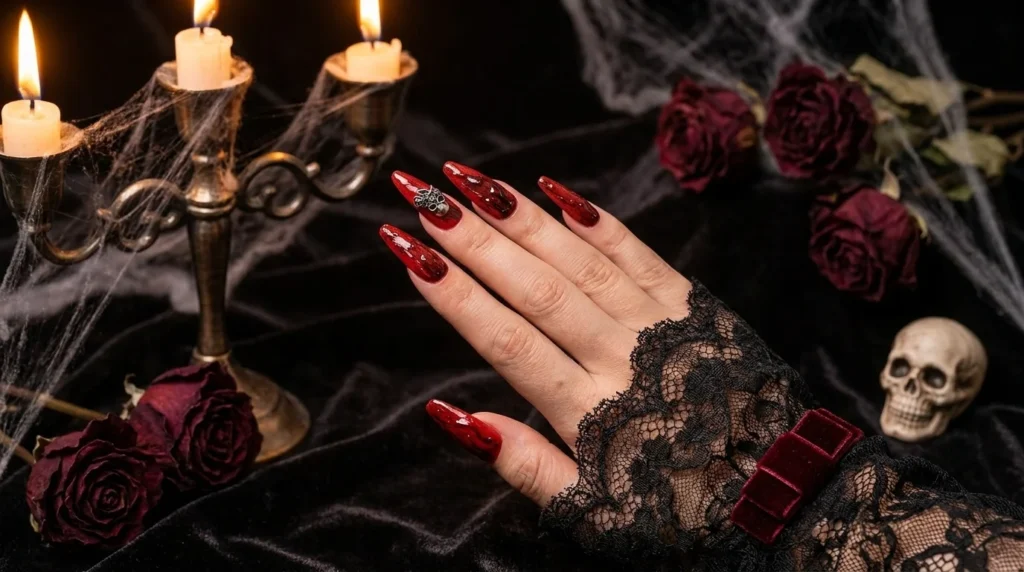
And here are the finished bloody Halloween nails, worn.
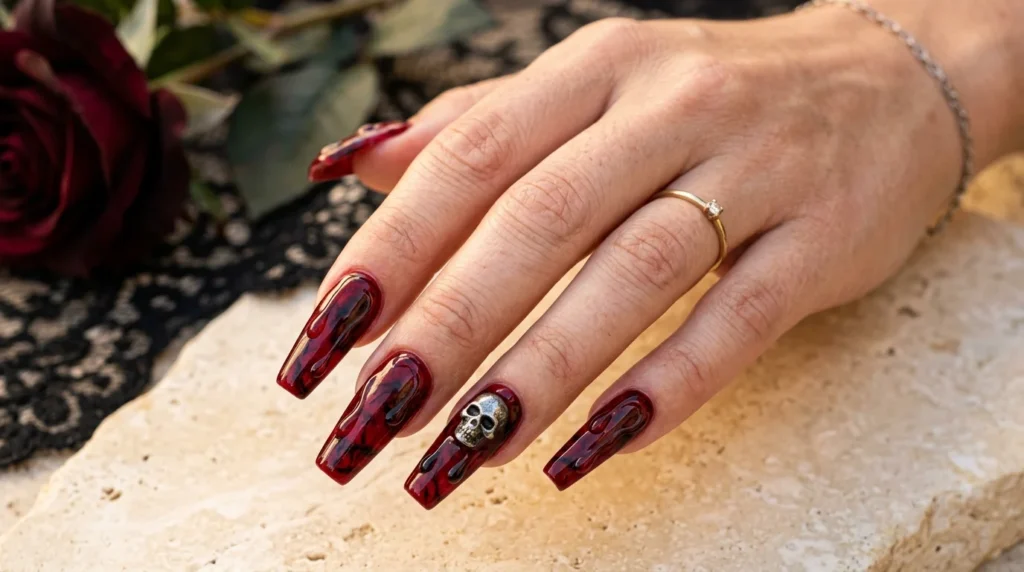
Want the Look Without Doing Every Detail?
The full version above is dramatic, but there are several ways to simplify bloody Halloween nails without losing the aesthetic entirely.
Option 1, Press-ons. Use pre-shaped coffin press-ons instead of extending and shaping your natural nails. Everything from the red base onward applies exactly the same way.
Option 2, Skip the 3D blood. A glossy red polish with black marbling alone still reads as a strong Halloween look, just flatter and faster to do, with no gel curing step required.
Option 3, One skull nail. Instead of two accent nails, use a single skull detail on one nail and keep the rest of the set as plain red and black marbling.
Option 4, No gel at all. Build a simplified version entirely with regular polish, skipping the builder gel drips, and use nail-art glue or small decorative accents appropriate to the materials you have on hand instead of gel-set charms.
Common Problems With Bloody Halloween Nails
My blood drips look flat. Use a slightly thicker 3D gel product and build the dimension in small layers rather than trying to get full height in one pass.
My black lines look too harsh. Use fewer lines, and keep the brush strokes thinner. A few confident lines read better than many heavy ones.
The design looks messy. Leave more negative space between the marbled sections so the eye has somewhere to rest between details.
My skull charm won’t stay on. Use an adhesive or gel product specifically intended for nail charms, and follow its curing or setting instructions exactly rather than guessing at timing.
The red looks too bright. Choose a deeper wine or crimson shade rather than a bright cherry red. The deeper tone is what gives this look its editorial, slightly gothic mood.
Bloody Halloween Nail Variations
Once you have the core bloody Halloween nails technique down, these variations use the same marbling and drip skills in different combinations.
Classic Bloody Red Nails. Red base and black marbling with no 3D drips, for a simpler everyday version.
Black and Blood Red Nails. A more even split between black and crimson across the set, rather than red as the dominant color.
Bloody Skull Nails. Skull charms on every other nail instead of just one or two accents, for a bolder, more costume-forward look.
Red Chrome Bloody Nails. A chrome top layer over the red base before marbling, for extra shine and reflection.
Short Bloody Halloween Nails. The same technique on a short almond or squoval shape for anyone who does not want length. Our short almond nails guide has more on working with shorter lengths.
Bloody Coffin Nails. The exact technique from this tutorial, emphasizing the coffin shape and length as the main visual statement.
Final Thoughts
Spooky bloody Halloween nails look like a salon-only technique, but the marbling, the drip construction and the skull placement all come down to patience and thin, deliberate layers rather than advanced skill, which is why bloody Halloween nails are more achievable at home than they first appear.