Black and Orange Halloween Nails: The Spooky Manicure Everyone’s Wearing This Fall
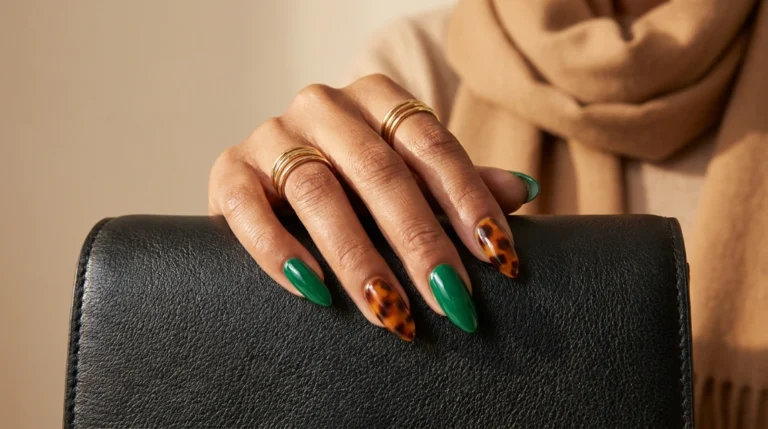
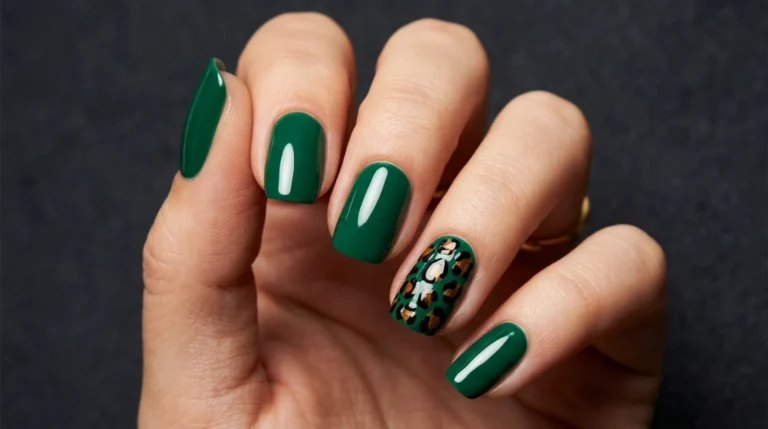
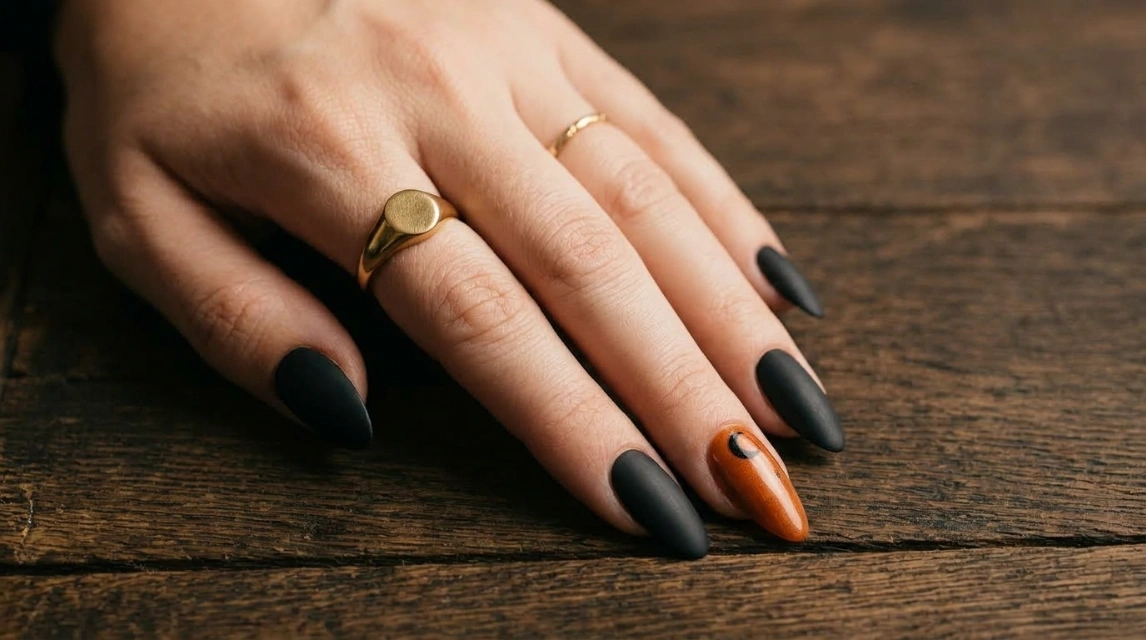
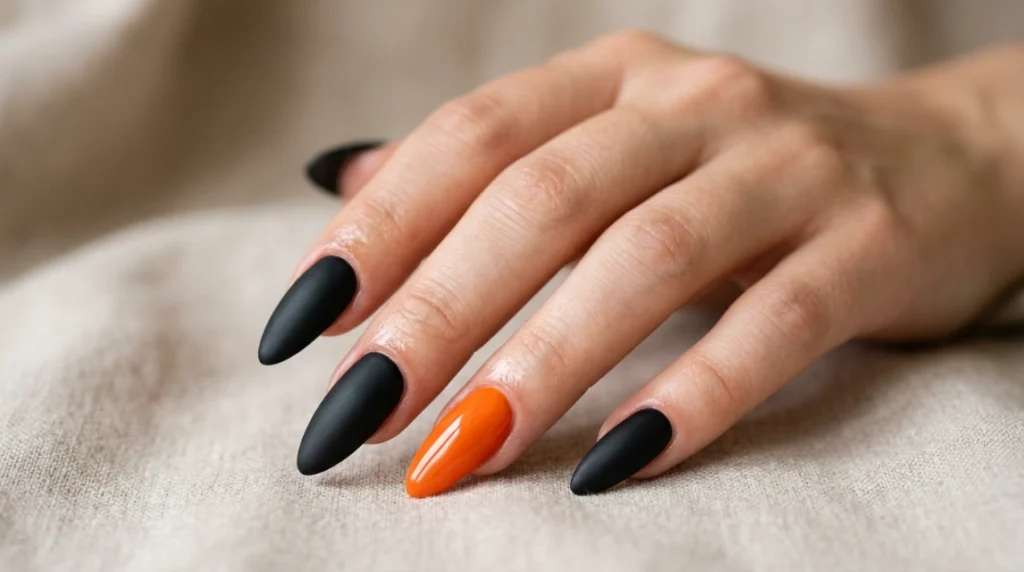
Black and orange Halloween nails are the one combination that shows up every single October without fail, and this year’s version leans more editorial than costume-y. Instead of solid orange nails with a black cat sticker slapped on top, the current take pairs deep matte black with a glossy, burnt-orange accent, worn on long almond nails for a sharp, elongated look. It’s spooky without tipping into cartoonish, and it photographs beautifully for anyone building out a Halloween content board or just wanting their hands to match the season.
Why Black and Orange Still Works Every Year
Black and orange became the unofficial color pairing of Halloween for a reason rooted in actual color theory: they sit almost directly opposite each other, which makes both shades look more saturated and intentional side by side. A plain black manicure can read a little flat on its own, and a solid orange manicure can look more autumnal than spooky. Together, they immediately signal “Halloween” without needing a single pumpkin or spiderweb painted on.
This year’s version specifically favors a matte black base with glossy orange details, rather than making both colors the same finish. The contrast between a flat, velvety black and a shiny, almost wet-look orange is what gives the manicure its depth, and it’s a small styling choice that makes a simple two-color look feel far more finished.
Getting the Look at Home
This manicure is simpler to recreate than it looks, especially if you stick to an accent-nail approach rather than freehand art on every finger.
- Shape nails into a long almond shape and apply a clear base coat.
- Paint all nails except one or two accent nails with a matte black polish, using two thin coats for full opacity.
- On the accent nail or nails, apply a glossy burnt-orange polish instead, again in two thin coats.
- Once the orange is fully dry, add a small black detail on the orange nail, a thin crescent, a few dots, or a simple line, using a fine detail brush or a toothpick.
- Seal the black nails with a matte topcoat and the orange accent nail with a glossy topcoat, keeping the two finishes intentionally different.
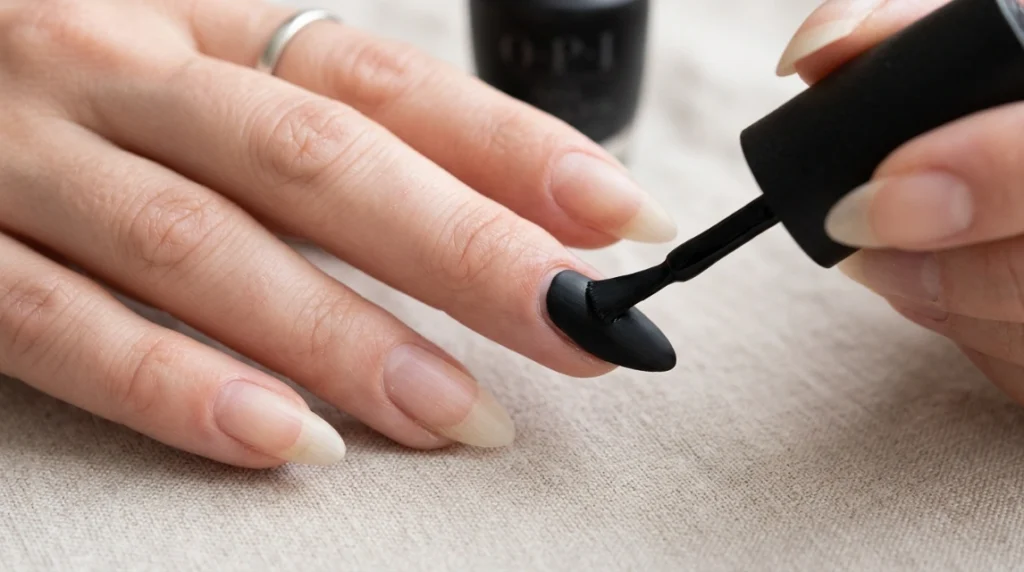
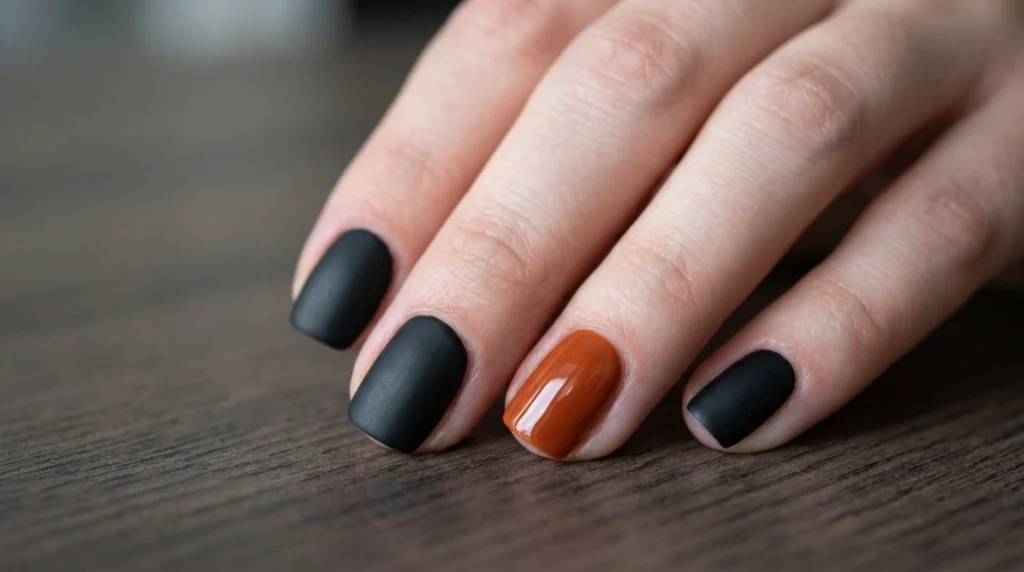
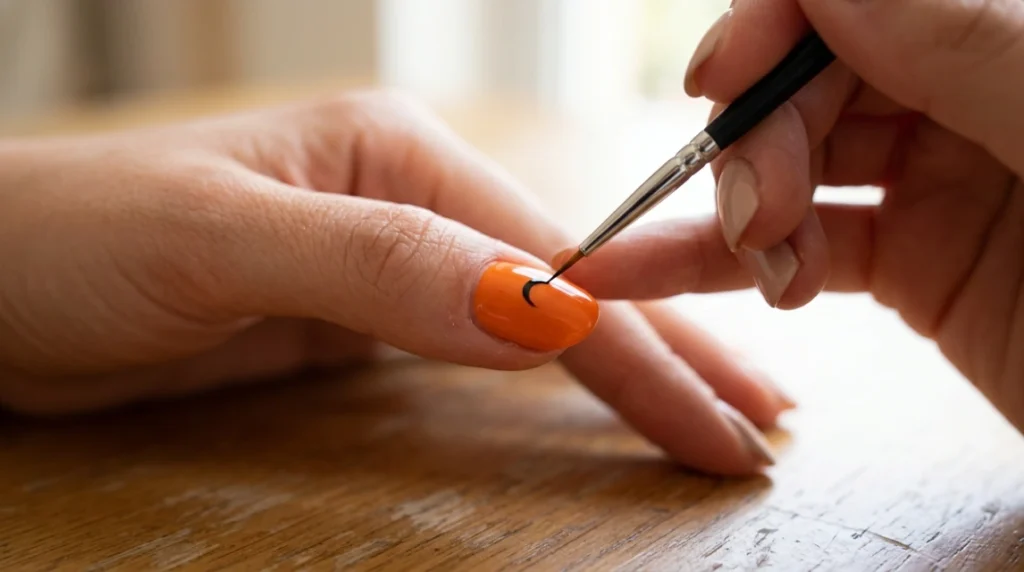
If freehand detail work feels intimidating, nail decals or a pre-made press-on set in this exact color story is a completely reasonable shortcut, and it still reads as a fully custom manicure once it’s on.
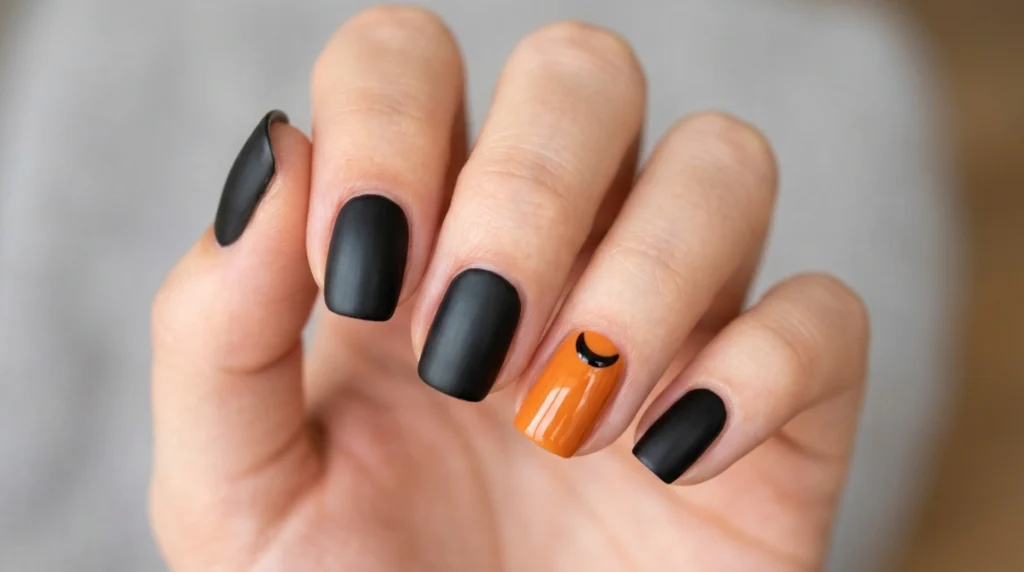
The Matte-and-Gloss Trick, Explained
The single biggest thing that separates a polished version of this look from a flat one is finish contrast, not color choice. Matte black on its own can look a little dull under indoor lighting, but pairing it with even one glossy orange nail gives the eye somewhere to land. This same finish-contrast trick works across plenty of other color pairings too, so once you’ve tried it for Halloween, it’s worth remembering for other seasonal manicures.
A quick tip that made a real difference for me: apply the matte topcoat last, after everything else has fully cured. Matte topcoats applied too early can smudge the still-soft orange polish underneath if the nails touch each other while drying.
Why Long Almond Nails Suit This Trend
Long almond nails give this specific color combination more room to work with, which matters for two reasons. First, the tapered shape gives any hand-painted detail, like the black crescent accent, a natural curve to follow rather than fighting a blunt, square edge. Second, the extra length makes the matte-versus-glossy contrast easier to see at a glance, since there’s simply more surface area for each finish to catch or absorb light differently.
That said, this exact color pairing works on shorter shapes too. If length isn’t practical for your day-to-day, the same matte black base with a glossy orange accent nail translates cleanly onto a short almond or squoval shape, just with a slightly smaller canvas for detail work.
Making a Halloween Manicure Last Through the Month
Halloween nails often need to survive more than a one-night costume, especially if you’re wearing them through several weekend events leading up to the 31st. A few things help:
- Reapply topcoat on the accent nail every few days, since glossy finishes tend to dull and show wear faster than matte ones.
- Avoid picking at the black detail work directly, since fine lines and small dots chip first on any manicure.
- Keep cuticles oiled throughout the month, since cooler fall weather tends to dry out skin and nails faster than people expect.
Quick FAQ
Does this look work without freehand nail art skills?
Yes. The core look is really just a matte black manicure with one glossy orange accent nail, no freehand detail required. The small black crescent or dots are an easy add-on, not a requirement.
What if I don’t want an all-black manicure for October?
Try flipping the ratio: mostly orange nails with one or two matte black accent nails instead. The same finish-contrast principle still applies, just reversed.
Is matte or glossy better for Halloween nails specifically?
Neither is objectively better, but the contrast between the two is what makes this particular color pairing look intentional rather than flat, so using both finishes together is worth the extra step.
Related Guides
For more ways to work orange and other cozy fall shades into a manicure beyond Halloween specifically, our fall nail color guide rounds up the season’s other top shades. If solid black nails are more your speed year-round, our black nails guide covers styling this shade beyond just October.
Halloween’s association with black and orange has roots that go back much further than modern nail trends, tied to the broader visual traditions of the holiday itself, something Wikipedia’s overview of nail art touches on as part of how seasonal and holiday motifs have shaped nail art trends over time.
Black and orange Halloween nails don’t need to be complicated to look intentional. Stick to the matte-and-gloss contrast, keep the detail work simple, and the manicure does most of the work on its own.