Red Floral Glitter Nail Art: A Design You’ll Actually Want to Wear Twice
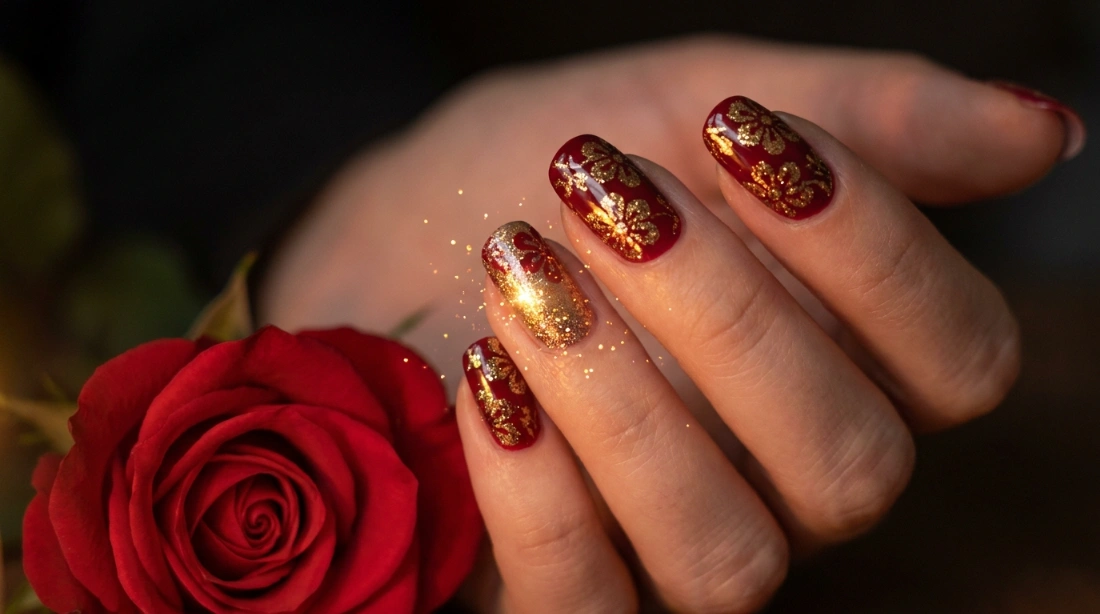
Red floral glitter nail art pairs a rich red base with small hand-painted flowers and a touch of gold or silver glitter on one or two accent nails. It’s a look that reads bold from a distance and detailed up close, which is exactly why it keeps showing up as one of the most requested designs for anything from a regular Tuesday to a full night out.
Why Red and Florals Work So Well Together
There’s a reason floral nail art keeps outlasting almost every other trend. Flowers are one of the few images that read as beautiful to nearly everyone, no matter their personal style, and painting a small one onto a nail borrows that same instant appeal without needing any explanation.
Add red into the mix and you get something a little more specific: red carries associations with confidence and warmth that a soft floral alone doesn’t quite have on its own. The two together land somewhere between romantic and bold, which is a harder balance to hit than it sounds.
Most red floral content online treats this as one entry in a long gallery of twenty or thirty design ideas, a single photo with no real explanation of how any of it was actually painted. That’s the real gap here. This is a full walkthrough of one specific version of the look, done properly, rather than another scroll-through of inspiration photos you still can’t recreate at home.
What You’ll Need Before You Start
A rich red polish (regular or gel), a base coat and top coat, a small nail art brush with a fine point, white polish for the petals, a touch of yellow for flower centers, a thin green polish or striping brush for leaf details, and a fine gold or silver glitter, either loose or a glitter polish. A dotting tool helps with the flower centers, though the rounded end of a bobby pin does the same job.
How to Create Red Floral Glitter Nail Art, Step by Step
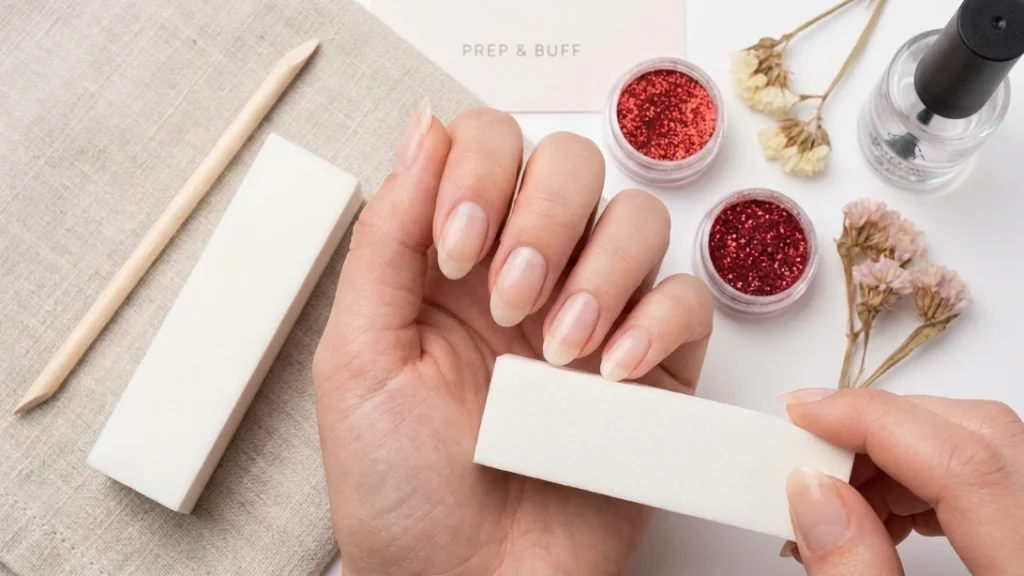
Start with prep. Push your cuticles back gently and buff each nail lightly so the surface isn’t shiny or slick. Polish grips far better on a slightly matte nail than a glossy one, and this one step is responsible for more chip-free manicures than people realize.
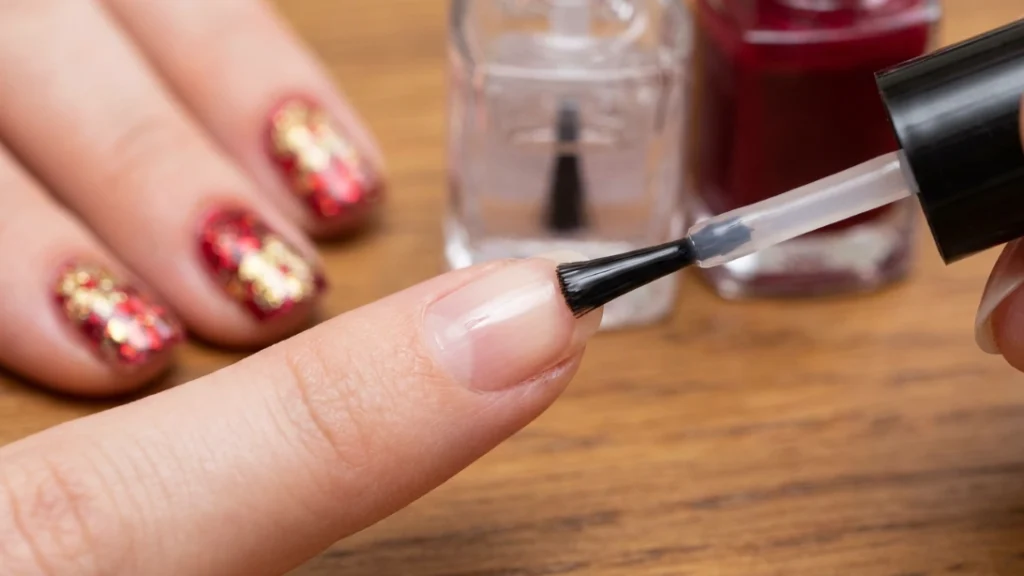
Apply a clear base coat across all ten nails and let it dry for about a minute. This protects the natural nail and gives the red a more even surface to sit on, especially since red pigments can be some of the more staining shades in a polish collection.
Apply your first coat of red. It may look a little uneven at first, which is normal for most reds at a single coat. Let it dry fully before moving to the second coat, which is what brings the color to full, even opacity.
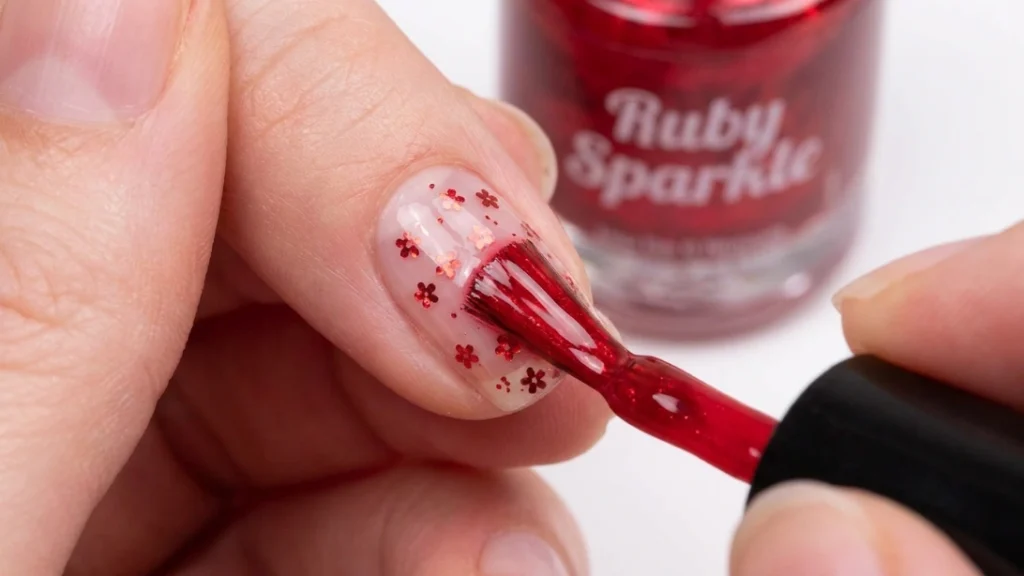
Apply the second coat of red across all ten nails. Once this is dry, you have your base finished and the rest of the design happens on top of it.
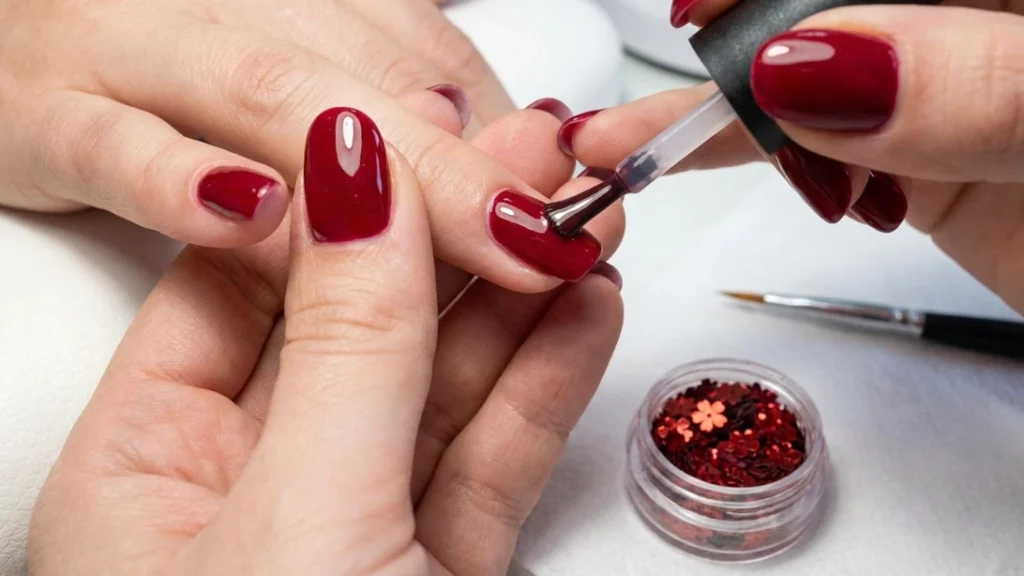
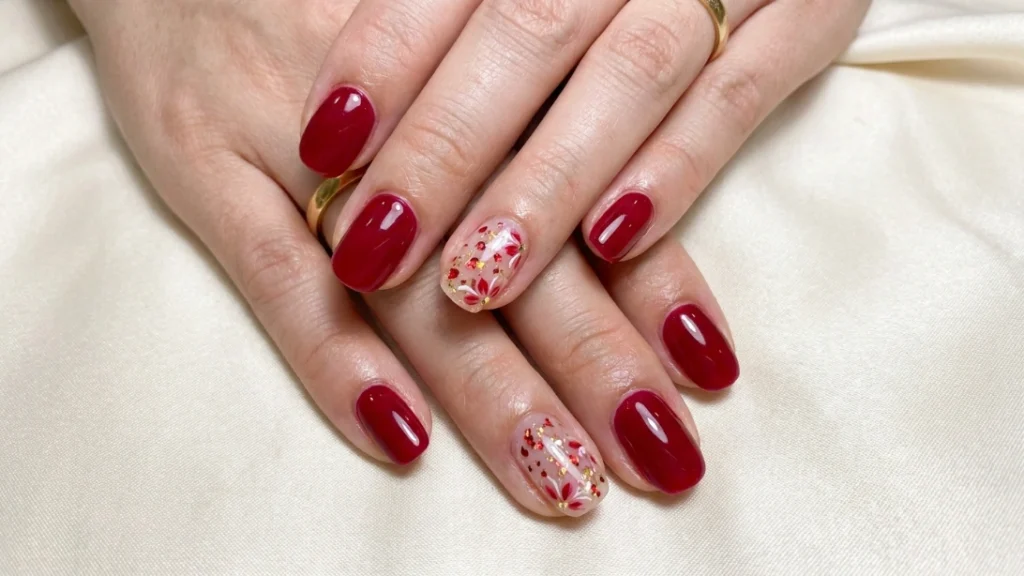
Choose one or two accent nails for the floral design, usually the ring finger and maybe the middle finger. Leaving the rest of the hand in solid red is what keeps the whole look from feeling too busy. A flower on every single nail almost always ends up looking cluttered rather than intentional.
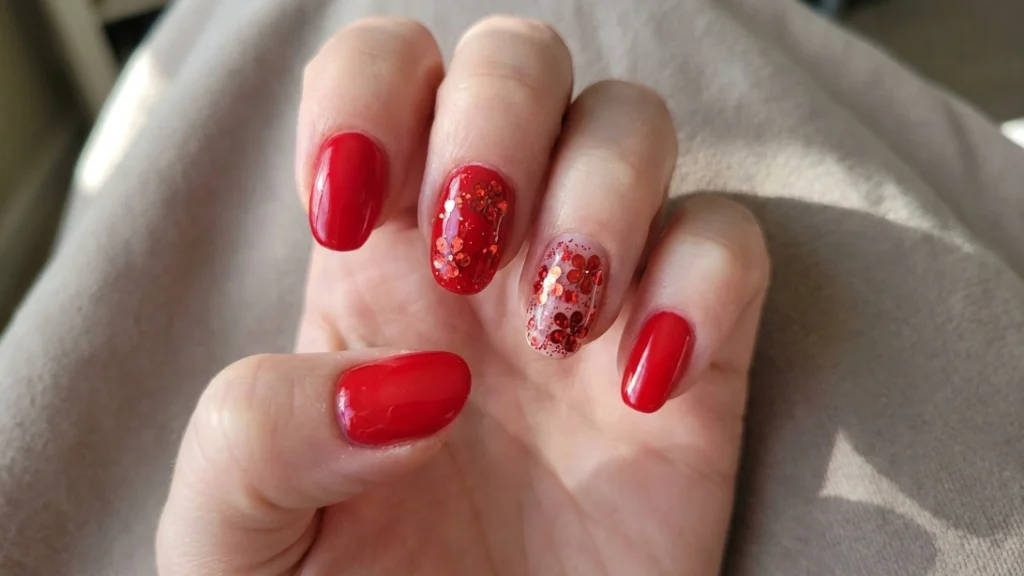
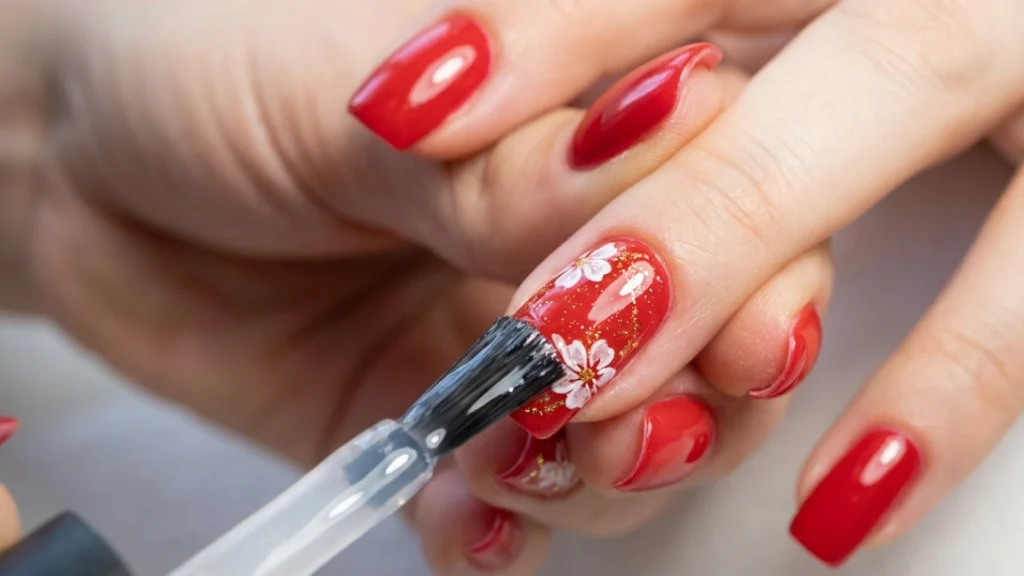
Paint your first flower petal using white polish and the tip of your fine brush. A small comma-shaped stroke, thicker at one end and tapering to a point at the other, is the easiest way to build a petal shape without needing real painting skill.
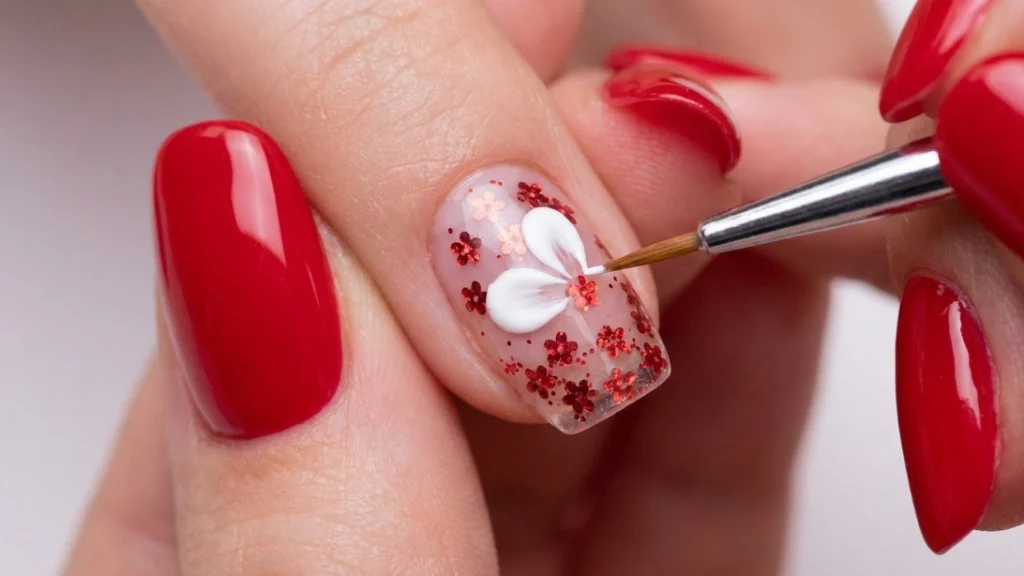
Repeat that same comma stroke four or five more times around a center point to complete one flower. Petals don’t need to be perfectly even. Small variations between them are actually what make a hand-painted flower look hand-painted instead of stamped from a template.
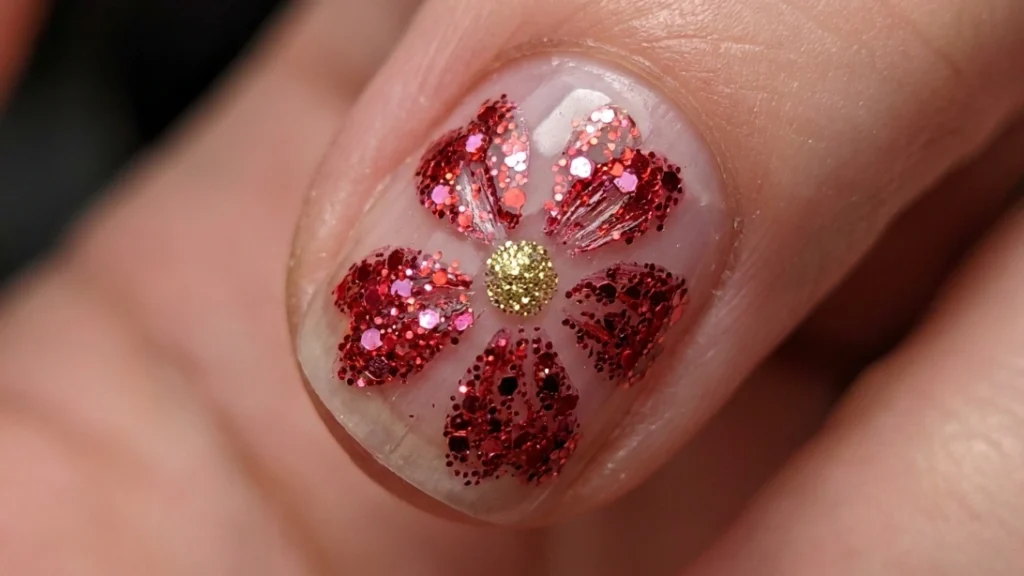
Add a small yellow dot at the center of the flower once the petals are dry. This is the detail that pulls the whole shape together and reads clearly as a flower rather than a loose cluster of white marks.
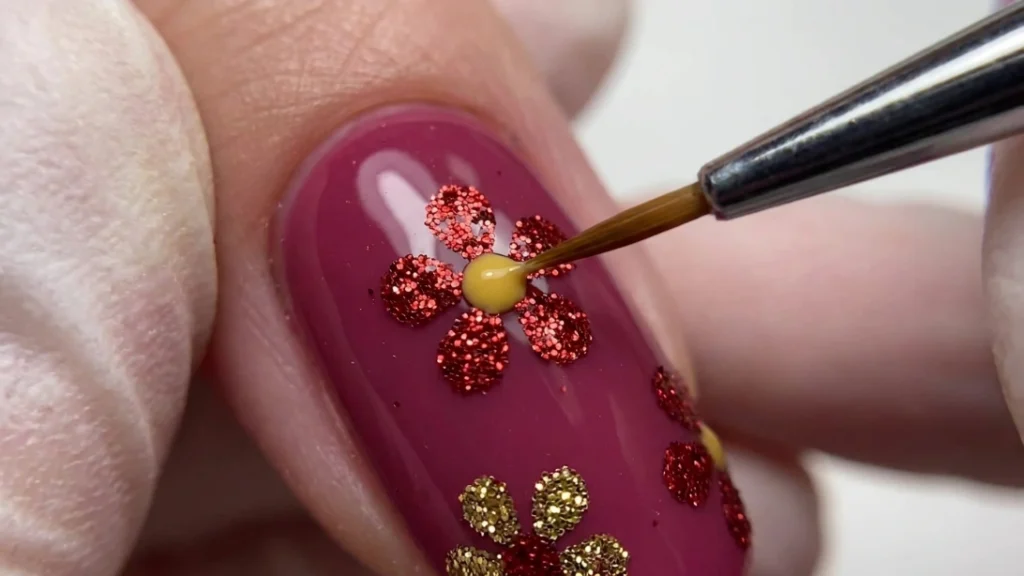
Paint one or two thin green lines extending from the base of the flower for a simple stem or leaf detail. Keep this minimal. A single curved line does more for the design than a full cluster of leaves would.
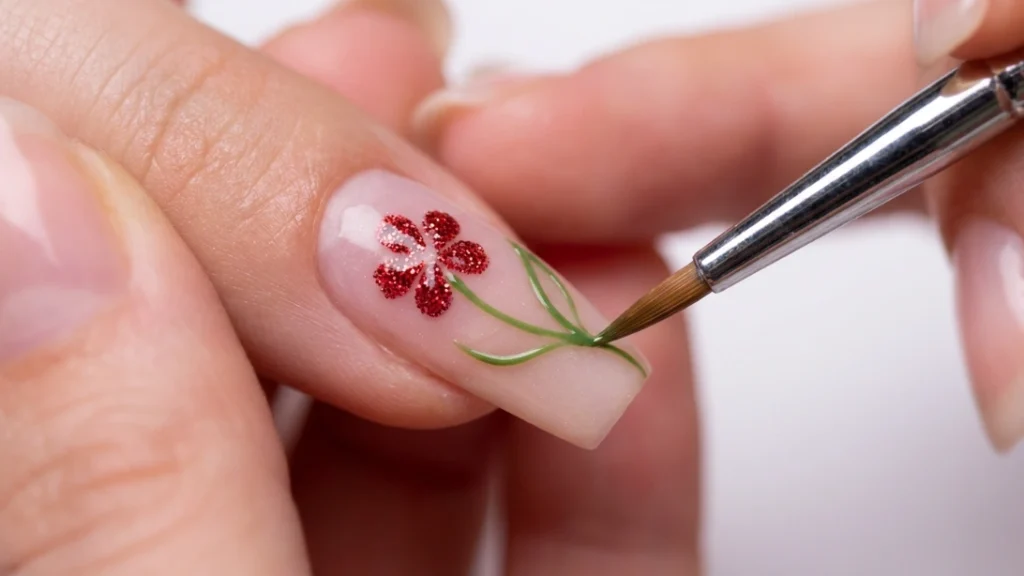
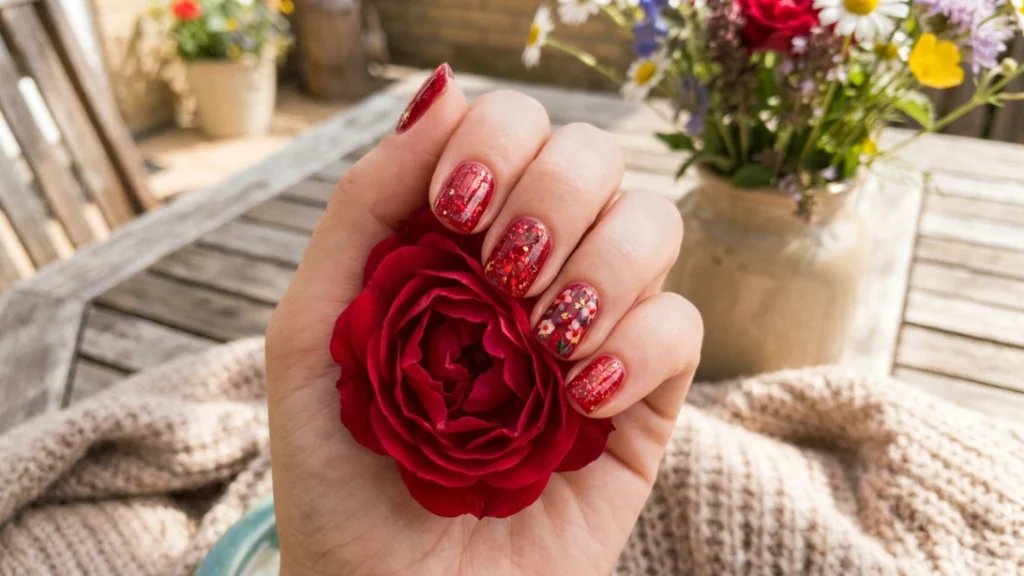
Once the floral design is fully dry, move to the glitter. Dip a small brush or applicator into fine gold or silver glitter and dab it lightly near the base of the accent nail, closest to the cuticle, letting it fade out as it moves up the nail.
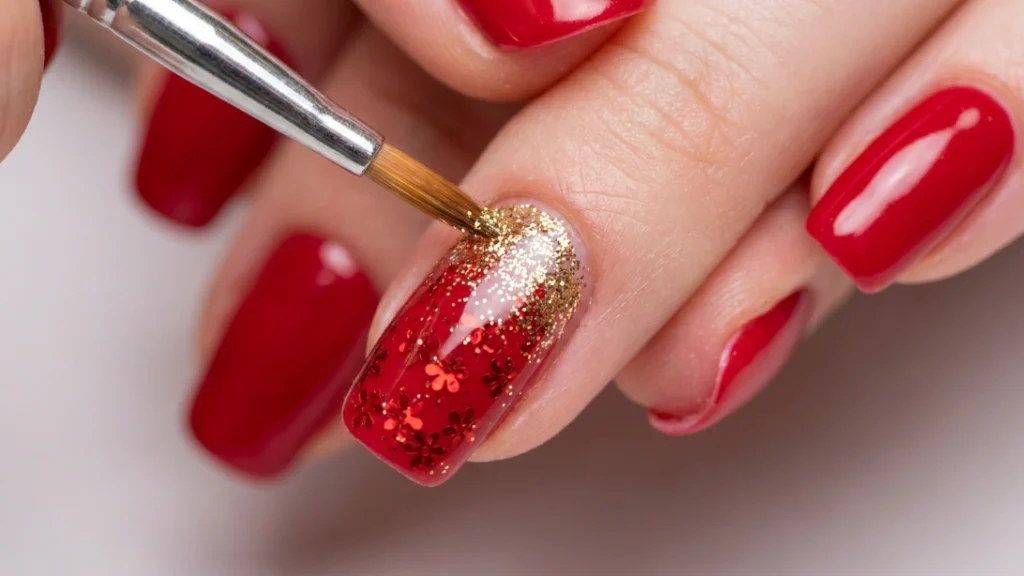
Build the glitter up in thin layers rather than one heavy pass. A single thick layer tends to look clumped, while two or three light passes create a softer, more natural gradient that still reads as glitter rather than a solid glittery block.
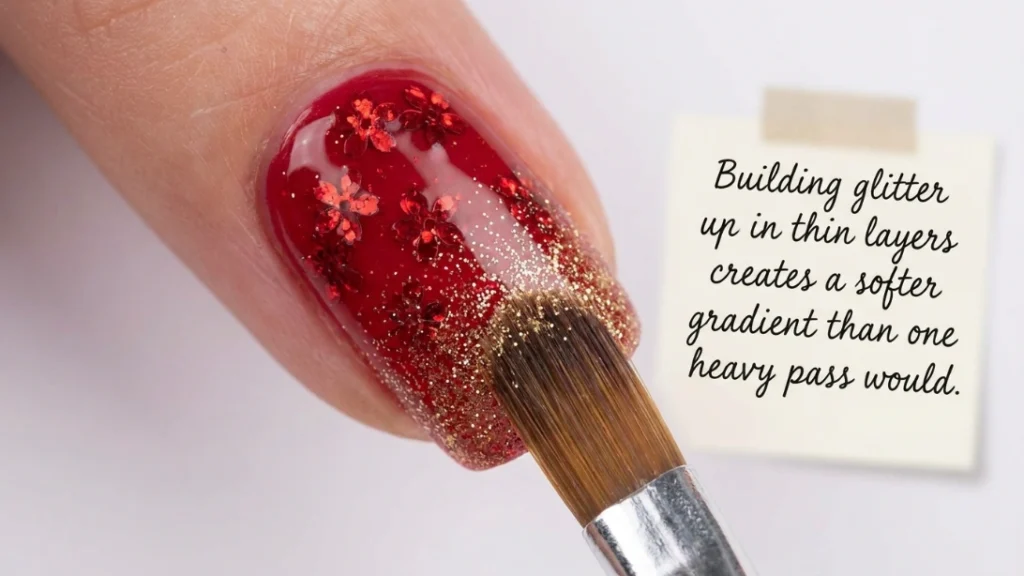
Let the glitter section dry fully before brushing on a top coat. Rushing this step is the most common reason glitter smudges into the surrounding polish instead of staying where it was placed.
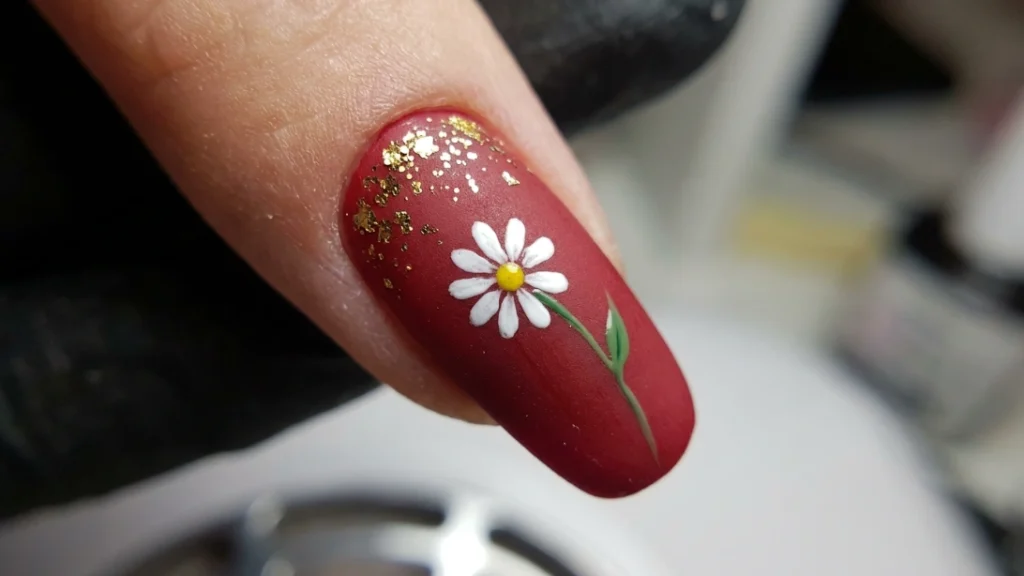
Apply a glossy top coat across all ten nails to seal both the plain red nails and the floral, glittered accent nails in one final pass.
How Long Does Red Floral Glitter Nail Art Actually Last?
Done as a gel manicure, this design typically holds a clean finish for two to three weeks. In regular polish, expect closer to five to seven days before the tips start to show wear, since red is one of the shades where any chipping tends to stand out fastest against the surrounding color.
Do You Need to Be Good at Painting to Do This at Home?
Not really. The comma-stroke petal technique is one of the more forgiving methods in nail art specifically because small inconsistencies between petals read as charming rather than sloppy. If your first flower comes out a little uneven, it will still look like a flower. That’s part of why this particular design is such a common starting point for anyone new to hand-painted nail art.
Can You Skip the Glitter and Just Do the Florals?
Yes, and it still works well on its own. The glitter adds shimmer and a bit of extra shine, but a red base with a few hand-painted flowers is a complete look without it. If you’d rather skip the glitter step entirely, just move from the floral details straight to the top coat.
Getting the Most Out of the Design
A gel version of this design holds up better through daily wear than regular polish does, since the flowers and glitter sit under a cured, protective layer instead of open air. Our gel nails guide walks through the base process this design builds on, and our nail care tips page covers how to keep a detailed manicure like this one looking fresh between fills.
FAQ
What’s the easiest way to paint small flowers on nails without a special brush? A regular fine-tip nail art brush is enough, but in a pinch, the tip of a toothpick dipped in polish can create a similar comma-shaped petal. The technique matters more than the tool.
Should the glitter go on before or after the floral design? After. Painting the flowers first, letting them dry completely, and adding glitter afterward keeps the petals clean and prevents loose glitter particles from sticking to wet white polish.
Does this design work on short nails? Yes. A single small flower and a light glitter gradient both scale down easily, and in some cases a smaller nail actually makes the design look neater, since there’s less surface area for the petals to spread unevenly.