Milky Coffee Aura Nails: The Soft Fall Gradient Everyone Is Asking For
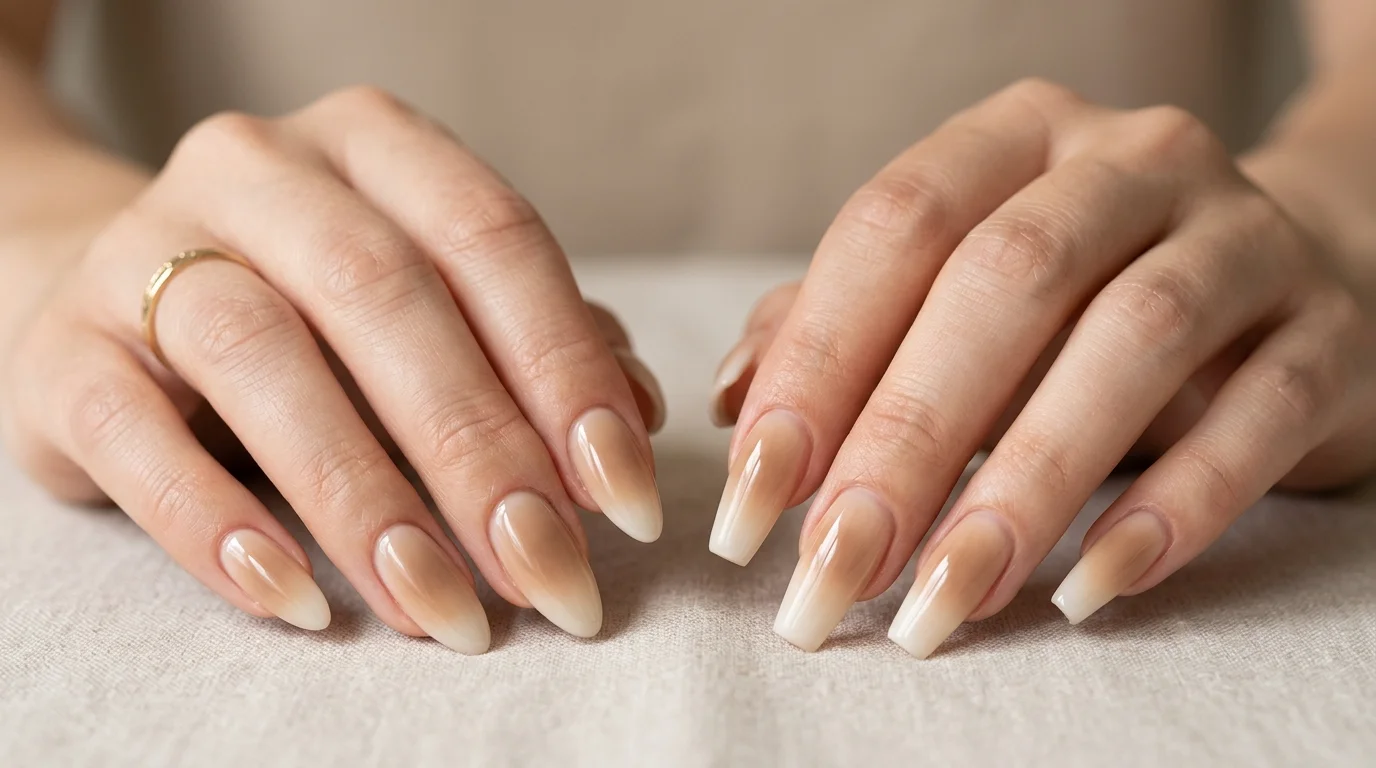
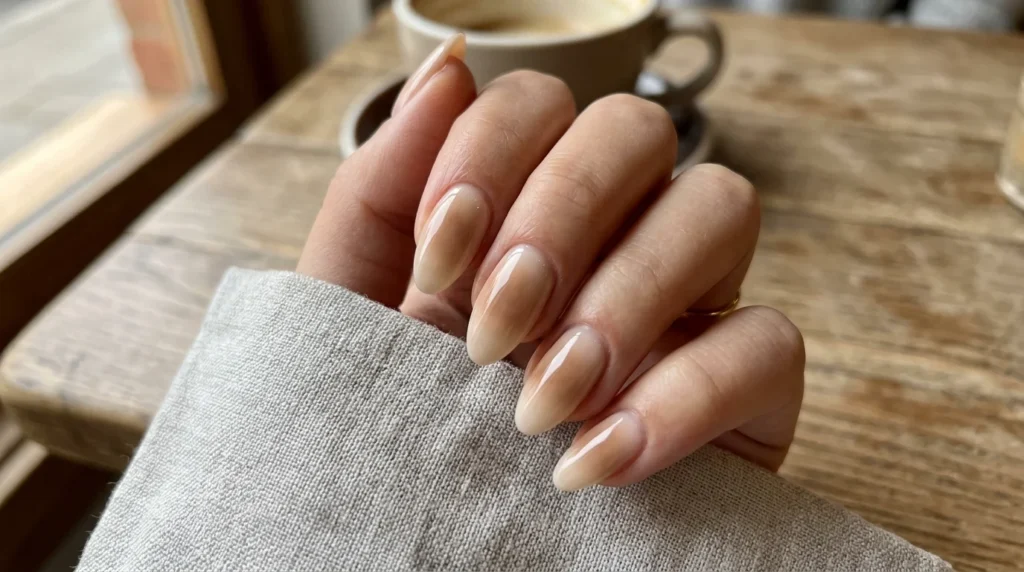
Milky coffee aura nails are the warm, sheer gradient making its way through fall nail boards right now, and it is easy to see why. The color itself, a soft, warm brown with that same luminous, sheer quality running through the whole milky nail family, already feels like a natural fit for autumn. Applied with the aura, or nuance, technique, it turns into something more atmospheric: a soft cloud of color that looks like it is glowing gently from within the nail instead of sitting flat on top of it.
This is not a flat, solid manicure. The pigment is concentrated a little deeper near the base and fades out toward the tip, so the gradient does the work that a bold color or a hard line usually does, without ever feeling heavy.
Paired with an almond shape, that gradient gets a smooth, gently tapered surface to move across, which elongates the fingers while keeping the whole look soft and wearable for everyday fall activities. Below is exactly what this look is, how to recreate it at home, and how to build it into a small seasonal series of your own.
What Are Milky Coffee Aura Nails?
Milky coffee aura nails combine two separate trends into one manicure. Milky coffee is the color itself, a warm, sheer brown that sits closer to a soft latte than a deep espresso, with the same translucent, glowing quality that has defined the broader milky and sheer nail family all year. Aura, sometimes called nuance, is the technique, a soft-focus gradient blended with a makeup sponge so the color pools deeper near the cuticle and thins out toward the tip.
Put together, the result reads less like a solid coat of polish and more like a wash of color moving across the nail. That softness is exactly what makes this gradient feel different from a standard brown manicure. There is no hard edge anywhere on the nail, just a gentle, cloud-like transition from warm and concentrated to sheer and quiet.
Why This Combination Works So Well for Fall
Warm browns are one of the most reliable fall nail colors every year, but a flat, opaque brown can look heavy, especially on shorter nails or lighter application. The aura technique solves that by softening the color into a gradient, so the warmth of the shade comes through without the weight of a full, solid coat.
It also happens to be one of the more forgiving techniques to practice at home. Because the whole point of the aura method is a soft, blended transition rather than a crisp line, small inconsistencies tend to disappear into the overall softness of the look instead of standing out as visible mistakes. That makes this a genuinely good starting point for anyone newer to gradient techniques, not just a look for people who already have a steady hand with nail art.
Milky Coffee vs. Espresso, Camel, and Latte Aura Nails
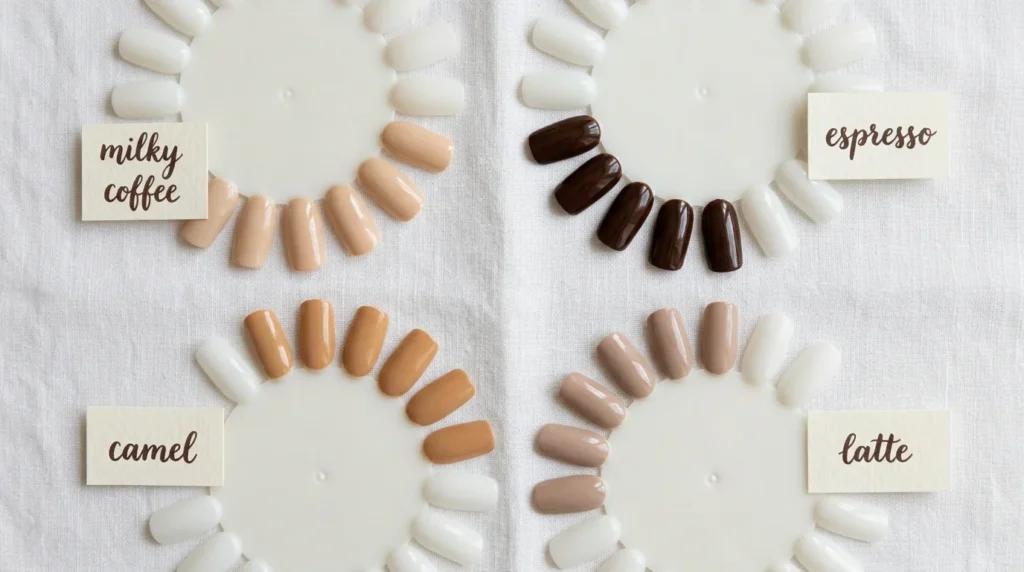
These warm neutral aura shades get confused with each other constantly, and the undertone and depth are what separate them.
| Shade | Depth | Undertone | Overall Feel |
|---|---|---|---|
| Milky Coffee | Medium | Warm brown | Soft, sheer, cozy |
| Espresso | Deep | Cool-neutral brown | Rich, dramatic |
| Camel | Light-medium | Warm tan | Soft, everyday |
| Latte | Light | Warm beige-brown | Airy, subtle |

Milky coffee sits comfortably in the middle of this group, warmer and more sheer than a true espresso, but with more depth than a latte. If you want to build a small seasonal series using the same aura technique, swapping in a deeper espresso or a warmer camel for the base color keeps the method consistent while introducing subtle variation across the rest of fall.
How to Do Milky Coffee Aura Nails at Home
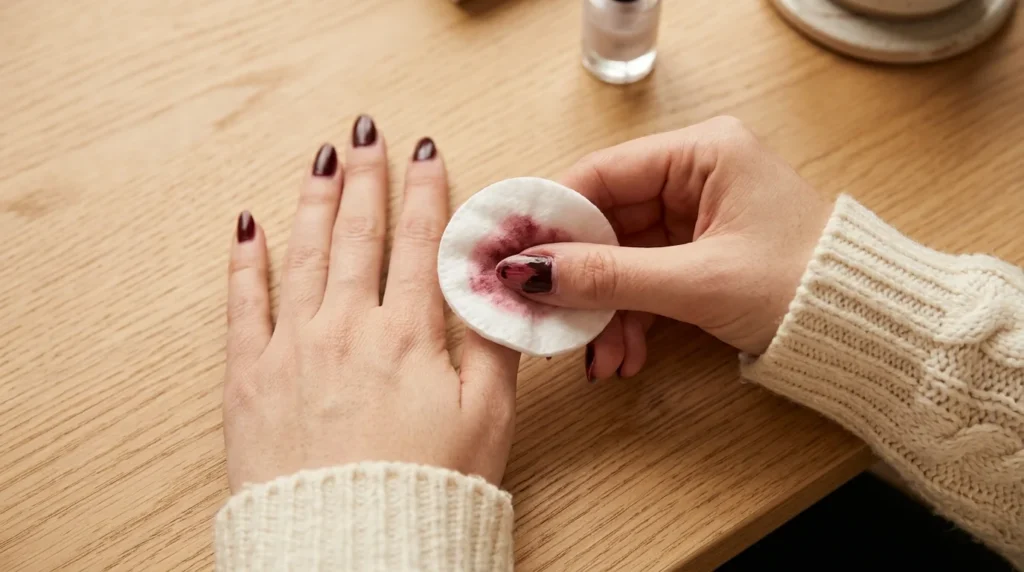
Step 1: Prep the nail. Remove old polish, shape the nail (almond is the strongest match for this gradient), and clean the nail plate before applying a base coat.
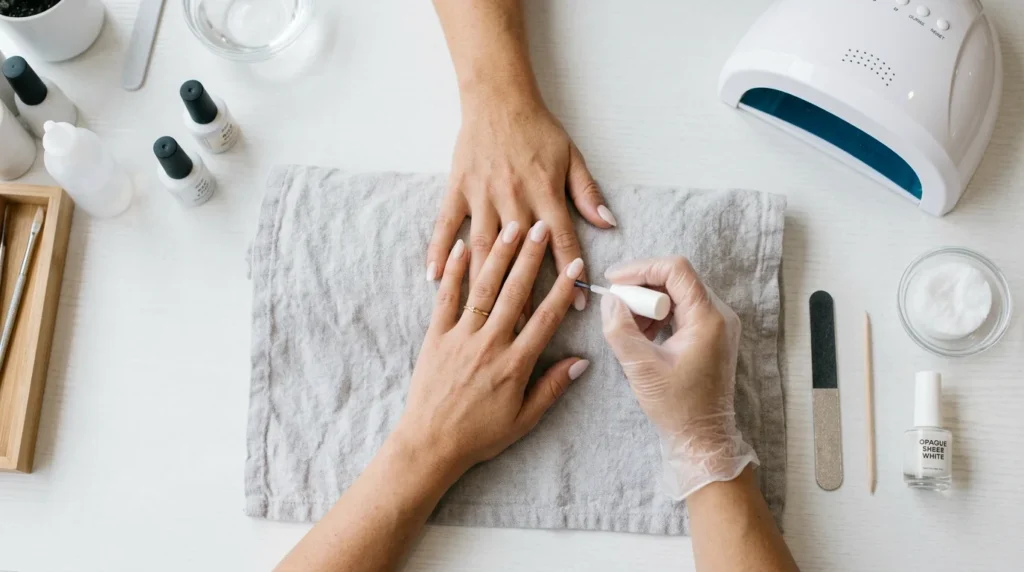
Step 2: Apply a sheer base. Start with a sheer white or very pale pink polish as your foundation. This is what gives the finished gradient its soft, milky glow rather than a flat, opaque brown.
Step 3: Load the sponge. Dab a small amount of your milky coffee polish onto a clean makeup sponge rather than applying it directly to the nail.
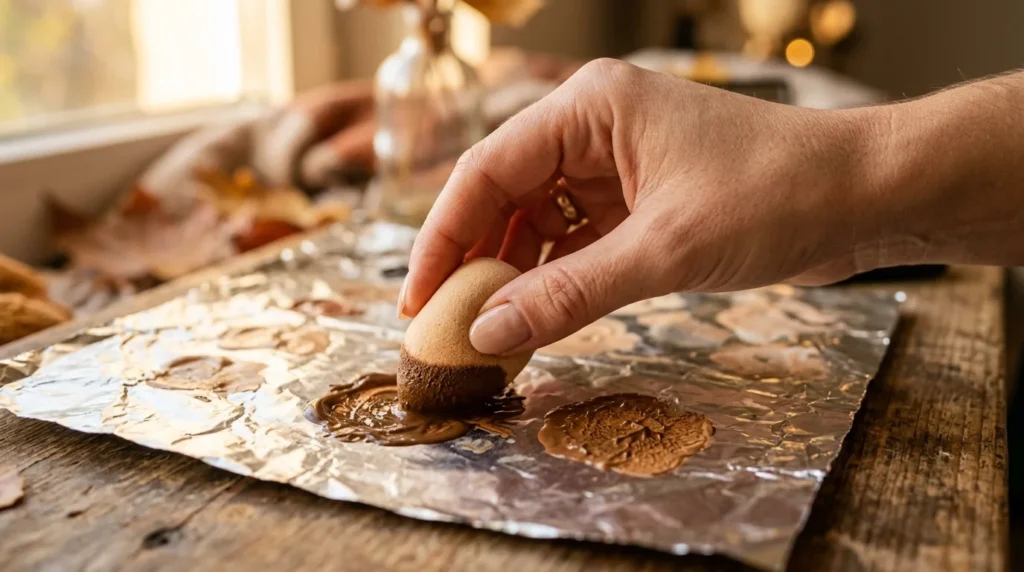
Step 4: Blend the gradient. Press the sponge gently over the wet base polish, applying a little heavier near the cuticle and lighter toward the tip, letting the two intensities slightly overlap in the middle. Dab in soft presses rather than dragging the sponge, since dragging creates a smeared line instead of a cloudy, blended transition.
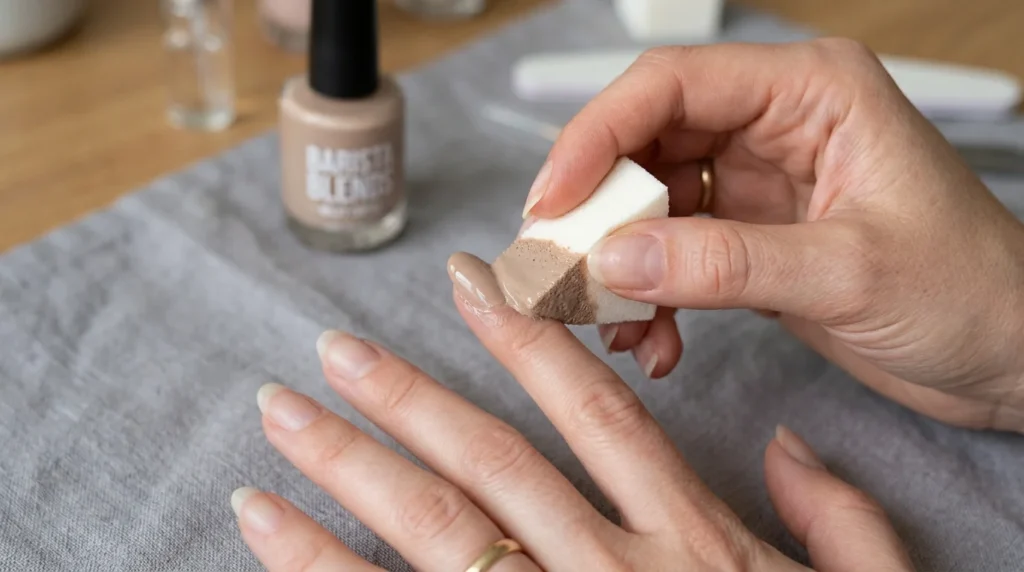
Step 5: Build up the color. It usually takes two or three light passes with the sponge to reach a smooth, even gradient. If the first attempt looks a little sheer or uneven, add another light layer rather than trying to fix it in one heavy pass.
Step 6: Seal with top coat. Finish with a glossy top coat to bring out the warmth of the coffee tone and give the whole set a soft, cohesive shine.
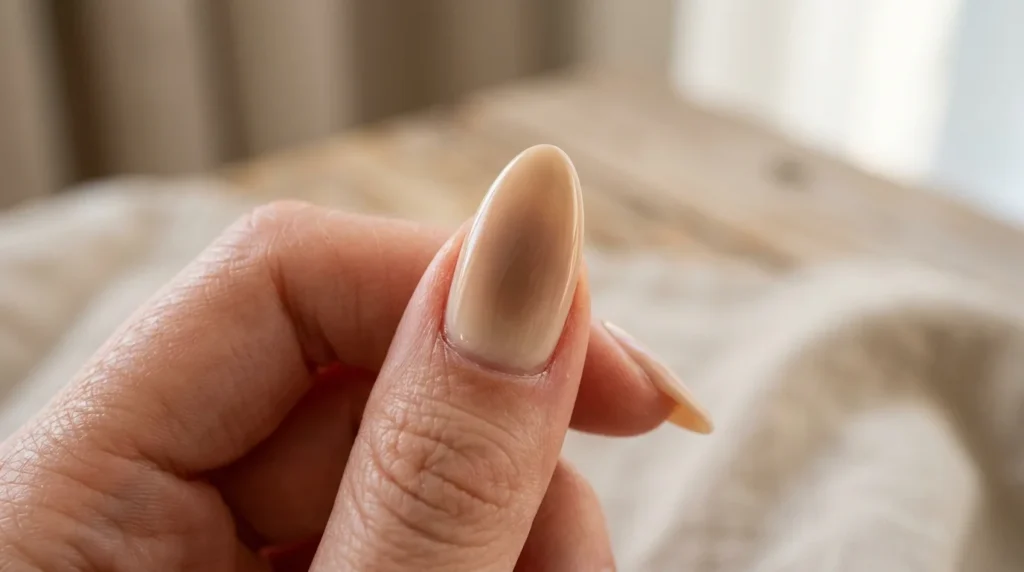
Step 7: Clean the edges. Finish with a final cuticle cleanup so the gradient looks intentional rather than smudged around the edges.
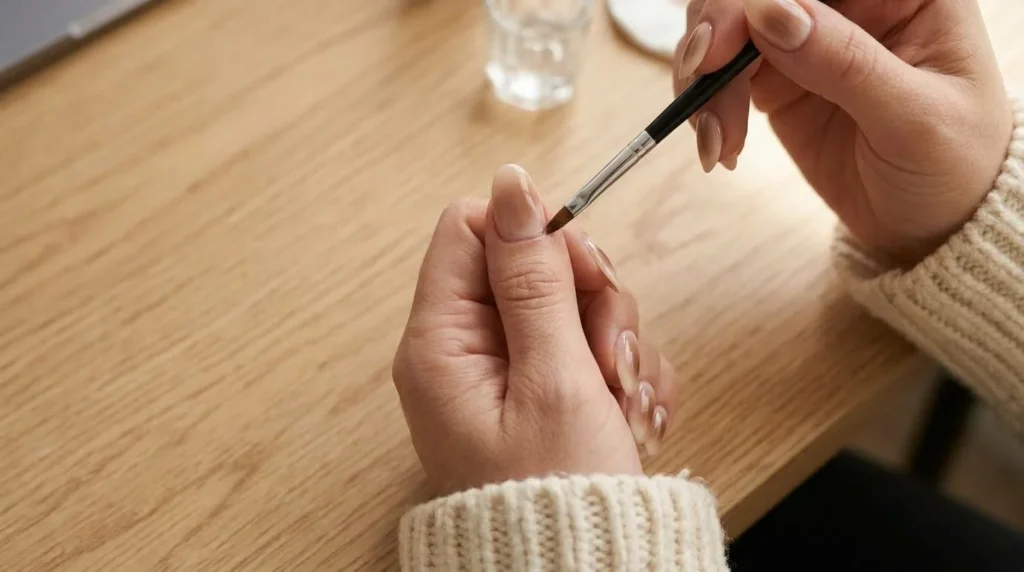
Styling Milky Coffee Aura Nails
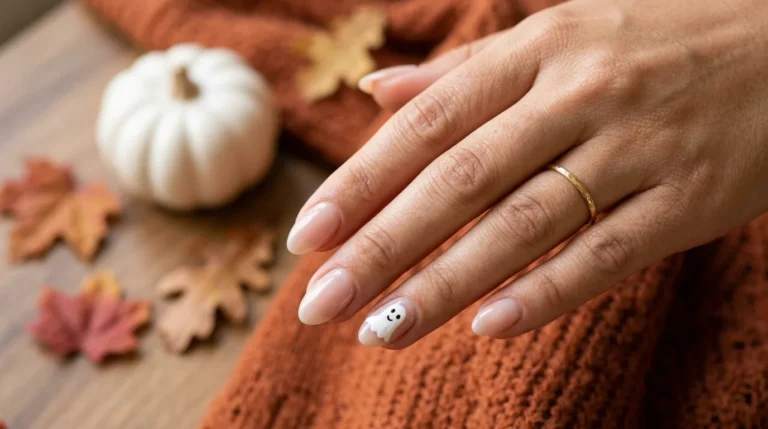
This look pairs beautifully with warm gold jewelry, a cup of something hot, and the kind of cozy, oversized knitwear that dominates fall styling. It photographs especially well in the warm, low light of early autumn afternoons, which is part of why it has been showing up so consistently across fall nail boards. Keep jewelry minimal, a single thin gold ring is enough, since the gradient itself is already doing most of the visual work.
What Nail Shape Works Best With the Aura Technique?
Almond is the strongest match for this look specifically, since the tapered shape gives the gradient a smooth, continuous surface to move across without any hard angles interrupting the blend. Short almond keeps the same effect in a more practical, everyday length.
Coffin and square shapes can still carry an aura gradient well, but the flatter surface tends to make the transition read a little more segmented than it does on a tapered shape. Round nails are a gentle, beginner-friendly option that keeps the gradient soft on shorter lengths.
How Long Do Milky Coffee Aura Nails Last?
One of the underrated advantages of this technique is how well it hides normal wear. Because the color is already gradual and blended rather than solid or sharply lined, minor tip wear disappears into the gradient far more easily than it would with a crisp French line or a solid color, where any chip is immediately obvious. With regular polish, expect the look to hold up cleanly for most of a week.
With a gel version and a proper gel top coat, it can hold up through the entire fall stretch without ever feeling out of place. As with any manicure, dermatologists recommend soaking gel off rather than peeling it, since peeling can strip layers off the natural nail plate. The American Academy of Dermatology’s tips on healthy nail care cover this along with a few other habits worth building into your at-home routine.

Common Mistakes With Aura Nails
The gradient looks patchy instead of smooth: usually means the sponge dragged instead of pressed, or the polish dried too much between passes. Work in light, quick presses and keep the polish workable.
The transition has a hard line instead of a soft blend: apply thinner coats and slightly overlap the heavier and lighter zones rather than keeping them fully separate. The color looks flat rather than glowing: skip straight to the coffee color instead of starting with a sheer white or pale base, which is what gives the finished look its milky depth. The base coat shows through unevenly: build the gradient in two or three thin layers instead of one heavy pass, letting each layer dry slightly before adding the next.
FAQ
What are milky coffee aura nails?
A fall nail trend combining a warm, sheer brown polish with the aura or nuance technique, a soft, sponge-blended gradient that concentrates color near the cuticle and fades toward the tip.
What is the difference between aura nails and ombre nails?
Aura nails use a soft, cloud-like blend concentrated near the cuticle with no hard edge, while ombre typically refers to a more linear gradient moving from one end of the nail to the other.
Can you do milky coffee aura nails without gel?
Yes. Regular polish works well with this technique, though a gel version with a proper top coat will generally last longer.
What nail shape works best for the aura technique?
Almond is the strongest match because its tapered shape gives the gradient a smooth, continuous surface to blend across.
Is milky coffee a good color for fall?
Yes. It sits among the warmest, most versatile neutral shades for the season and holds up well from the first cool weeks through the rest of autumn.
The Takeaway
Milky coffee aura nails bring together two of this year’s strongest trend signals, the milky, sheer color family and the soft aura gradient technique, in one warm, wearable look. It is forgiving enough for a first attempt at gradient nail art, versatile enough to wear through the entire fall season, and easy to build into a small rotating series just by swapping in a deeper espresso or a warmer camel for the base color.