
How to Get Milky Nails Without Gel or UV Light
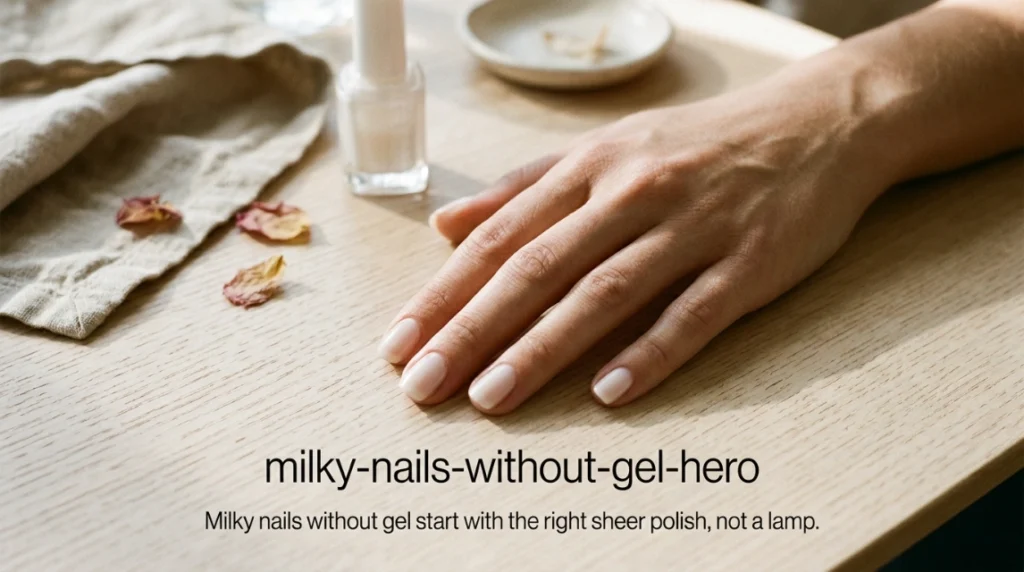
Milky nails without gel are absolutely possible, and you don’t need a UV lamp, a gel base coat, or a trip to the salon to get that soft, cloudy, your-nails-but-better look. All you need is a regular polish, the right base shade, and a technique that mimics the milky effect using layering instead of gel chemistry.
This is one of the most common questions I get about the milky trend, actually. Everyone assumes it’s a gel-only look because most tutorials online are filmed in salons with UV lamps sitting right there on the desk. But the milky effect itself has nothing to do with gel. It’s a color effect, a specific kind of sheer, opaque-but-soft white that sits between “clear” and “solid white.” Regular polish can absolutely get you there.
Why Milky Nails Without Gel Even Makes Sense
Gel has three real barriers for a lot of people. It needs a UV or LED lamp to cure, which is an upfront cost if you don’t already have one. It requires acetone soaking or filing to remove, which isn’t gentle on natural nails if you’re doing it often. And some people are genuinely trying to cut down on UV exposure at home, since nail lamps use UVA light and dermatologists have flagged that repeated, frequent exposure isn’t nothing, even if the individual risk from an occasional manicure is low.
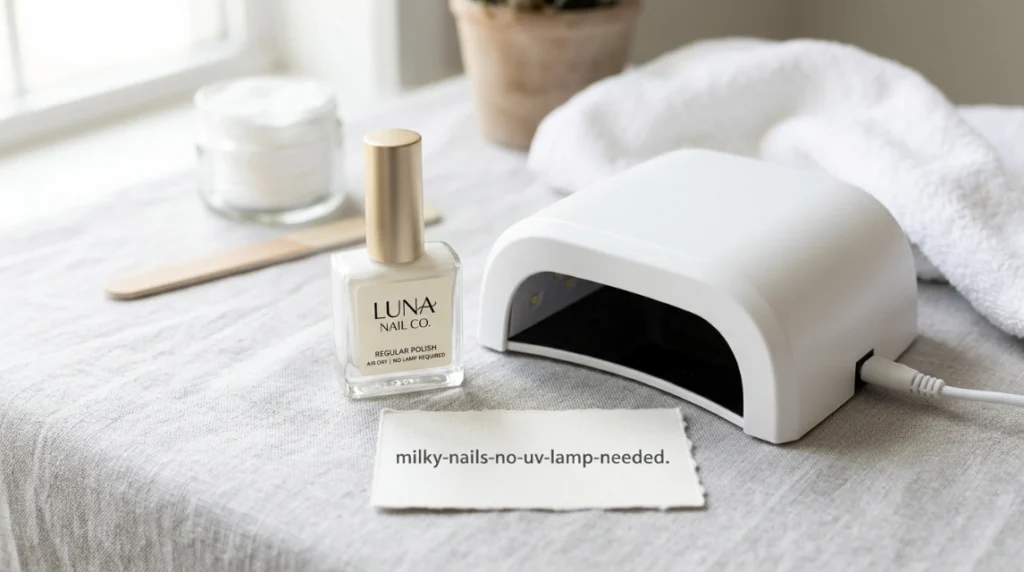
None of that has to stop you from wearing this trend. Regular polish dries on its own, air only, no lamp required, and comes off with plain acetone or non-acetone remover in a couple of minutes.
What Makes a Polish Look “Milky” Instead of Just White
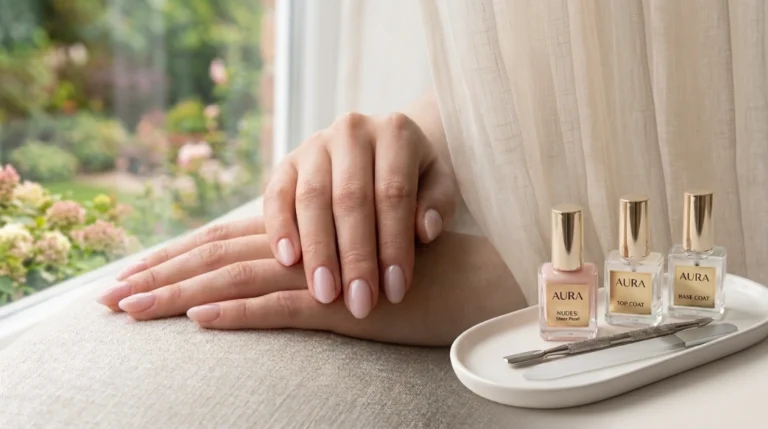
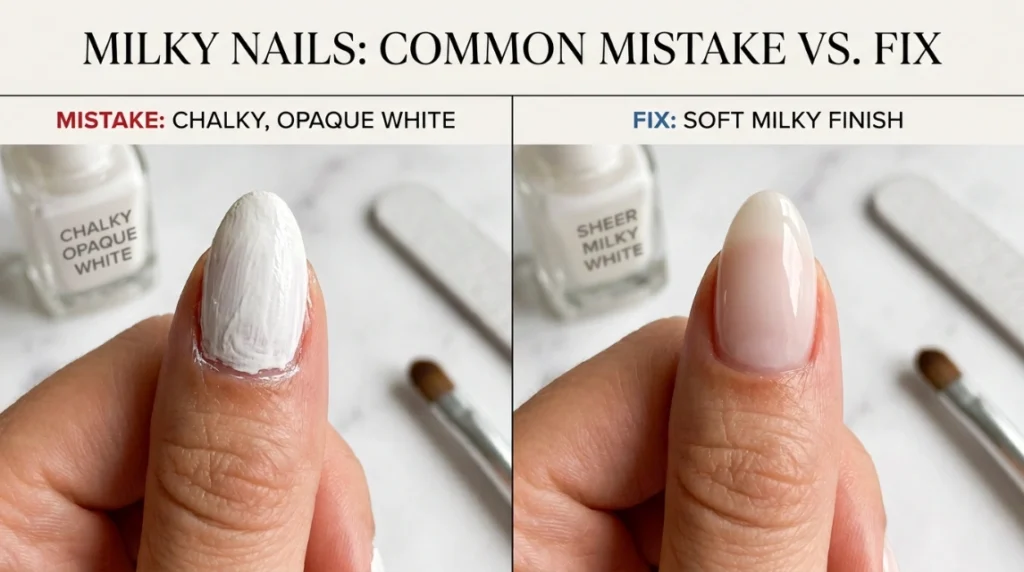
A lot of people reach for a solid opaque white and wonder why it looks chalky instead of soft. The difference is opacity. True milky polish shades are formulated to be slightly sheer, so a bit of your natural nail shows through underneath, which is what gives it that soft, cloudy quality instead of a flat, paint-like finish.
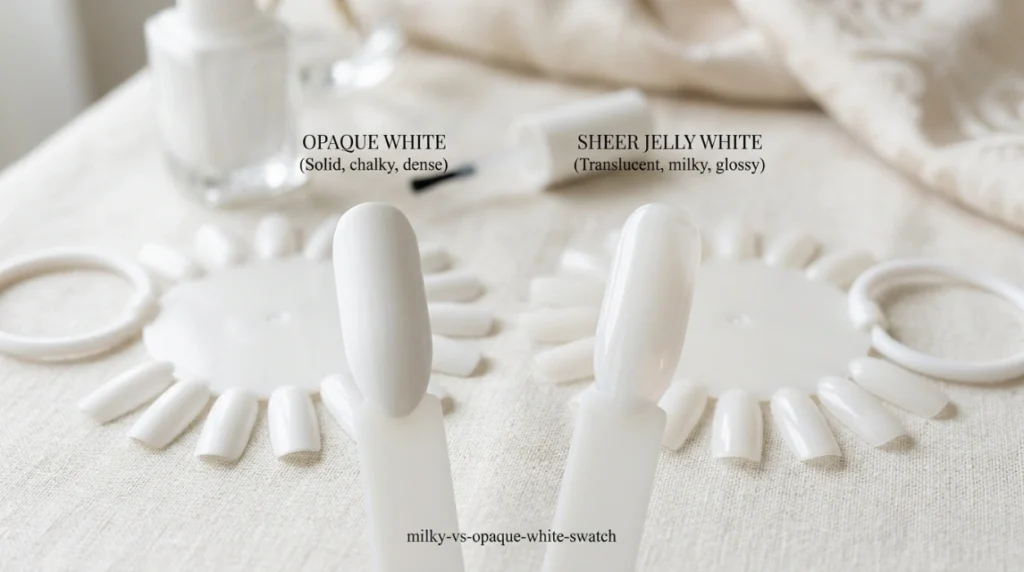
When you’re shopping for a regular (non-gel) polish for this look, check the label or swatch photos for words like “sheer white,” “milky,” or “jelly white.” A fully opaque white in one coat is usually the wrong pick here.
Step-by-Step: How to Get Milky Nails Without Gel or UV Light
Start with a clean, dry nail. Push back cuticles gently and give the nail plate a light buff. This isn’t strictly necessary with regular polish the way it sometimes is with gel adhesion, but it does help the color sit more evenly.
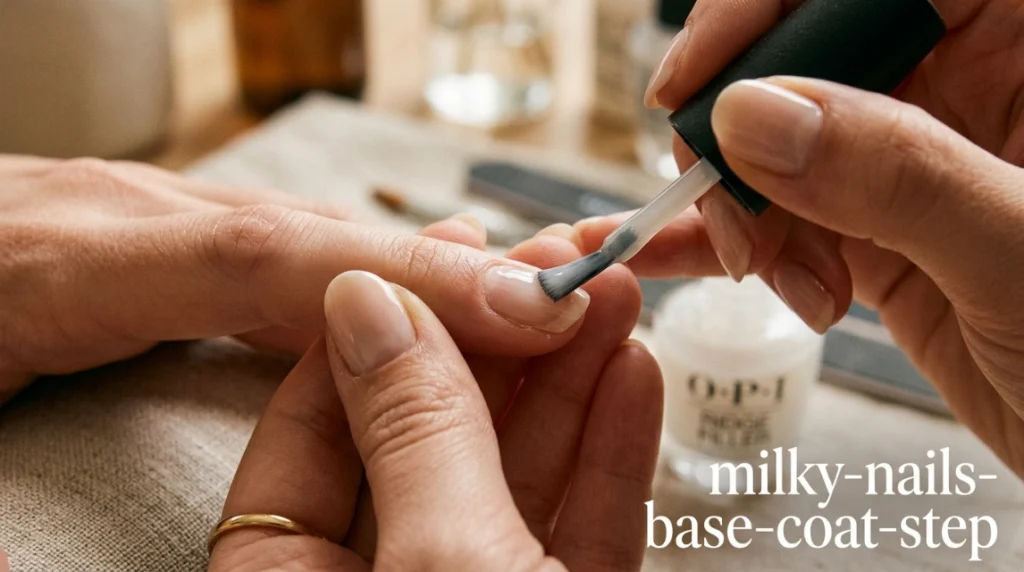
Apply a ridge-filling base coat. This step actually matters more with regular polish than gel, since a sheer milky shade will show every ridge in your natural nail if there’s nothing smoothing things out underneath.
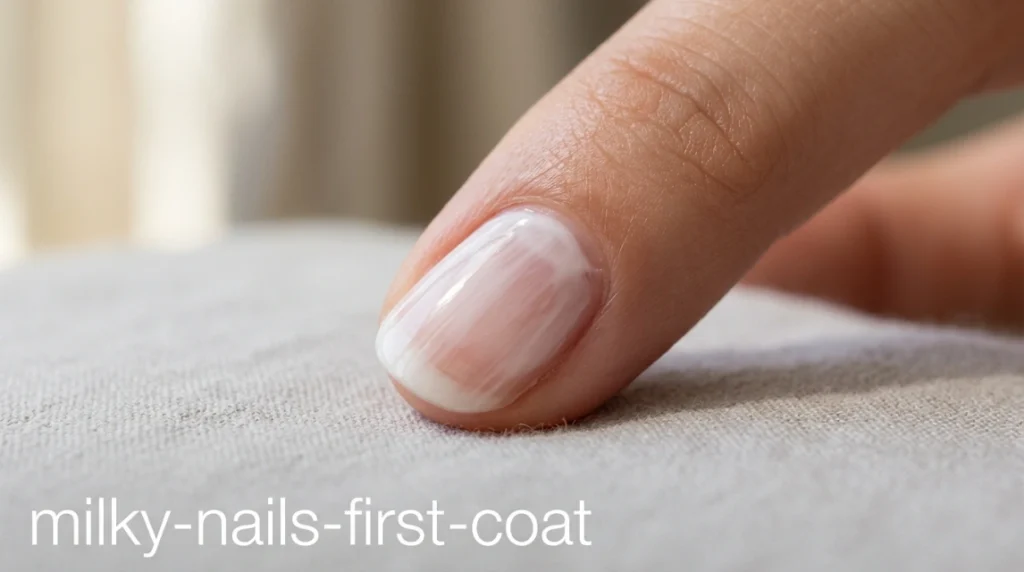
Apply your first coat of sheer milky white. It’ll look thin and streaky. That’s expected. Don’t panic and add a second coat wet on wet, since that tends to pull the first layer and create drag marks.
Let it dry for two to three minutes, then apply a second coat. This is where the milky effect actually builds. Two coats of a sheer white polish is usually the sweet spot between “too sheer, looks pink from the nail bed showing through” and “too opaque, looks like solid white again.”
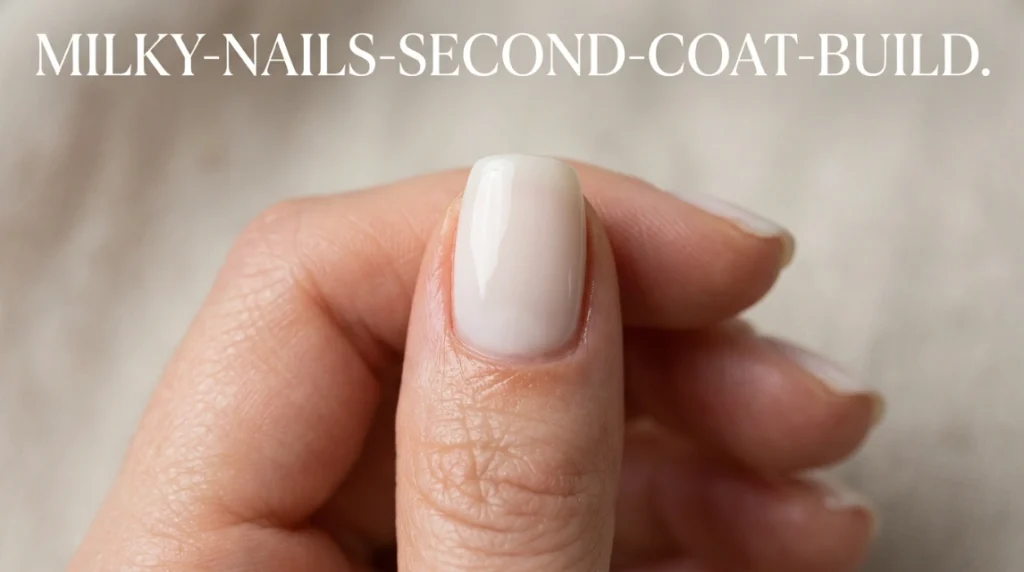
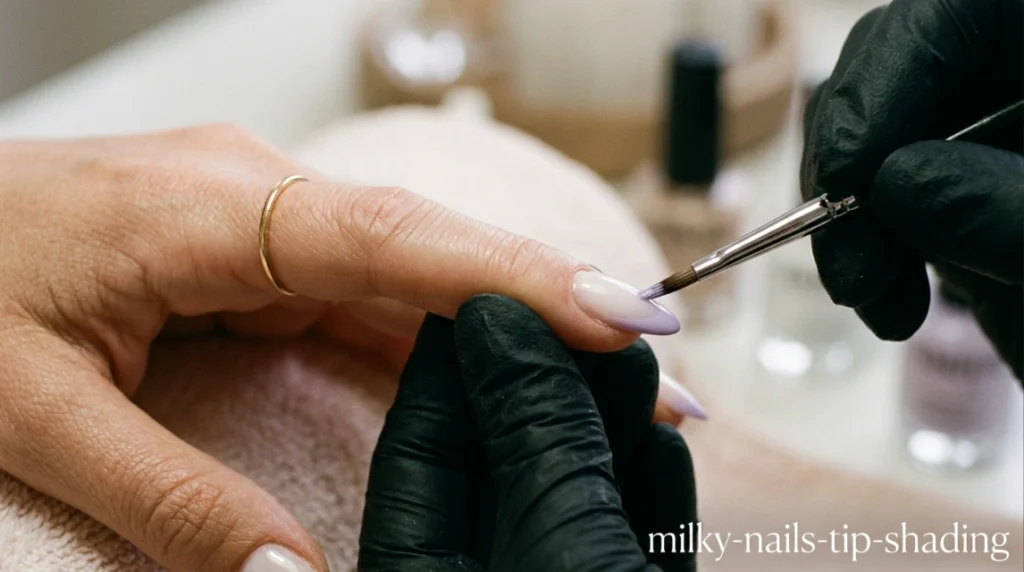
Optional third coat on the tips only. If you want the classic milky French look, a third thin coat just along the free edge gives a soft ombré effect without making the whole nail heavier.
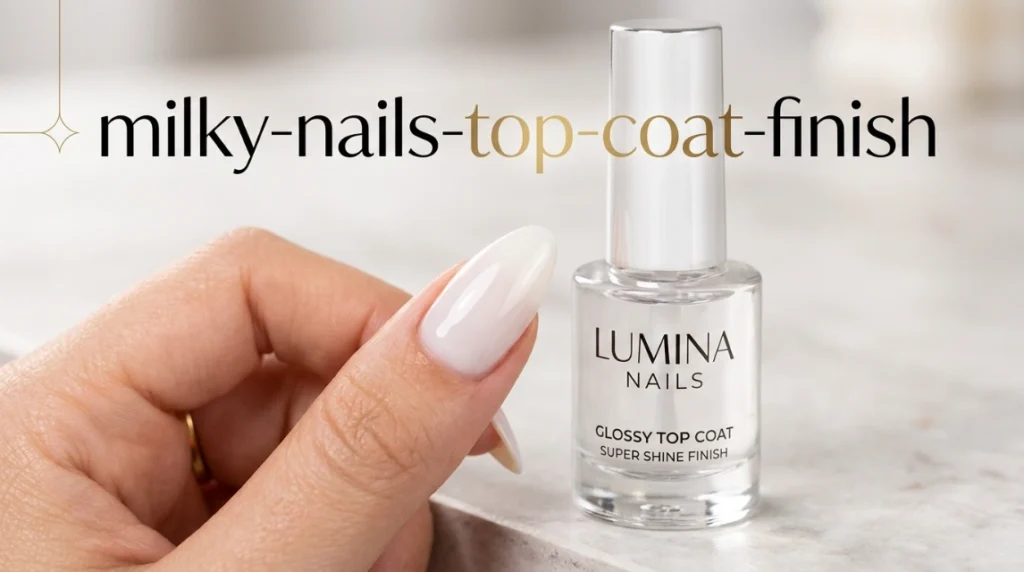
Seal with a high-shine, non-gel top coat. Regular top coats without UV curing still give a glossy finish, they just need a few extra minutes of air-dry time compared to gel.

Give it real drying time. This is the part people rush. Regular polish needs a full 15 to 20 minutes before it’s safe to do anything with your hands, and a full hour before it’s genuinely hard. Doing dishes or throwing on a jacket ten minutes in is how smudges happen.
Which Non-Gel Milky Polishes Actually Work Well
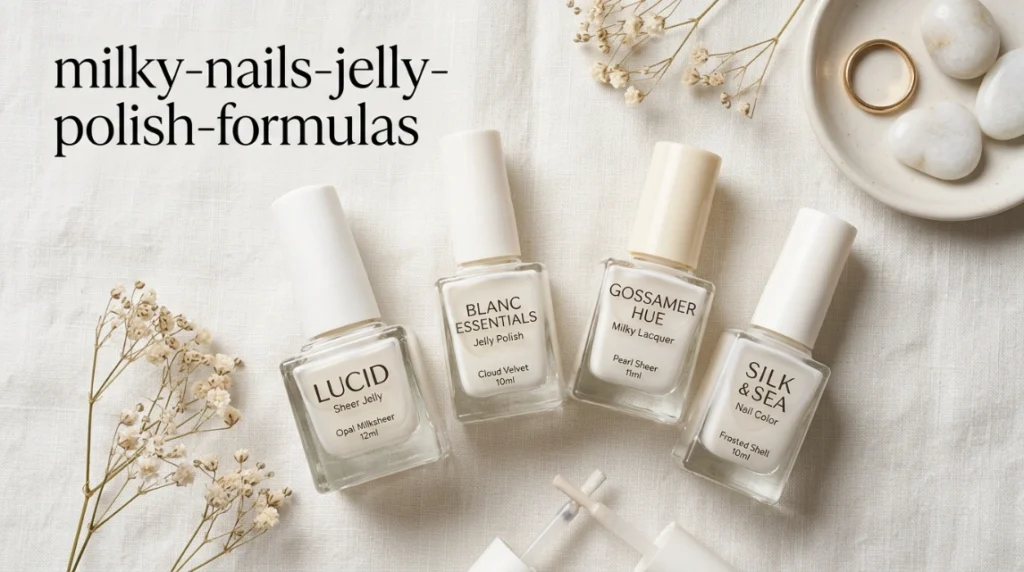
Formula matters a lot here, more than with an opaque color, since you’re relying on the sheerness being consistent from coat to coat. Look for a jelly-based formula specifically. Jelly formulas are built to be translucent and layer smoothly, which is exactly the texture you want for milky nails without gel. A standard creme-finish white polish, by contrast, tends to go patchy when you try to sheer it out, since it’s not designed to be worn thin.
Does It Last as Long as Gel
Realistically, no, and it’s worth being upfront about that instead of overselling it. Regular polish milky nails typically last four to six days before chipping starts, compared to two to three weeks for a gel version. If you’re someone who does their nails every few days anyway, this isn’t really a downside. If you’re used to gel’s staying power and switching over for the no-UV reason, it’s the one honest tradeoff to expect going in.
A couple of things stretch that window a bit. A quality top coat reapplied every other day adds real days to the wear. And keeping nails on the shorter side helps too, since shorter free edges see less catch-and-chip than long tips do.
Milky Nails Without Gel on Short Nails
This pairing works especially well, honestly better than on long nails in my experience. Short nails have less surface area, so the sheer coats build evenly without pooling in the corners the way they sometimes do on a longer nail bed. If you’re working with a shorter length already, our guide on the milky French manicure covers the tip-shading technique in more detail, and most of it translates directly to a full milky look, gel or not.
Common Mistakes That Make It Look Chalky Instead of Soft
Using a fully opaque white is the number one issue. If you can’t see any hint of your natural nail color through the polish, it’s going to read flat rather than milky. Skipping the base coat is another one. Ridges show through sheer polish far more obviously than they do under an opaque color. And applying coats too close together, without letting each one dry, causes streaking that no amount of top coat fixes afterward.
How This Compares to the Salon Gel Version
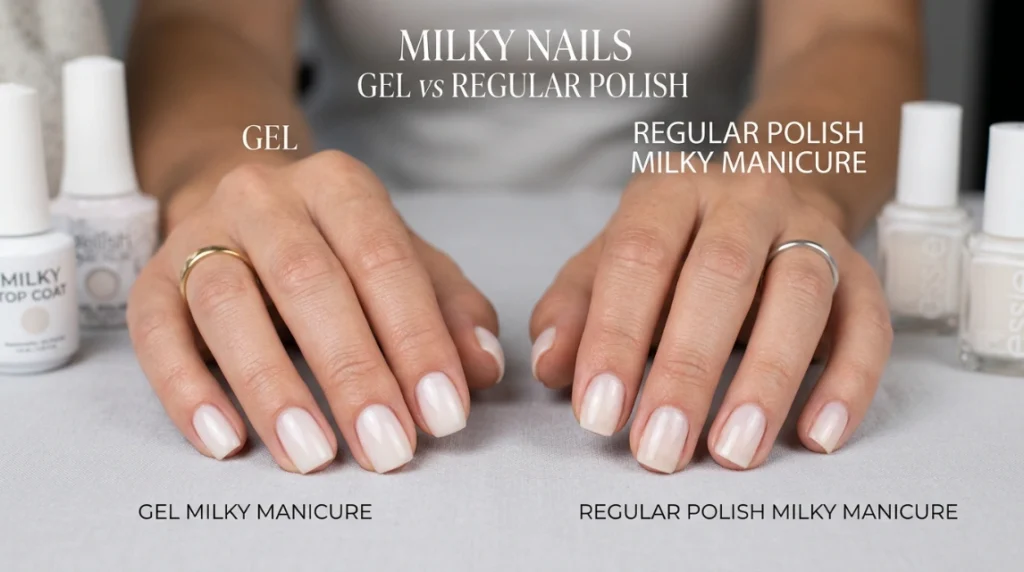
If you’ve had a gel milky manicure done professionally, the main difference you’ll notice at home isn’t really the color, it’s the surface finish. Salon gel has a slightly thicker, glassier build, since gel polish sits up on the nail rather than soaking in slightly the way regular polish does. Our matte vs. glossy nails guide gets into finish differences in more depth if that’s something you’re deciding between for your next set, gel or not.

FAQ
Can I do milky nails without gel using nail polish strips or press-ons instead?
Yes, some press-on brands now make sheer milky options specifically for this reason, and they skip the drying-time issue entirely since they’re pre-cured.
Will milky nails without gel look different on darker skin tones?
The effect reads a little differently depending on undertone, but sheer milky white generally complements most skin tones well since it’s translucent rather than a flat opaque color competing with your natural tone.
How is this different from the milky French manicure look?
Milky French adds a soft ombré tip effect on top of the same sheer white base. If you want the full technique breakdown for that specific variation, our milky French manicure guide walks through it step by step, and the base coats are built the same way described above.
Is there a real risk from UV nail lamps, or is that overstated?
It’s a real, if generally low, individual risk. According to MD Anderson Cancer Center, UV nail lamps emit UVA radiation that’s linked to skin aging and skin cancer risk with frequent exposure, though occasional use isn’t considered a serious concern. If you’d rather sidestep it altogether, going the regular-polish route covered above is a straightforward way to do that.
What if I want a sheer milky pink instead of white?
Same technique applies. Swap the white jelly polish for a sheer milky pink formula and follow the same two-to-three-coat build. Our guide comparing milky nails to the babyboomer French technique breaks down a few of the shade variations if you want to see how milky pink compares to the classic look.