Red Spiderweb Nails: A Step-by-Step Glossy Press-On Nail Tutorial
Most red spiderweb nails online are drawn on with a liner brush, thin black lines over flat red polish. This version builds the web into the nail itself using a magnetic cat-eye gel and a spiderweb-shaped magnet, then glazes translucent red gel over the top so the web reads like it is glowing from underneath the color, not sitting on top of it. It is a press-on nail build, done on tips off the hand, which makes the layering easier to control and the finished set easy to store or reuse. Below is the full sequence, in the order it actually happens.
What Are Red Spiderweb Nails?
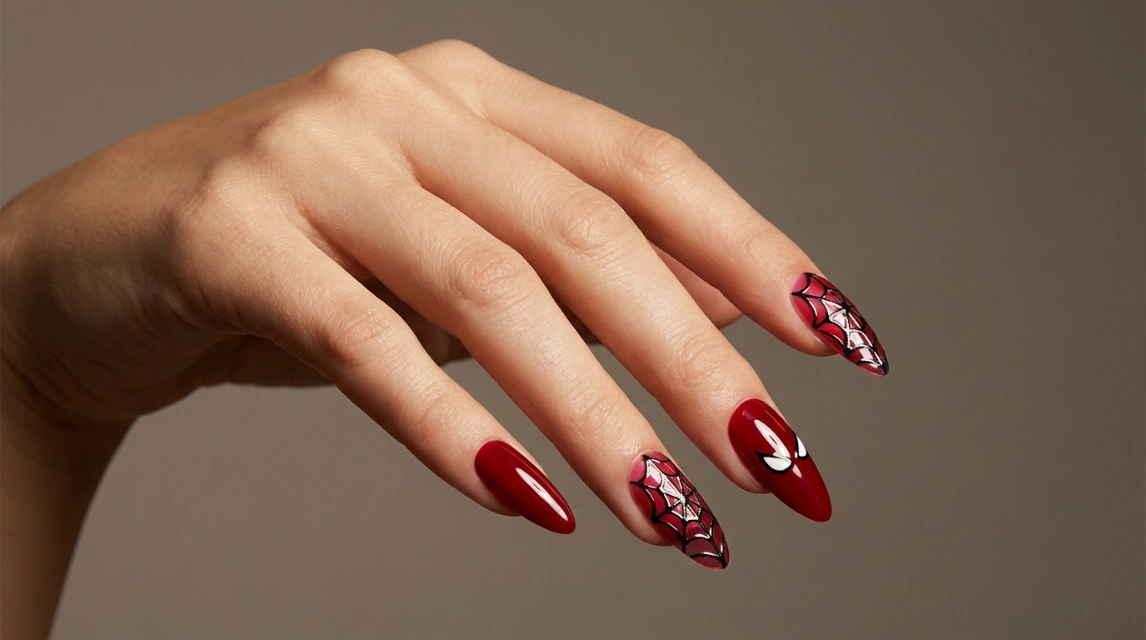
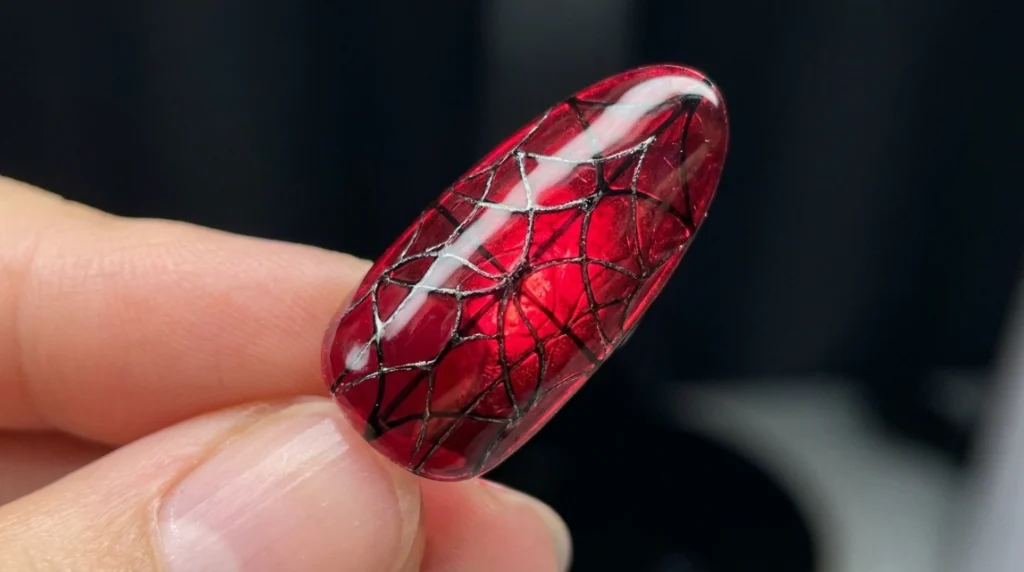
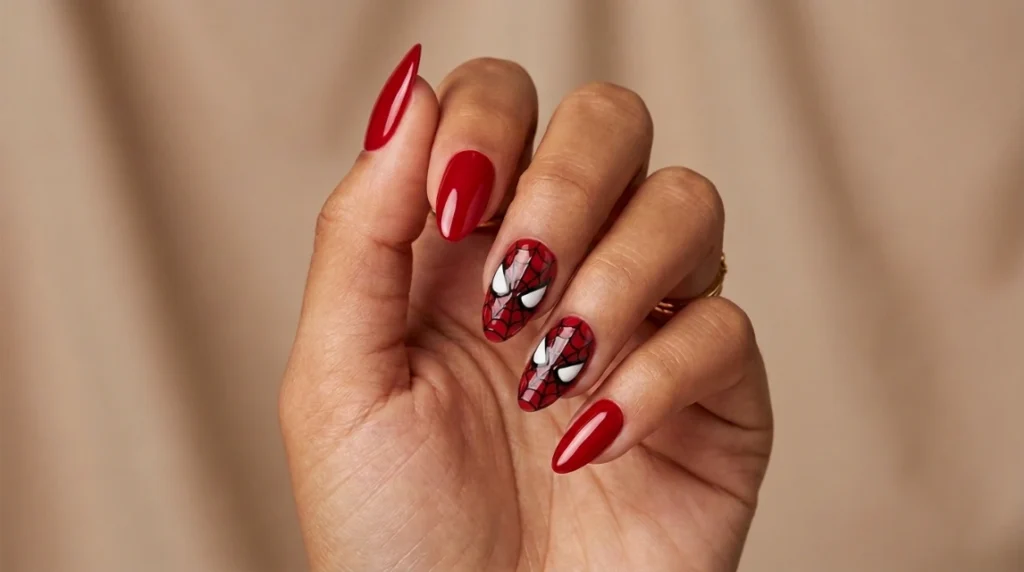
Red spiderweb nails pair a glossy cherry-red finish with a web pattern that lives inside the gel rather than painted on top of it. A magnetic cat-eye polish gets dragged into a web shape with a shaped magnet before it cures, then a sheer red gel goes over that textured base, so the black-and-silver web shows through the red like it is under glass. Two or three accent nails carry the web, the rest stay solid glossy red. That restraint is what keeps it wearable instead of costume-y.
Why Building the Web Into the Gel Beats Drawing It On Top
Most spiderweb nail content uses a fine liner brush and flat black polish, which works but sits visibly on top of the color, and any hand shake shows immediately. Pulling the web out of a magnetic gel with a shaped magnet gives cleaner, more even lines than most people can freehand, and glazing red gel over that textured layer creates real depth, the web looks like it is inside the nail rather than drawn on it. It is a more forgiving technique for anyone without steady liner-brush control, and it produces a richer, more dimensional red than a flat polish coat ever will.
Why This Technique Photographs So Well
Red spiderweb nails built this way catch light differently than a flat painted set, because the translucent red is doing optical work, not just sitting as color. The effect is close to how stained glass or dichroic material scatters light through a colored, textured layer, the same basic principle behind the layered look of nail art that uses embedded materials rather than surface decoration. That depth is exactly what separates a set of red spiderweb nails from a flat-painted imitation, and it’s why the magnetic gel step is worth the extra few minutes over a liner brush.
What You Need for Red Spiderweb Nail Art
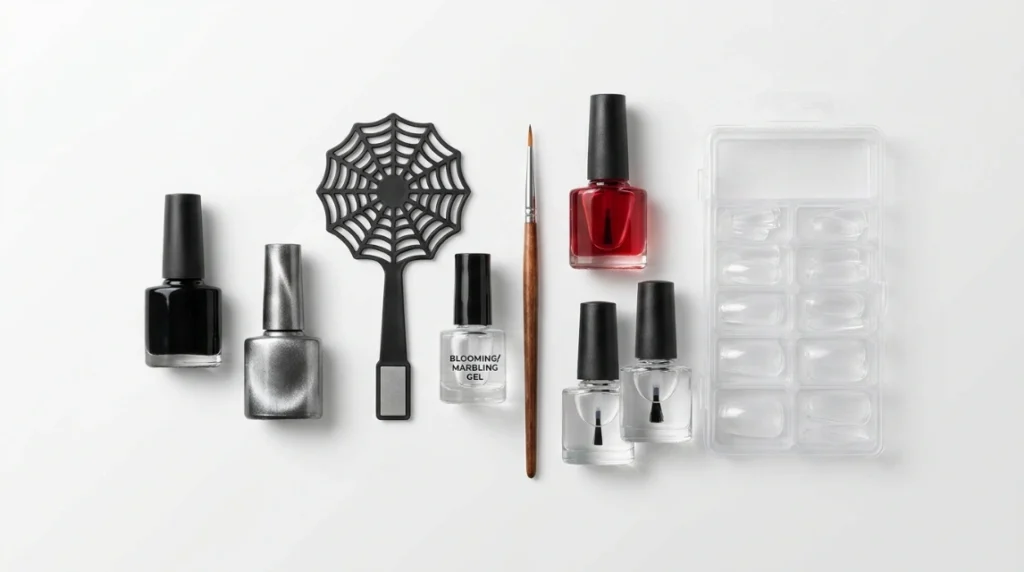
- Clear or nude press-on nail tips, prepped and sized to your natural nails
- Opaque black gel polish (base layer)
- Magnetic cat-eye gel polish in a silver or gunmetal shade
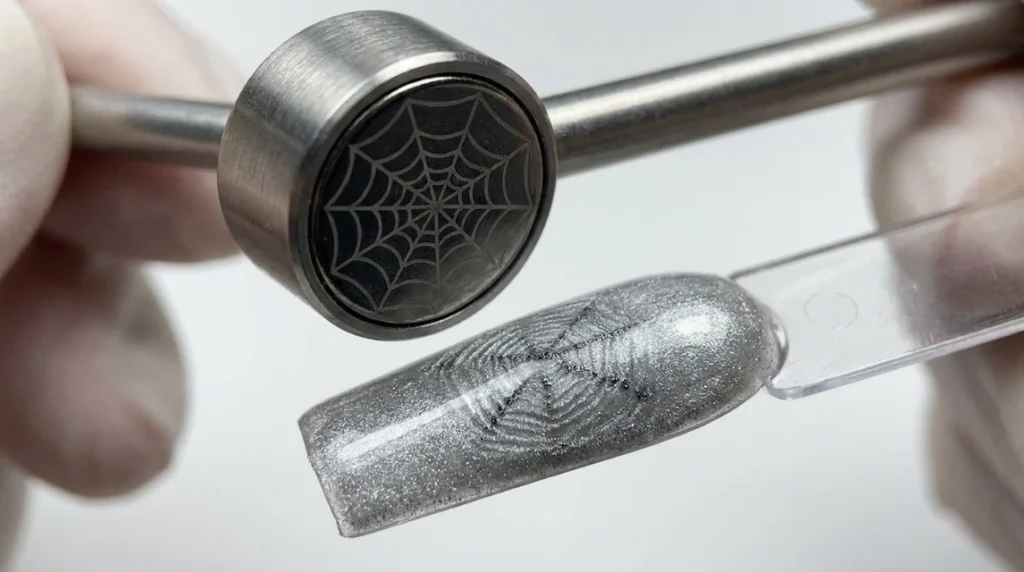
- A spiderweb-patterned magnet tool (a flat magnet stamped or shaped with a web pattern, held over the wet cat-eye gel)
- A blooming/marbling gel, for the expanding dot accents
- A fine detail brush, for placing accent dots
- Sheer or translucent red gel polish (this is the layer that lets the web show through)
- Base coat and a high-gloss top coat
- A UV or LED lamp for curing between steps
- Lint-free wipes and cleanser for tack removal between layers
How to Create Red Spiderweb Nails Step by Step
Step 1: Prep the Press-On Tips
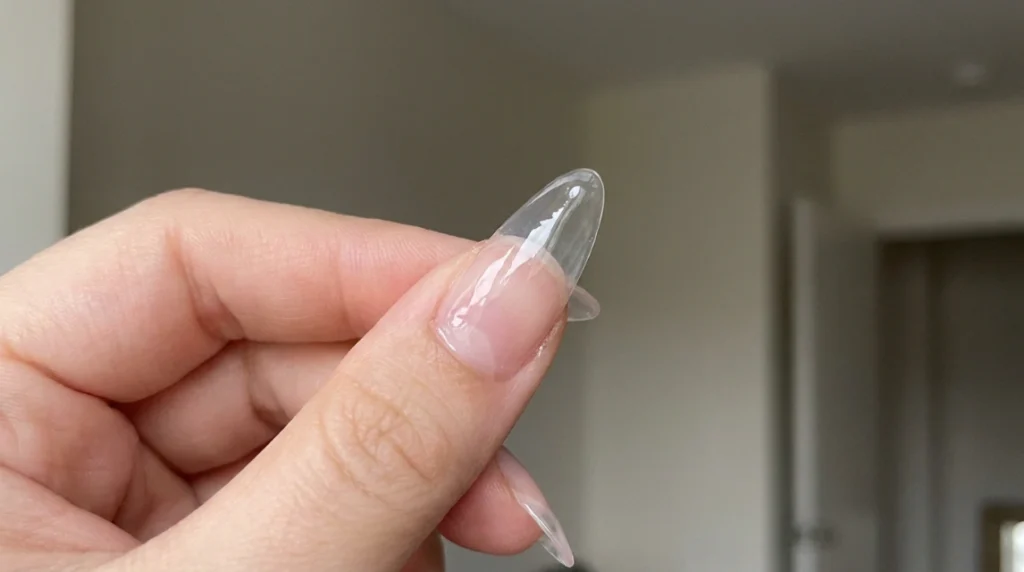
Clean and lightly buff each tip so the gel has something to grip. Apply a thin base coat and cure. This is the only step that happens before any color goes on.
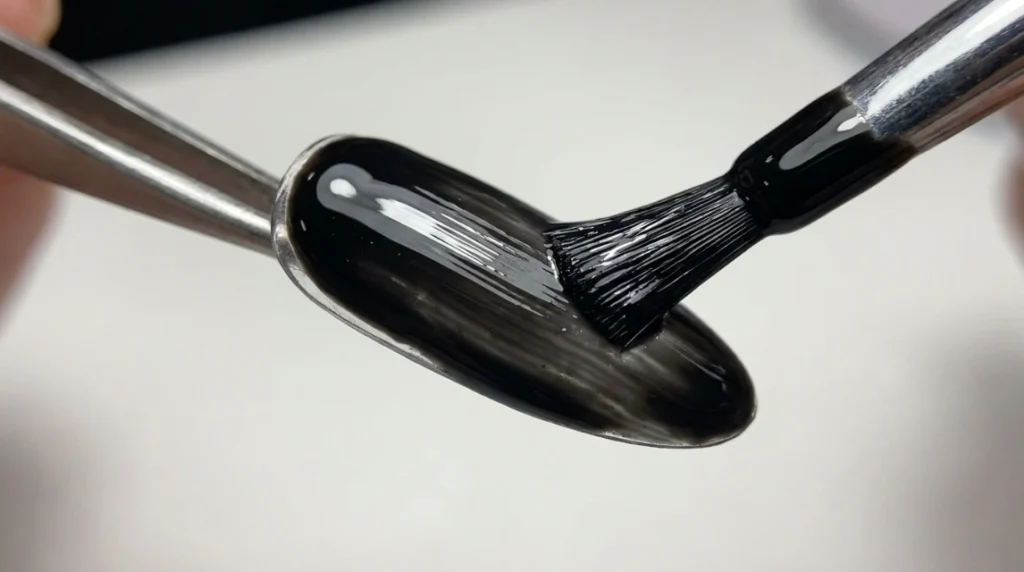
Step 2: Apply the Black Base Coat
Paint one opaque coat of black gel over the base coat and cure fully. This dark layer is what gives the finished web its depth, everything that follows sits on top of it.
Step 3: Apply the Magnetic Cat-Eye Gel
Apply the silver or gunmetal magnetic cat-eye gel over the cured black base. Do not cure yet, the polish needs to stay wet for the next step.
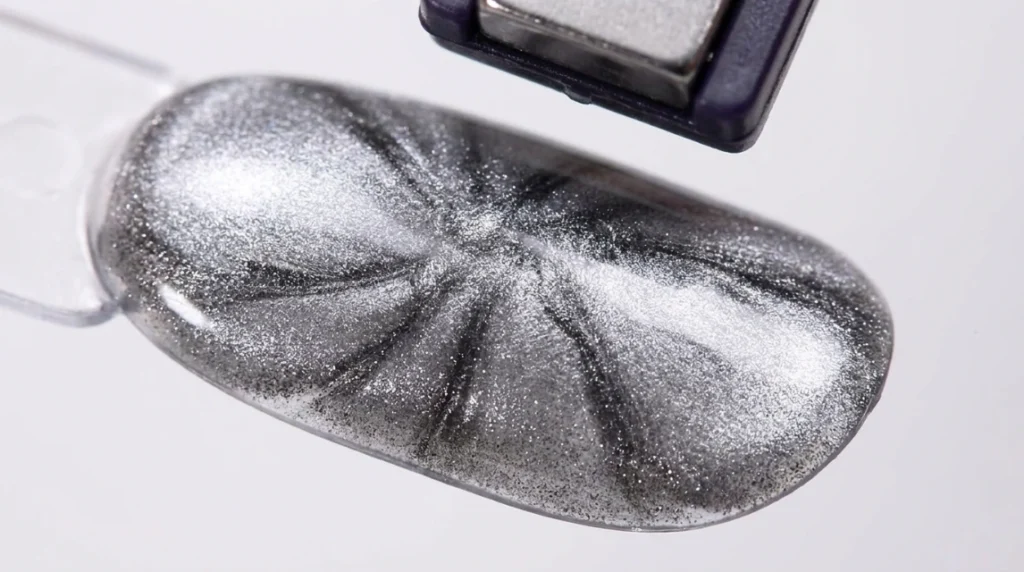
Step 4: Drag the Web Pattern With the Magnet Tool
While the cat-eye gel is still wet, hold the spiderweb-shaped magnet a few millimeters above the nail, not touching it. The magnetic particles in the gel pull upward and outward to follow the magnet’s pattern, forming a web shape directly in the metallic polish. Hold it steady for a few seconds before lifting straight up. Cure once the pattern is set.
Step 5: Add the Blooming Accent Dots
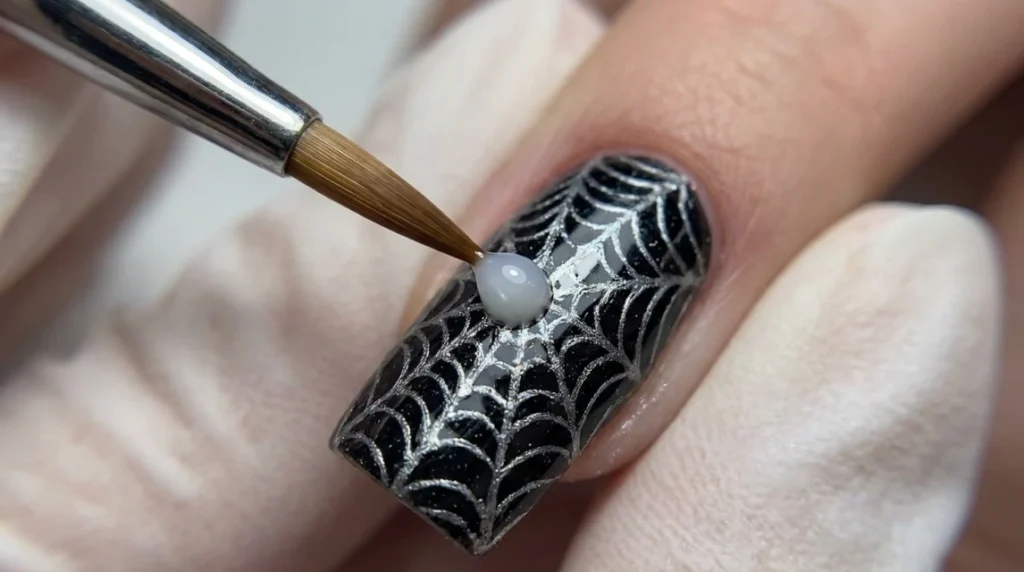
Using the fine detail brush, place small dots of the blooming gel at a few points within the web. This gel spreads and marbles slightly on its own once applied, so a small dot expands into a soft, organic accent rather than a hard circle. Let it bloom for the manufacturer’s recommended time before curing.
Step 6: Cure the Full Pattern
Cure the nail fully under the UV or LED lamp. At this stage the nail should show a complete silver-and-black web pattern with soft marbled accents, no red yet.
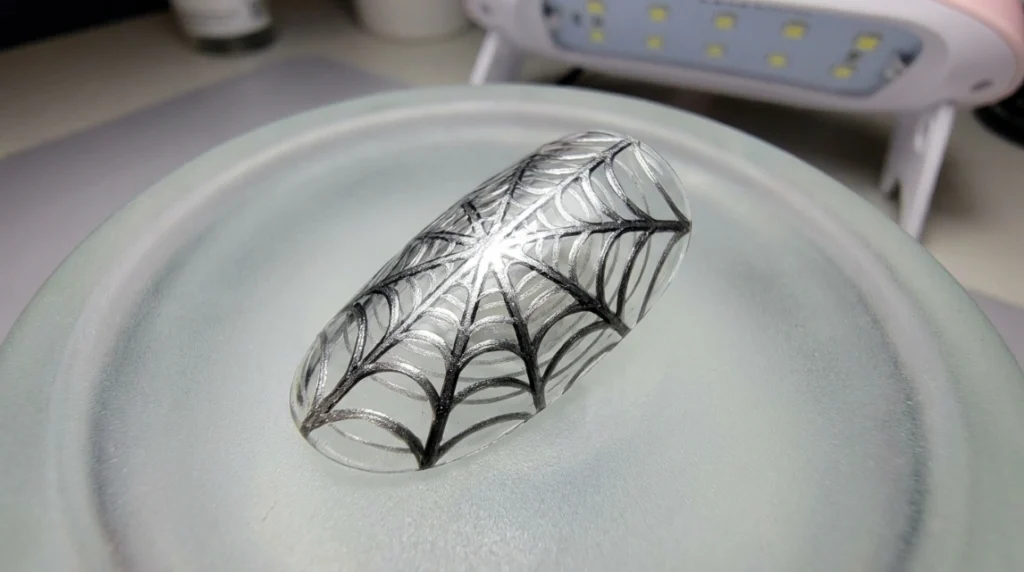
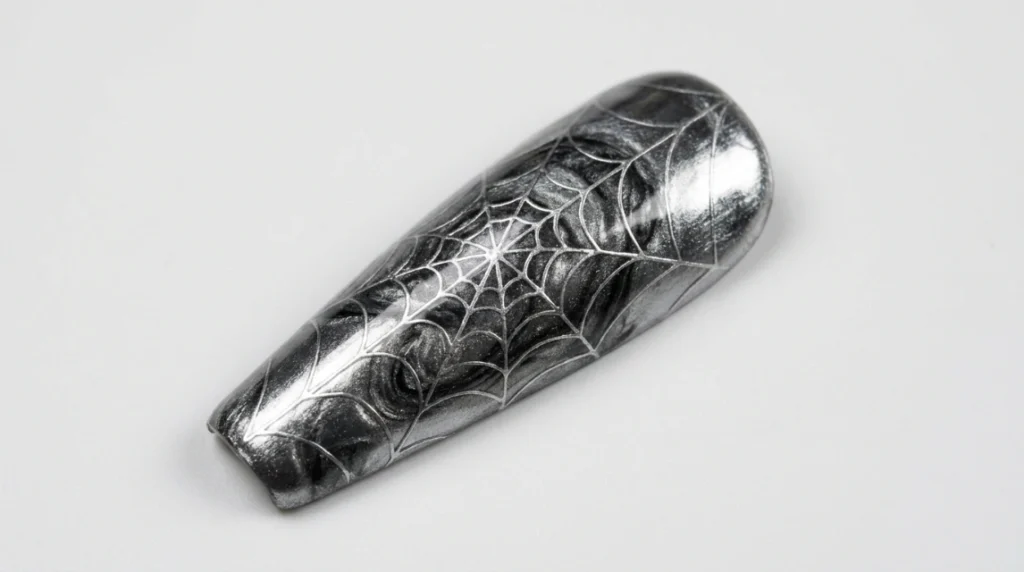
Step 7: Glaze the Translucent Red Gel Over the Web
Apply one thin, even coat of the sheer red gel directly over the cured web pattern. Because the gel is translucent, the black web and silver shading show through from underneath, which is what creates the glowing, stained-glass effect. Cure fully.
Step 8: Build a Second Red Layer for Depth
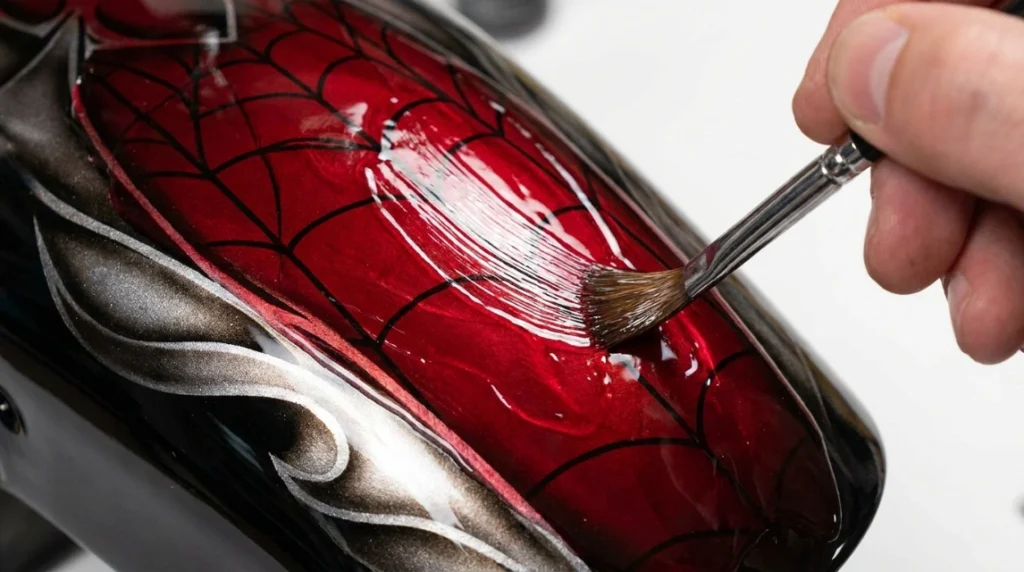
Apply a second thin coat of the same red gel to deepen the color without fully hiding the web underneath. The goal is rich, saturated red with the web still clearly visible, not a flat opaque red that buries the pattern.
Step 9: Finish the Solid Accent Nails
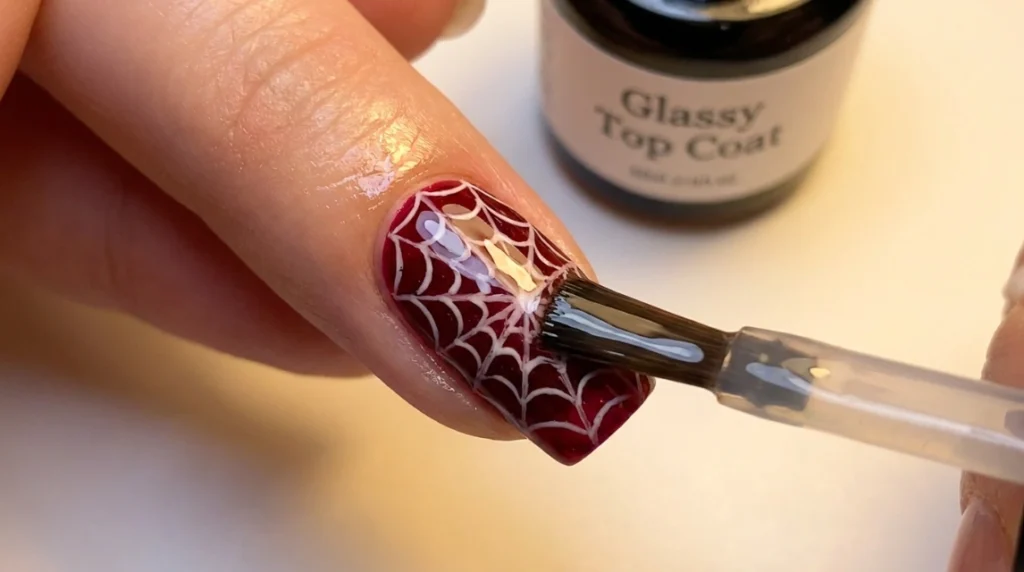
For the nails that are not carrying the web, skip Steps 3 through 7 and apply the same red gel directly over the black base in two thin coats, so the whole set matches in depth and tone even though only some nails show the web.
Step 10: Add the Accent Eye Motif (Optional, Original Design Only)
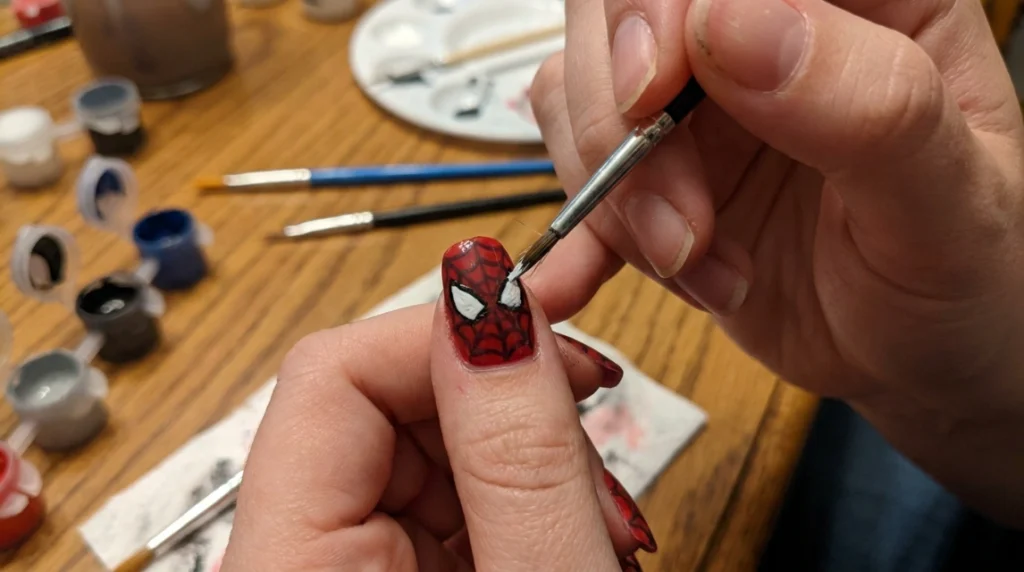
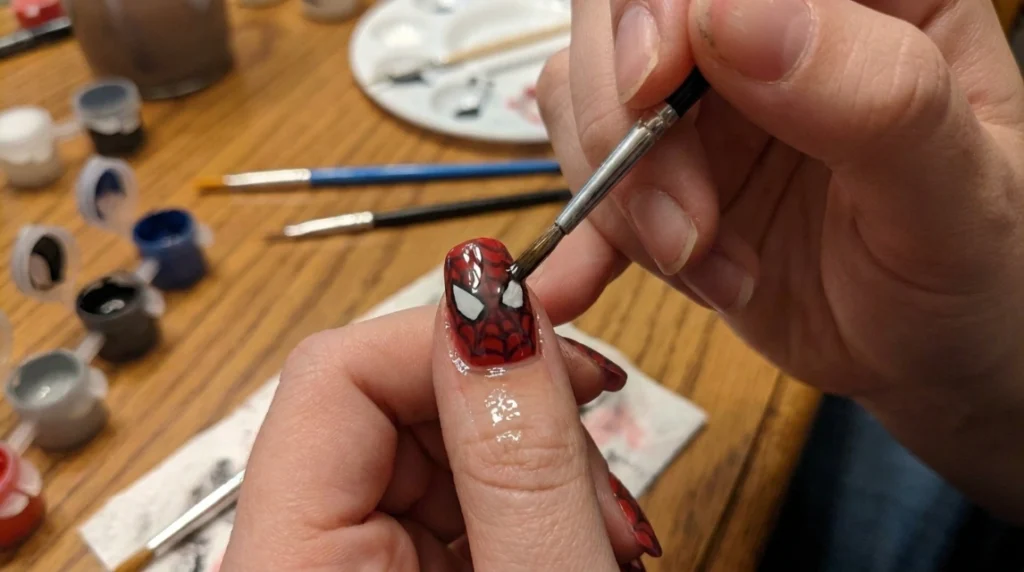
If you want a second focal nail beyond the plain web, use the fine detail brush and white gel to paint a pair of simple pointed eye shapes outlined in black, an original “spooky eyes” motif rather than any licensed character design, directly over the red-and-web base. Keep the shapes loose and asymmetrical so it reads as an eerie accent, not a costume logo. Cure.
Step 11: Apply the High-Gloss Top Coat
Finish every nail, web and solid alike, with one confident coat of high-gloss top coat. This is what turns the layered red and black into a glass-like finish and seals the pattern underneath. Cure fully before handling.
How to Get the Glass-Like Glow Effect
The glow that defines red spiderweb nails comes from translucency, not shine alone. A sheer red gel over a textured black-and-silver web lets light bounce off the metallic layer underneath and back through the red, which is what makes the color look lit from within. An opaque red coat over the same web will just look muddy, so resist the urge to build the red past two thin coats.
Best Nail Shapes for Red Spiderweb Nails
Almond and coffin shapes give the magnet tool the most even surface to drag the web pattern across. Stiletto shapes work too, but the web pattern needs to be dragged in a slightly narrower motion to avoid distorting near the point. On short press-on tips, use a smaller magnet tool or a partial pass so the web does not look cramped on a smaller nail bed.
Red Spiderweb Nails for Halloween
Because the web lives inside the gel rather than being an obvious painted decoration, this set moves easily from a Halloween night out to regular wear afterward. Skip rhinestones, charms, or any licensed character imagery if you want the set to read as intentional nail art rather than costume novelty, the layered red-and-web effect is striking enough on its own.
Common Mistakes to Avoid
- Curing the cat-eye gel before dragging the magnet through it, which locks the metallic particles in place and stops the web from forming
- Holding the magnet directly against the nail instead of hovering just above it, which flattens or smears the pattern
- Applying the red gel too thick, which hides the web completely instead of letting it glow through
- Skipping the black base layer, which leaves the finished web looking flat instead of deep
How to Maintain the Glossy Finish
Apply a fresh layer of top coat every four to five days to keep the shine from dulling, and avoid soaking hands in hot water for long stretches, since heat softens gel finishes faster than people expect. Cuticle oil around the nail bed, not on the nail plate itself, keeps the skin edge looking clean as the manicure grows out.
Frequently Asked Questions
How do you make spiderweb nails without drawing them by hand? Drag a magnetic cat-eye gel into a web shape with a spiderweb-patterned magnet held just above the wet gel, then cure. No liner brush needed for the web itself.
What tool creates the web pattern in the gel? A flat magnet tool with a spiderweb-shaped face. Hovering it above wet magnetic gel pulls the metallic particles into that pattern.
Why put translucent red gel over a black-and-silver web instead of painting red first? Because the red needs to be see-through for the web to glow underneath it. Painting red first and adding a web on top gives a flat, painted-on look instead of the layered glass effect.
Are magnetic gel spiderweb nails beginner-friendly? The magnet step is actually easier than freehand linework, since the pattern forms on its own. The trickier part is not curing the gel too early, before the magnet has finished pulling the pattern.
Can you do this technique on short nails? Yes, use a smaller magnet tool or a shorter hover time so the web pattern doesn’t look cramped on a smaller nail bed.
What if I don’t have a spiderweb magnet tool? A standard cat-eye magnet with straight or swirl lines still creates a striking textured base under the red gel, it just won’t form the specific web shape.
How long does this press-on set last? As press-ons, they can be reused as long as the tips aren’t damaged. Worn as an extended-wear set, the gel layers hold up two to three weeks like a standard gel manicure.
Are red spiderweb nails only for Halloween? No. Because the web glows through the red rather than sitting on top as an obvious decoration, the set reads as nail art year-round, not just during the Halloween season.