Milky French Manicure: What It Is and How to Get It at Home
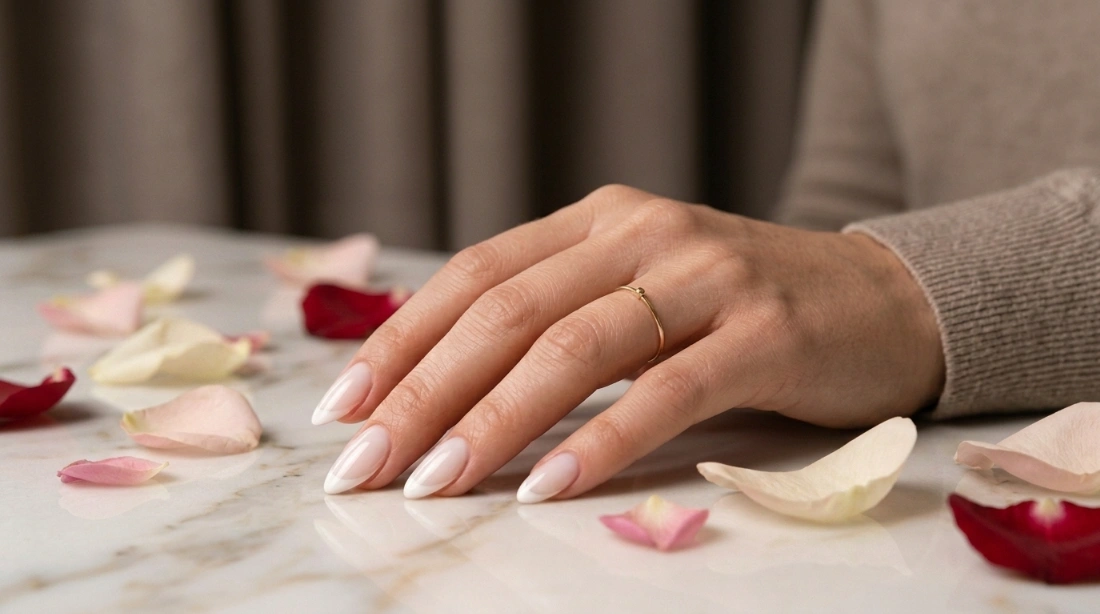
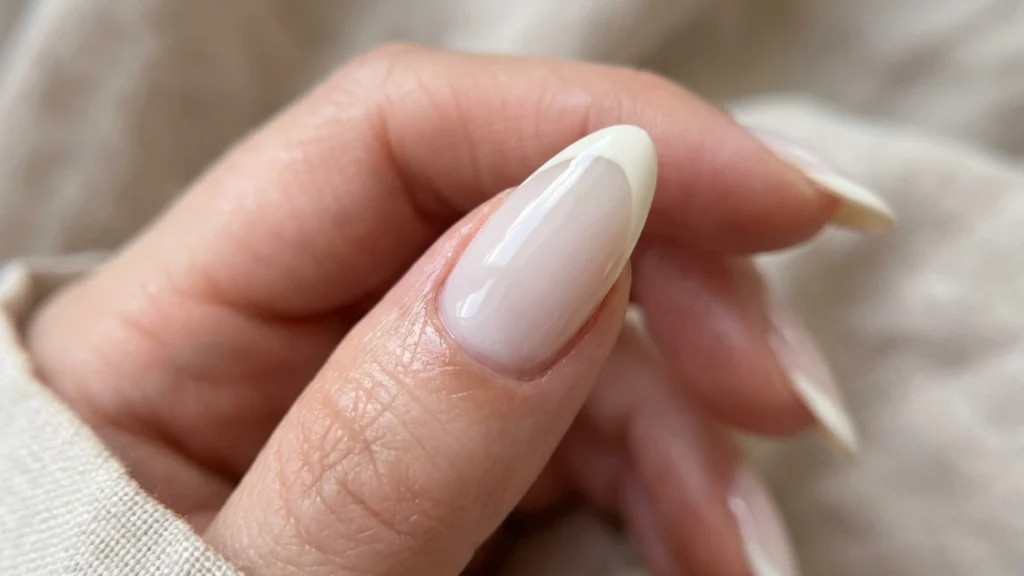
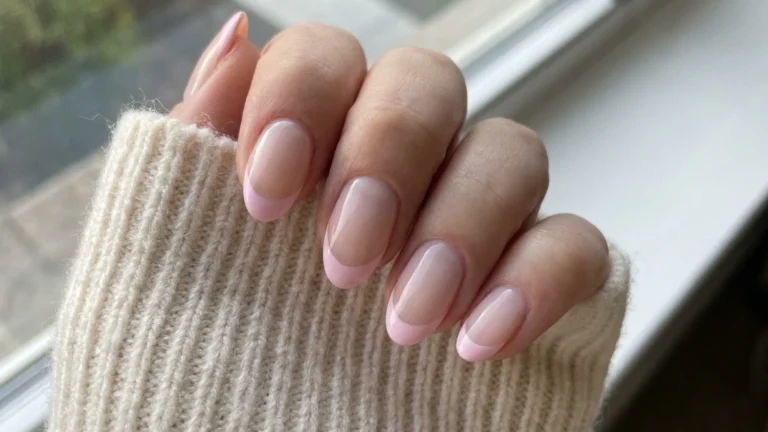
A milky French manicure swaps the stark white tip of a classic French for a soft, translucent milky wash over the whole nail. The base looks like frothed milk. The tip stays visible but gentle. On top of that, the finish reads expensive on every skin tone. You can recreate this milky French manicure at home in under 30 minutes with regular polish, and no salon visit is required.
That’s the short version. Here’s everything else you need to actually pull off a milky French manicure at home.
What Makes a Manicure “Milky” Instead of Just White?
A plain white manicure is opaque. You paint it once or twice. The color then sits flat on top of the nail, almost like a coat of paint on a wall. A milky manicure works differently. It uses several thin, sheer layers instead of one heavy one. As a result, the natural nail still shows through underneath. That’s what gives a milky french manicure the soft, cloudy quality people compare to a frothy latte or the inside of a seashell.
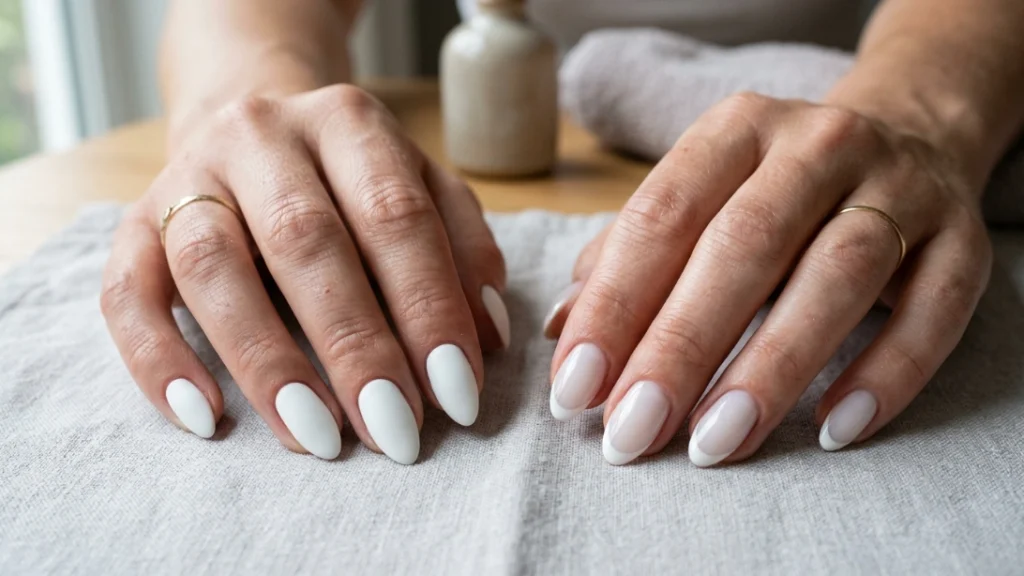
The milky French specifically layers this sheer wash over a white tip, so the crisp French line softens into something quieter. It’s the difference between a stark salon French and the “no-makeup makeup” version of the same idea.
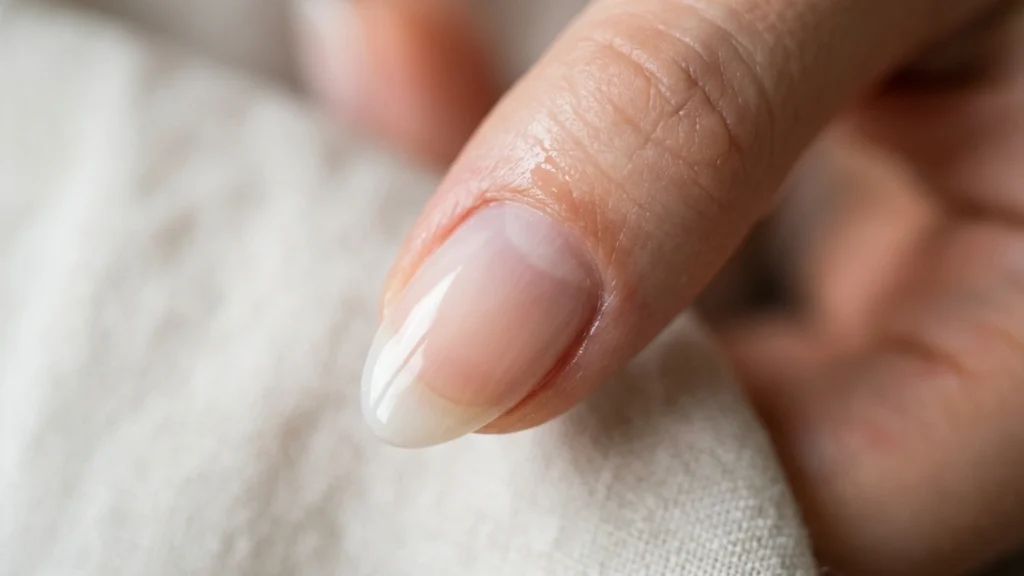
This detail matters because it changes how you shop for polish. A bottle labeled “white” won’t automatically give you the milky effect. Instead, you want something described as sheer, milky, or jelly-finish. Otherwise, you’ll need to dilute an opaque white yourself, and I’ll walk through that trick further down.
Why Is This Trend Everywhere Right Now?
Milky nails grew out of the broader clean-girl and quiet-luxury movement, the same instinct that pushed slicked-back buns and no-makeup makeup into the mainstream. Unlike a lot of nail trends, it hasn’t faded after one season. Instead, it’s expanded into an entire color family. Strawberry milk pink and blueberry milk blue now sit alongside the original off-white base and the milky French variation covered here.
Part of the staying power comes down to versatility. A milky manicure never clashes with an outfit, a season, or an event. That’s exactly why it shows up so often in wedding nail inspiration, right alongside more traditional bridal looks.
How Do You Do a Milky French Manicure at Home?
You don’t need gel, a UV lamp, or salon-level skill for this one. Regular nail lacquer works fine, and the technique is genuinely beginner-friendly because there’s no precise linework involved.
Step 1: Prep Your Nails Properly
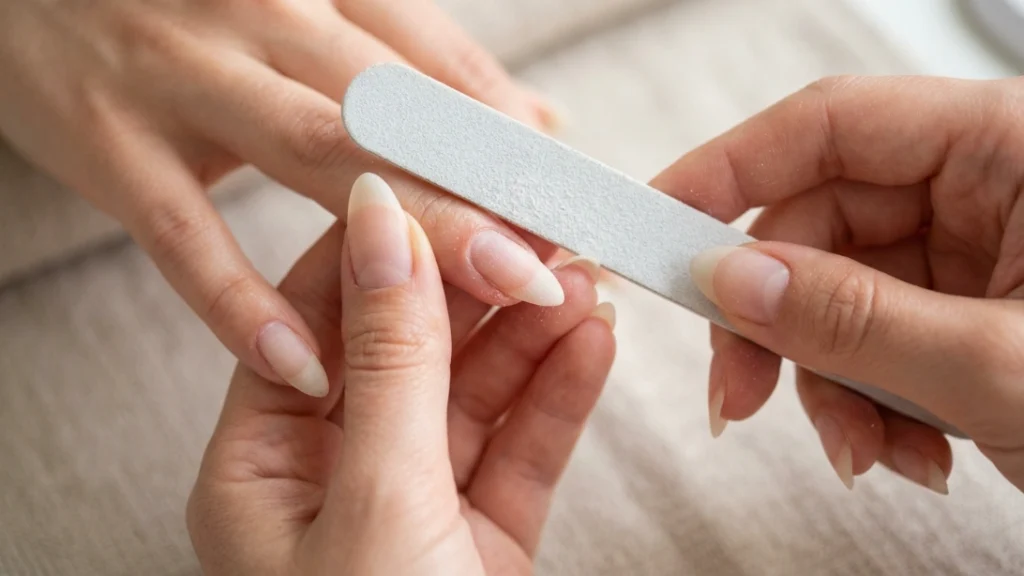
Remove any old polish, then file your nails into your preferred shape. For example, almond and short squoval both suit the milky look particularly well. Gently push back your cuticles with a cuticle stick, and buff any obvious ridges out of the nail surface. Skipping prep is the single biggest reason an at-home manicure looks less polished than a salon one.
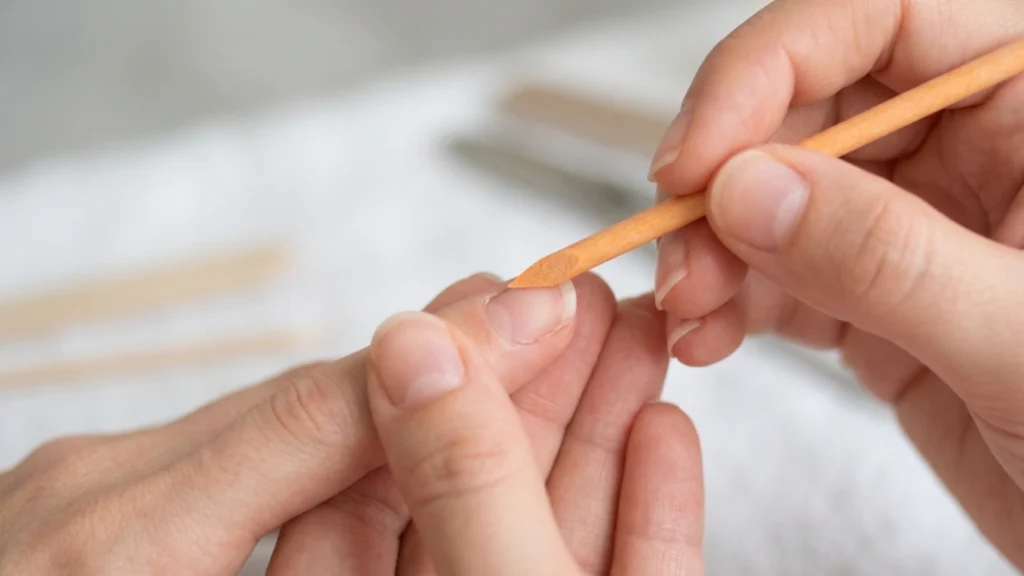
Step 2: Apply a Thin Base Coat
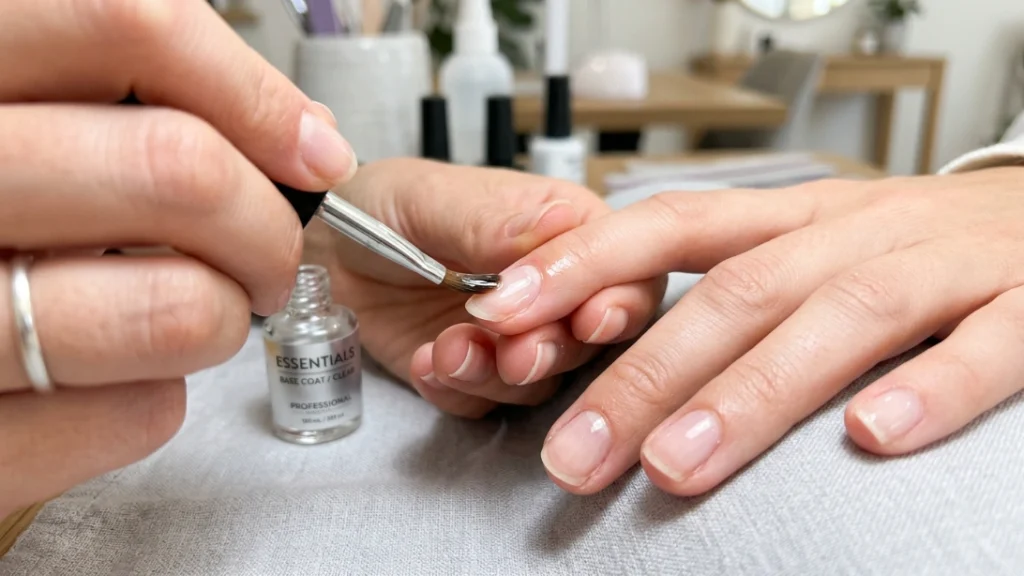
Use a clear, protective base coat in one thin layer. This step protects your natural nail from staining and gives the polish something to grip. If your nails are thin or prone to peeling, choose a base coat with strengthening ingredients built in.
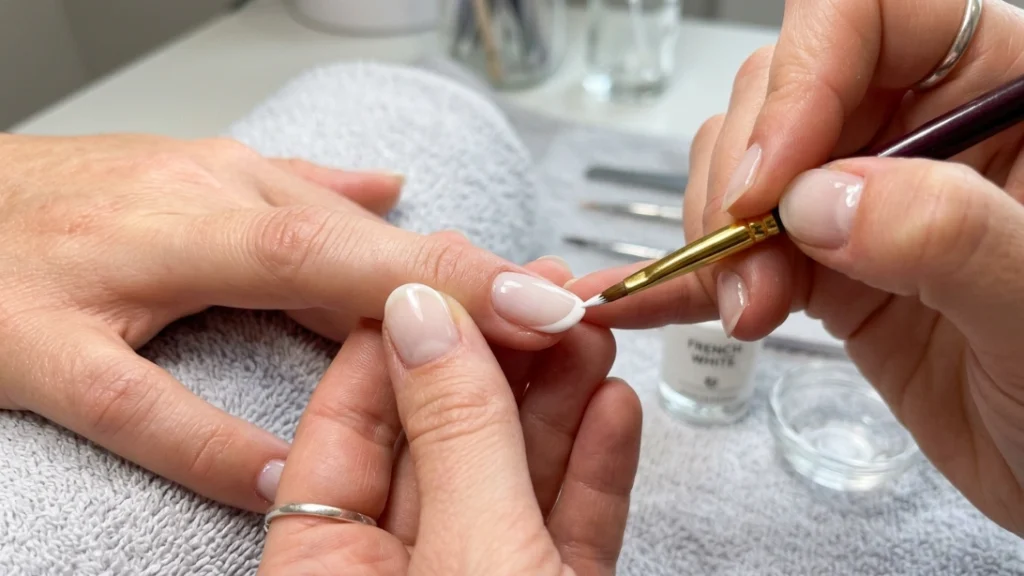
Step 3: Paint the White Tip First
Here’s where a milky French breaks from a traditional one. Instead of painting your base color first, you paint the white tip first. Then you glaze the sheer color over the entire nail afterward. Use an opaque white polish and apply it only to the free edge, the naturally white part at the very top of your nail. A thin layer dries faster and looks cleaner than a thick one.
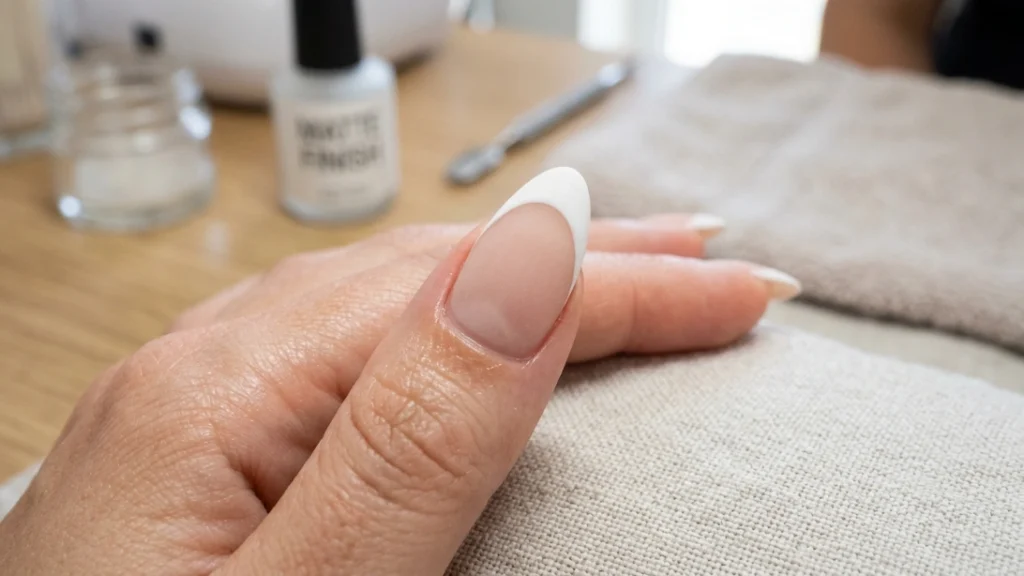
Step 4: Glaze the Entire Nail With a Sheer Milky Shade
Once the white tip is fully dry, brush a semi-sheer, milky off-white polish over the whole nail, tip included. This is the layer that actually creates the effect, softening the hard edge of the tip and giving the rest of the nail that cloudy, translucent look. One thin coat is usually enough. However, a second coat deepens the milkiness slightly if you want more opacity.
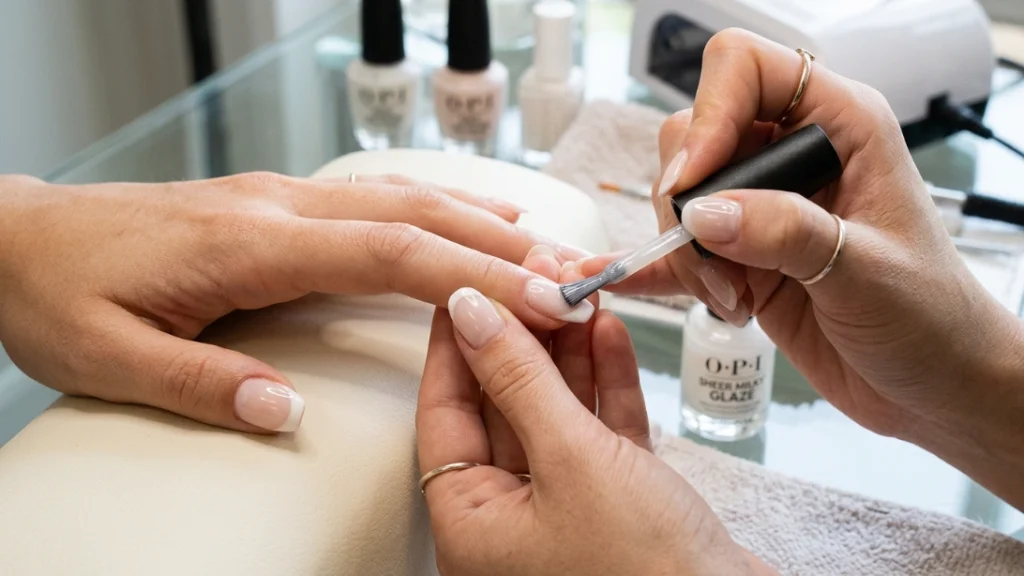
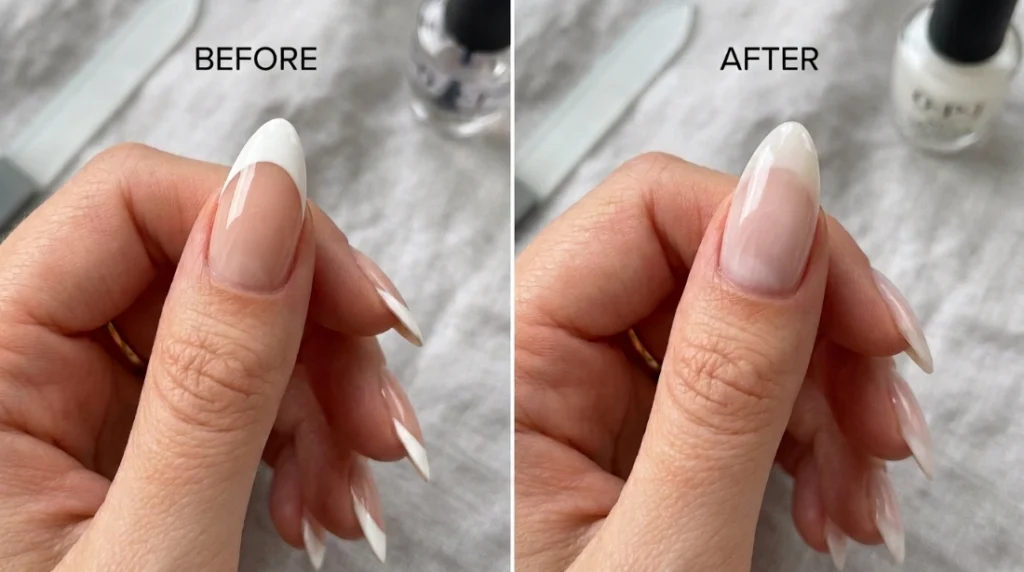
Step 5: Seal With a Glossy Top Coat
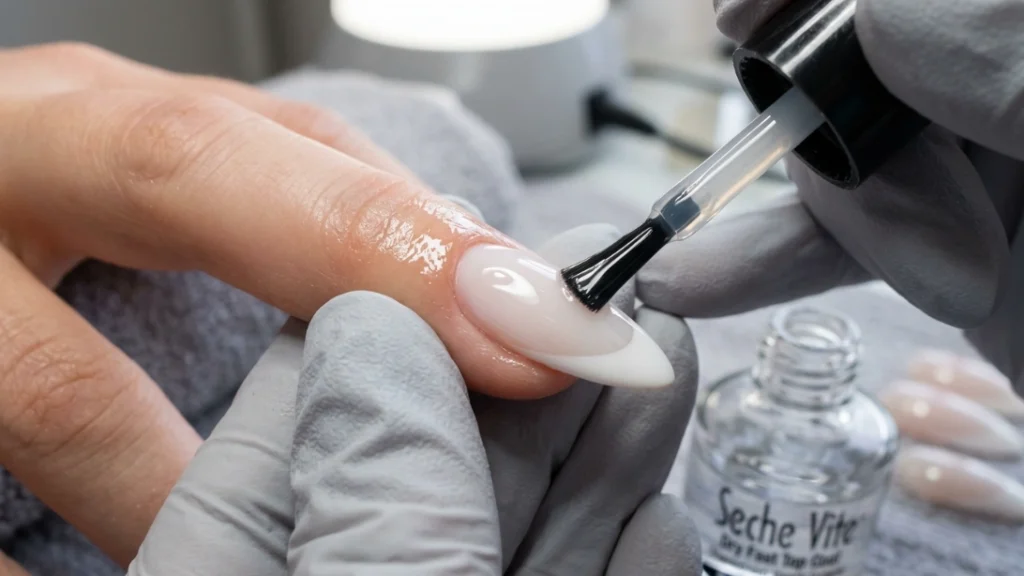
Finish with a high-shine top coat. This locks in the design, adds durability, and gives the nail that slightly wet, glassy finish that separates a milky manicure from a chalky one. A second layer of top coat adds extra shine if your polish looks dull once it dries.
My honest take: the first time I tried this, I used a fully opaque white for the glaze layer instead of a sheer one. It just looked like a plain white manicure with extra steps. The sheer layer is non-negotiable. No true sheer white in your collection? Water down an opaque one with a few drops of clear top coat until it turns translucent. Test it on one nail before committing to all ten.
Which Milky Shade Should You Actually Pick?
The “milky” category has grown into a small family of its own. Here’s how the most requested versions compare.
| Shade Family | Base Color | Best For | Skill Level |
|---|---|---|---|
| Classic Milky White | Sheer off-white | Everyday wear, work-appropriate | Beginner |
| Milky French | Sheer white glaze over white tip | Weddings, special occasions | Beginner–Intermediate |
| Strawberry Milk | Sheer soft pink | Spring and summer, softer look | Beginner |
| Blueberry Milk | Sheer pale blue | Statement without boldness | Beginner |
| Milky Chrome | Sheer white base + chrome topper | Date nights, going out | Intermediate |
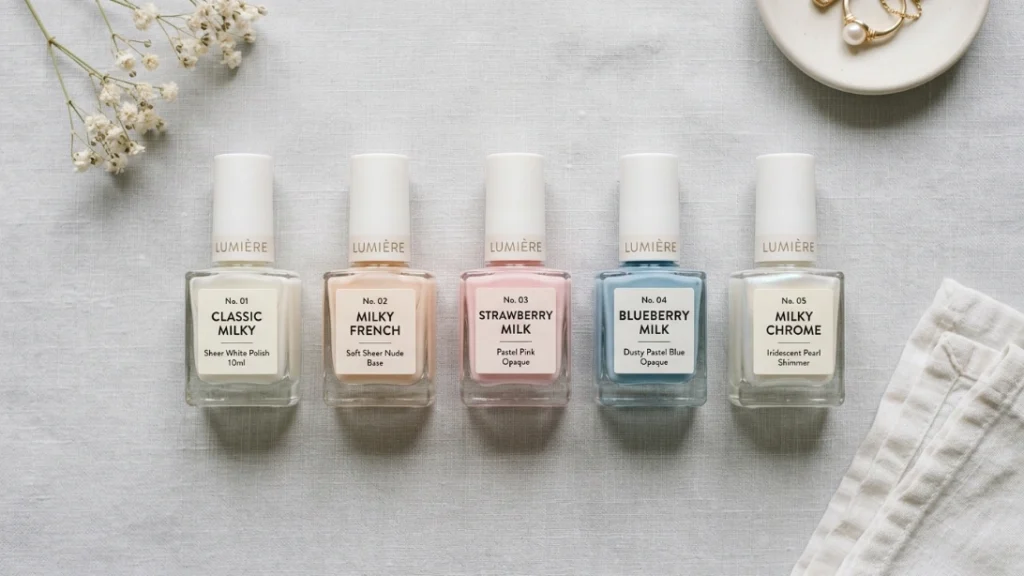
If this is your first time trying the trend, start with Classic Milky White or the Milky French. Both use only two polish colors and forgive small mistakes far more easily than the chrome version does.
Common Mistakes That Ruin the Milky Effect
A few small missteps turn a milky French manicure into a flat, chalky one. Here’s what to watch for.
Using opaque white for every layer. This is the mistake I mentioned above, and it’s the most common one. The tip should be opaque white. The glaze layer over the entire nail needs to be sheer, or the whole design just looks like plain white polish with extra steps.
Applying coats too thick. Thick coats take longer to dry and often look streaky instead of smooth. In addition, two thin coats almost always look better than one thick one, and they dry faster besides.
Skipping the base coat. Skin oils and natural nail ridges cause polish to slide or bubble without a base coat underneath. It also protects your natural nail from staining, which matters more with white and pale shades than with darker colors.
Rushing between layers. Moving to the next coat before the previous one dries drags color and smudges the clean tip line. A minute or two of patience between each layer makes a visible difference in the final result.
Choosing the wrong shape for your nail length. A milky French manicure genuinely works on almost any shape. Very long stiletto or coffin shapes are the exception, since they can make the sheer effect look uneven near the base. Almond, oval, and short squoval hold the look most evenly from cuticle to tip.
Quick FAQ
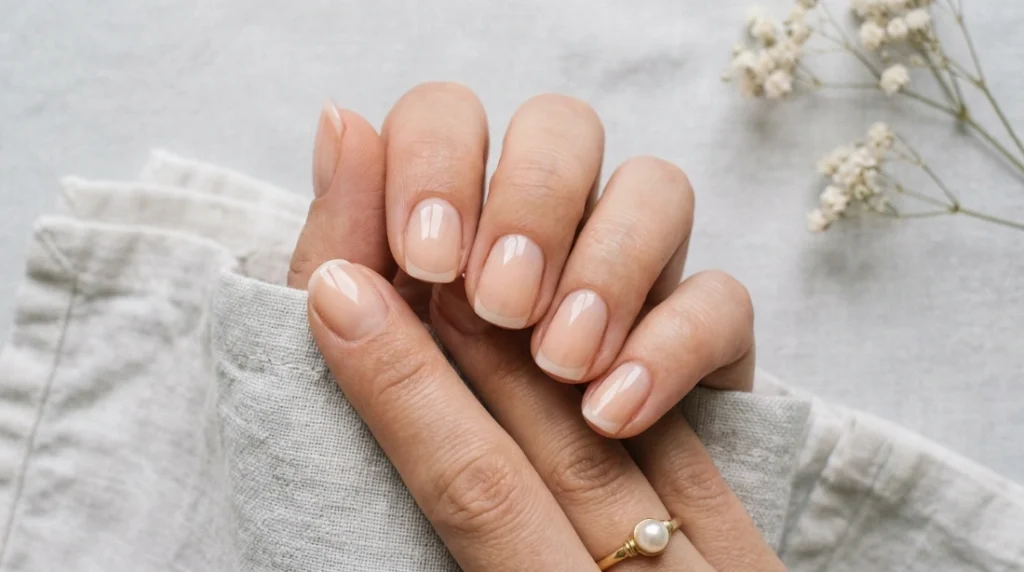
Does a milky French manicure work on short nails? Yes, and it’s actually one of the most flattering designs for short nails specifically. The soft, sheer finish and visible nail bed create the illusion of extra length, which is harder to achieve with a bold, opaque color.
Can I do this with gel polish instead of regular lacquer? Yes, gel works well and tends to last longer, generally seven to fourteen days versus four to seven for regular lacquer. You’ll need a UV or LED lamp to cure each layer. Removal also takes more time, since it requires soaking off rather than a quick wipe with polish remover.
How long does a milky manicure realistically last? With regular lacquer and a solid top coat, expect four to seven days before visible chipping. Gel versions typically last one to two weeks. Nail growth will show a gap at the base sooner than either of those numbers. That’s simply how nail growth works, regardless of polish type.
Before You Start: A Quick Nail Health Note
Frequent at-home manicures are safe. That said, the American Academy of Dermatology recommends giving your nails an occasional break from polish. Acetone-heavy removal, done too often, can also dry out the nail and surrounding skin over time. Keeping a cuticle oil in rotation between manicures helps offset that.
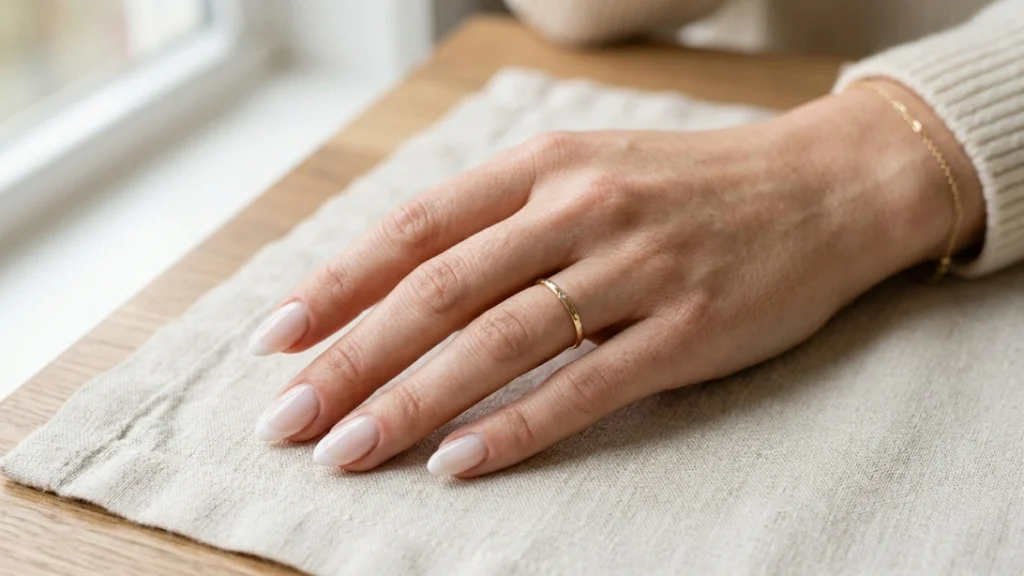
A milky French manicure earns its popularity honestly. It’s forgiving for beginners, it goes with everything, and unlike a lot of nail trends, it isn’t going anywhere soon. Prep well, keep your layers thin, and don’t skip the sheer glaze coat, and you’ll have a salon-quality result without the salon price tag.
4 Comments