Acrylic French Tips for Beginners: The Milky White Version Everyone’s Asking For
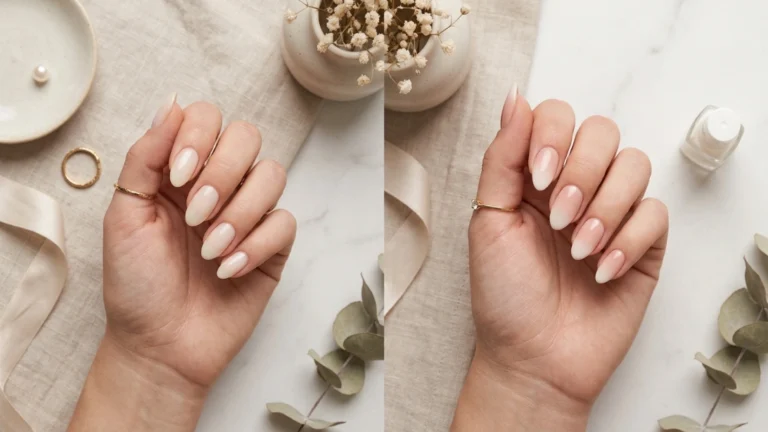
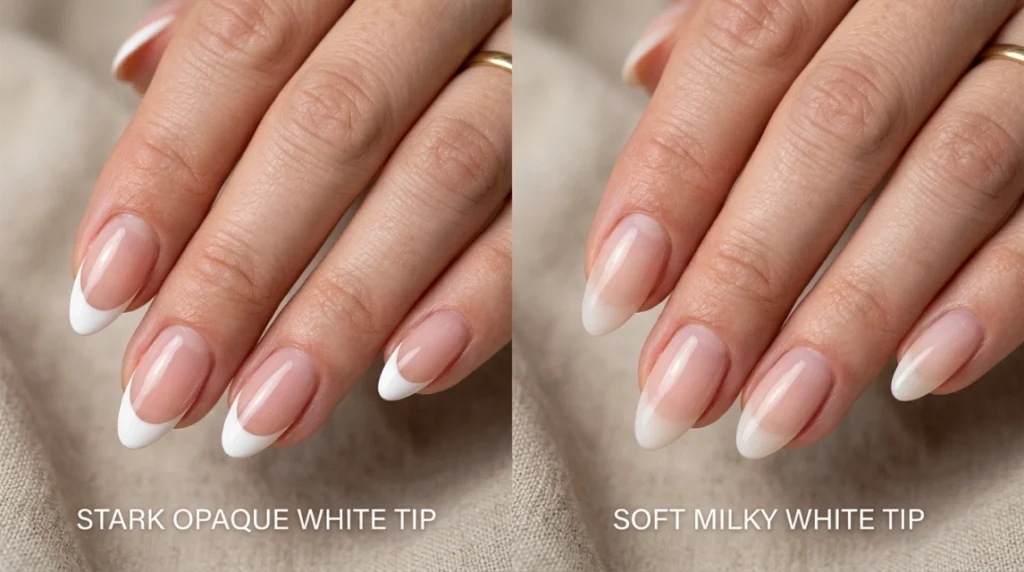
Acrylic french tips for beginners work best when you stop aiming for stark, opaque white and start asking for a milky, semi sheer tip instead. That single word swap, milky instead of white, is the difference between a French set that looks dated and one that fits right into 2026’s softer nail trends. Below is the exact process, what to say at the salon if you’re not doing this yourself, and the mistakes that trip up almost every first timer.
Why “Milky” Beats “White” for Your First Acrylic Set
Most beginners walk into a salon or open their at home kit and picture the classic 90s French manicure: bright white tip, pale pink base, hard contrast. That look still exists, but it isn’t what’s actually trending in 2026. The tip color has softened into something between white and sheer, a milky finish that reads as clean rather than chalky.
The catch is that most nail techs default to solid white unless you specifically ask otherwise. Nobody tells beginners this, which is why so many first acrylic sets come out looking harsher than intended. If you remember nothing else from this guide, remember to say the word “milky” out loud, whether you’re at a salon or mixing your own acrylic powder at home.
This matters more for acrylic than it does for regular polish or gel, because acrylic is permanent enough that you’re stuck with the finish for a few weeks at a time. A milky French set forgives an uneven line better than a stark white one does, which is exactly why it’s become the recommended starting point for anyone new to the technique rather than just a passing color trend, and it pairs naturally with the wider world of milky and white nail looks if you want to explore the shade family further.
Acrylic itself is a type of acrylate polymer, which is the same broad chemical family behind the hard, glossy finish that makes acrylic nails so much more durable than a coat of regular polish. Knowing that helps explain why acrylic tips hold their shape so well compared to gel or dip powder alternatives.
What You Actually Need Before You Start
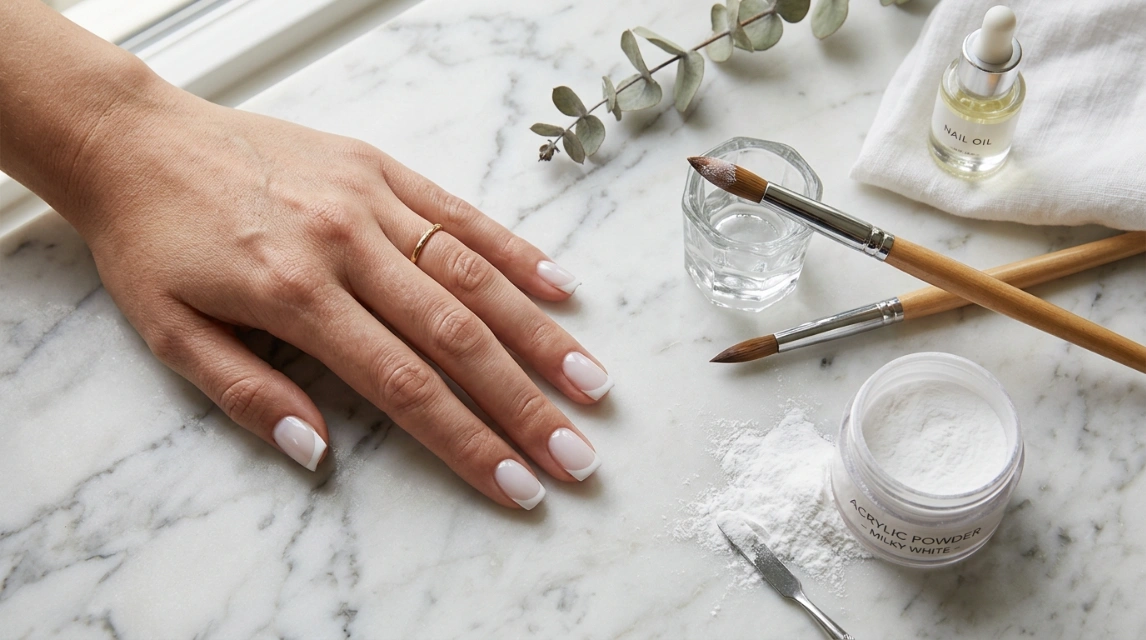
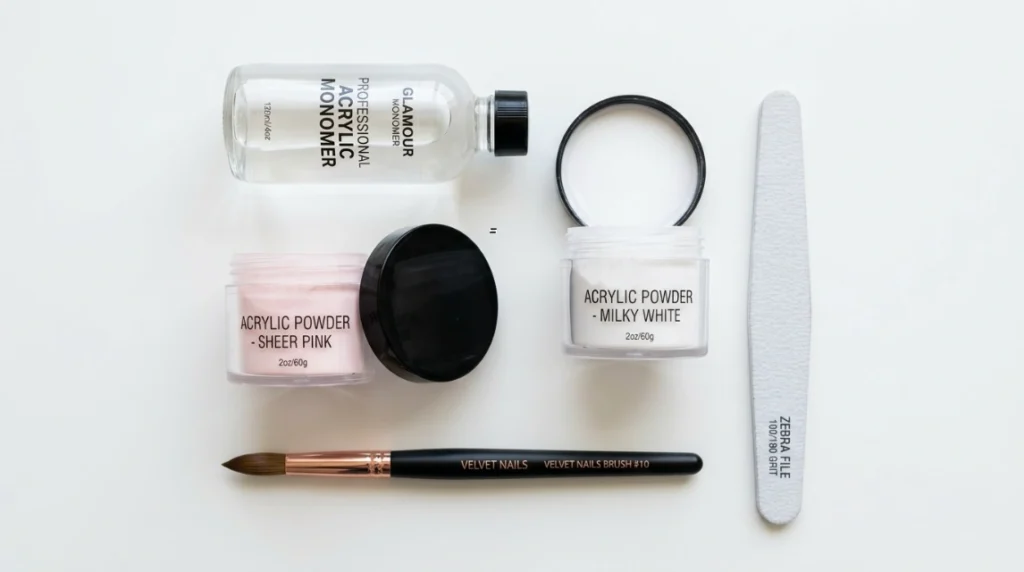
A full acrylic set isn’t complicated once you have the right supplies laid out, and it helps to browse a few more acrylic nail looks before you settle on your first design. For a DIY milky French set, gather:
- Acrylic liquid monomer and clear or sheer pink powder for the base
- A separate milky white acrylic powder for the tip (not solid white, check the label)
- Nail tips or forms if you’re adding length
- An acrylic brush, dappen dish, and a 100/180 grit file
- A glossy top coat to seal everything
If you’re brand new to acrylics, resist the urge to jump straight to a full ten nail set. Practice one nail, or use a nail wheel, before you commit product to your actual hands. This single decision saves more first time acrylic sets from disaster than any other tip in this guide.
The Step by Step Process
- Prep the natural nail. Remove old polish, push back cuticles gently, and lightly buff the nail surface so the acrylic has something to grip. Skipping this step is the number one reason acrylic lifts early.
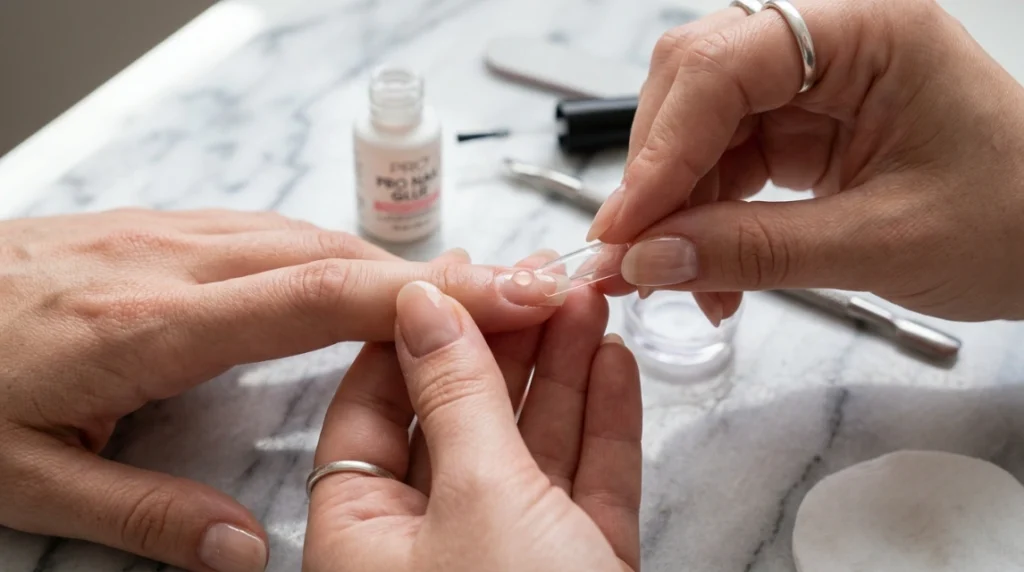
- Attach a tip or form. If you want length beyond your natural nail, apply a plastic tip with nail glue or set up a nail form, then trim and file it to your target shape. Medium coffin is the most popular length and shape pairing with acrylic specifically, because the technique’s strength supports that squared off, tapered silhouette without the fragility a softer material might have.
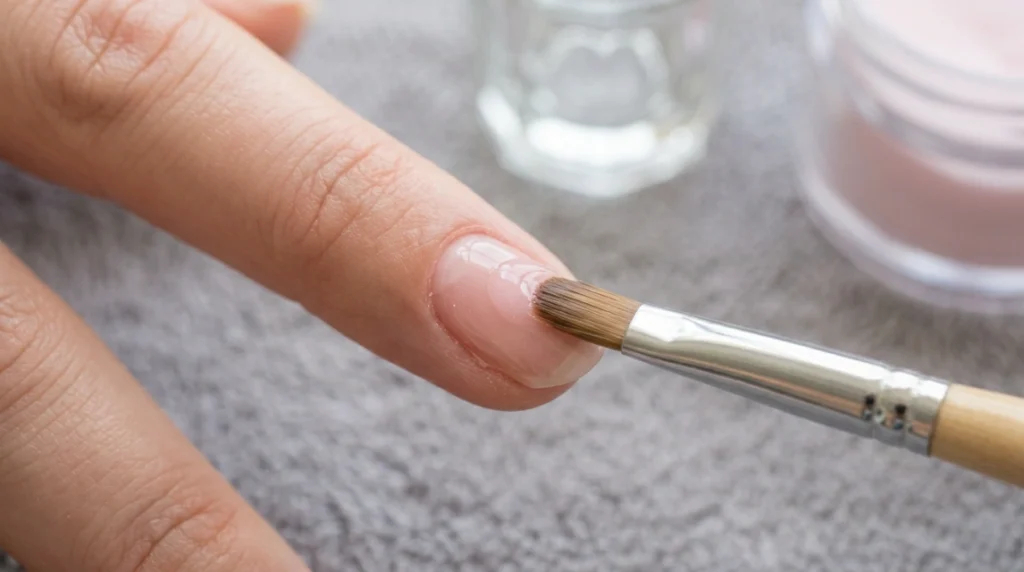
- Apply the base layer. Dip your brush into the monomer, then the clear or sheer pink powder, and apply thin layers from the cuticle down, letting each one set before adding the next. Thin layers beat one thick layer every time.
- Build the milky white smile line. Load a fresh brush with your milky white powder and apply it right at the smile line, blending the edge into the sheer base so there’s no harsh demarcation. A slightly angled brush stroke, rather than a straight-on dab, tends to create a cleaner curve.
- Shape and refine. Once everything has set, file the whole nail to your desired shape, smoothing any bumps where the white meets the base color.
- Seal with top coat. A glossy top coat locks in the shine and protects the milky tip from yellowing over the following weeks.
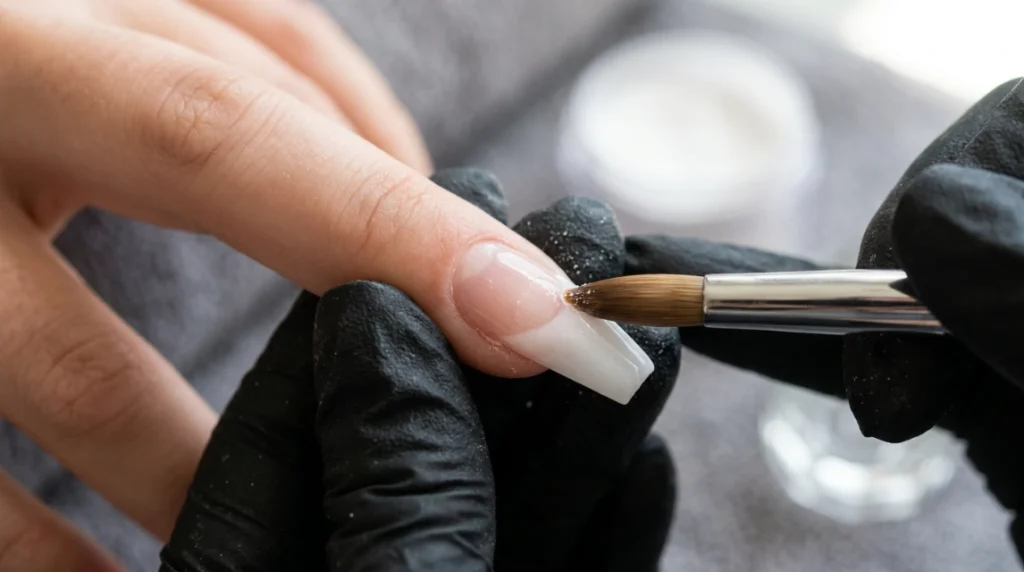
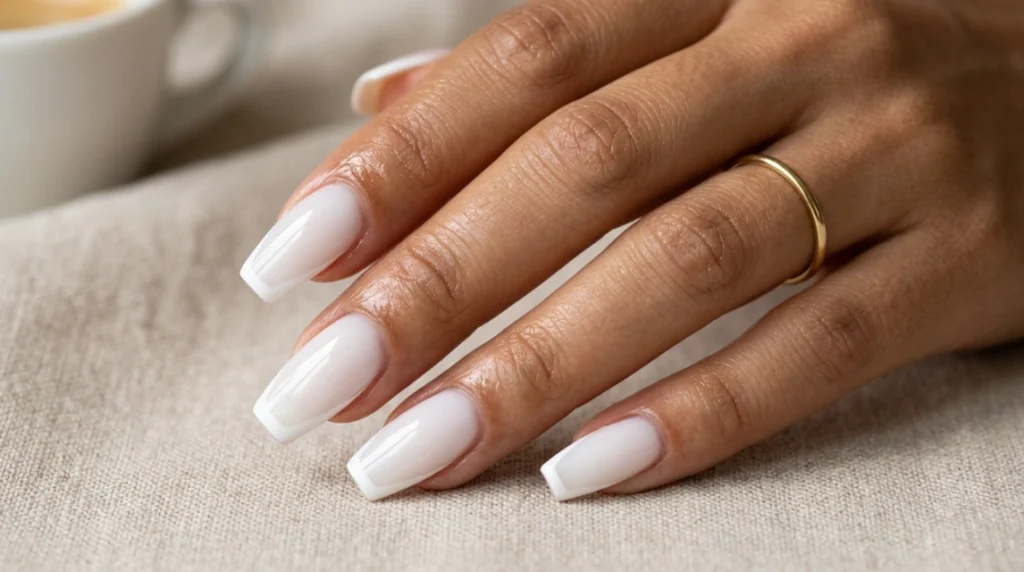
I made the mistake of using a solid white polish for my white line the first time I tried this at home, and it looked like a stripe instead of a soft gradient. Milky powder blended while everything is still slightly tacky is what actually gets you that soft, faded edge, not a painted line applied after the fact.
Salon vs. DIY: How to Get the Same Result Either Way
| At the Salon | At Home | |
|---|---|---|
| What to say | Ask for a “milky, semi sheer French tip,” not “classic French” | Buy powder labeled milky or sheer white, not opaque white |
| Reference photo | Bring one showing the soft, faded edge specifically | Keep one open on your phone while blending |
| Biggest risk | Tech defaults to solid opaque white without being told otherwise | Powder ratio too wet, causing the white line to bleed |
| Cost and time | Higher cost, faster and more even result | Lower cost, requires more patience on the first few sets |
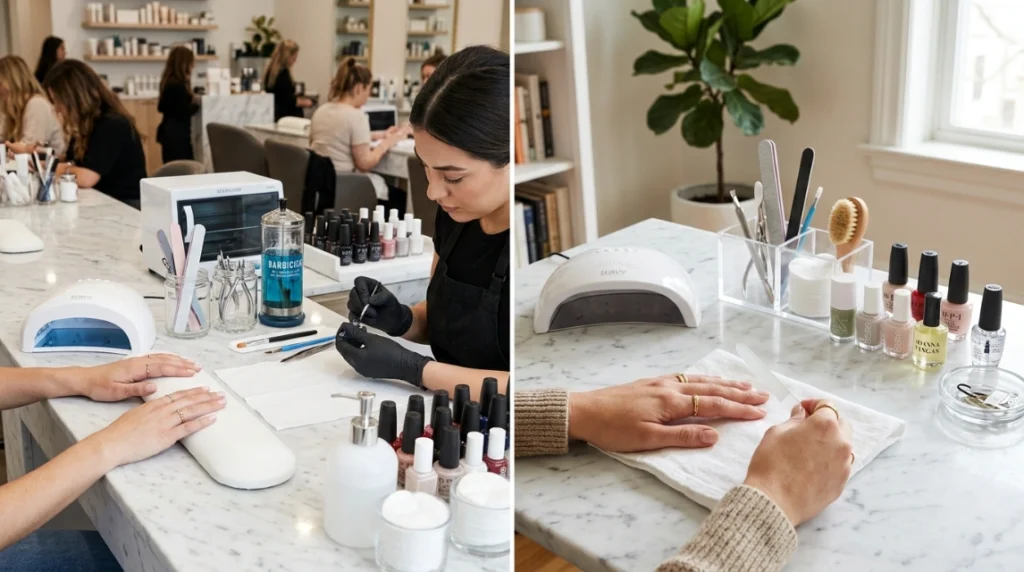
Neither option is objectively better here. If it’s your first time ever touching acrylic, a single salon visit to see the technique done correctly, followed by DIY maintenance, is a reasonable middle ground.
Common Mistakes First Timers Make
Beginners tend to repeat the same handful of errors. Applying the acrylic too thick near the cuticle causes lifting within days. Rushing the white tip blend before the base layer has fully set makes the two colors smear into a muddy gray instead of a clean milky edge. And skipping the practice nail entirely, going straight for a full set, means you’re learning the brush control and the design at the same time, which is a lot to manage at once.
Another mistake worth naming: buying whatever white powder is cheapest or most available, without checking whether it’s labeled solid, opaque, or milky. Brands aren’t always consistent with this wording, so if you can, swatch the powder on a spare tip first. A powder that looks slightly translucent on the shelf usually dries closer to the soft, faded finish you’re after, while anything described as “bright white” or “snow white” tends to land closer to the harsher, dated version of the look. This is one area where reading the fine print genuinely changes the outcome for acrylic french tips for beginners more than almost any technique step does.
Quick Answers
Can I do a milky French tip over my natural nails without acrylic? Yes, using gel polish or regular polish, but acrylic gives you the option to add significant length and holds the shape longer between fills.
How long does an acrylic French set actually last? Most acrylic sets hold up for three to four weeks before the tip needs a fill, though the white smile line itself tends to stay crisp the whole time since it isn’t relying on polish alone.
Is milky white harder to apply than solid white? Not harder, just different. You’re blending an edge rather than painting a hard line, which actually forgives small mistakes better than solid white does.
What shape should a beginner pick for their first acrylic French set? Medium coffin or short almond are both forgiving starting shapes, since neither requires the sharp, symmetrical point that a stiletto shape demands. Shorter lengths also reduce the risk of breakage while you’re still learning how much pressure the extension can take.
If you’re easing into acrylics for the first time, this milky version is a genuinely forgiving place to start. It photographs well, it suits nearly every skin tone, and it gives you room to practice your brush control without the unforgiving hard edge that a stark white tip demands. Once you’ve got a set or two of acrylic french tips for beginners under your belt, branching into colored tips or a reverse French becomes a much smaller leap.