Rhinestone Nails 2026: The Complete Trend Guide + How to Apply Them at Home
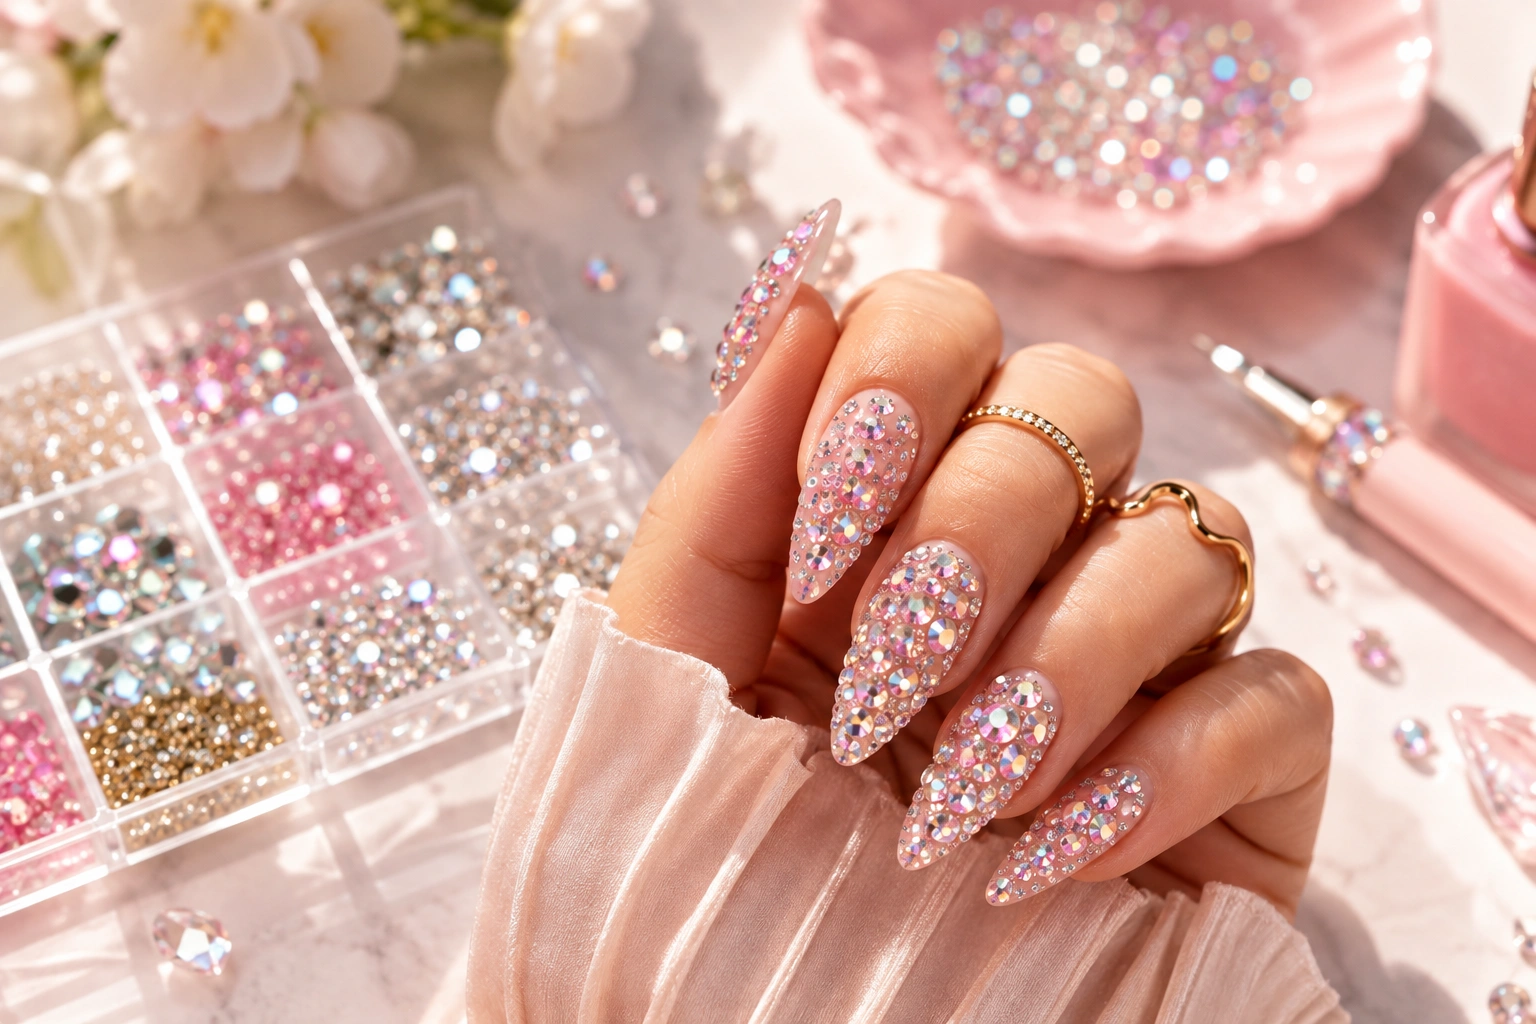
Rhinestones did not so much return to nails in 2026 as get reintroduced with better manners. The 2000s version was loud almost by accident, a Bedazzler and a denim jacket and not much technique behind it. The 2026 version is deliberate. It’s a single crystal placed with intention, a French tip finished in tiny stones instead of polish, a whole hand treated the way a stylist treats an outfit rather than an afterthought squeezed in before a night out.
This guide covers both halves of that story: why rhinestone nails became one of the defining looks of the year, and exactly how to recreate the look yourself, from the glue you’ll actually need to the mistakes that make a set fall apart by day three.
How Rhinestone Nails Went From 2000s Throwback to 2026’s Biggest Manicure Trend
Every trend has an origin story, and this one traces back further than most people realize. The Bedazzler machine promised households in the 1970s that they could stud a denim jacket in an afternoon, and by the 1990s, rave culture had moved that same instinct from clothing onto skin. The 2000s turned it into a red carpet language entirely, Mariah Carey wearing stick-on details along her spine, Christina Aguilera arriving at an awards show with crystals scattered across her stomach. What’s happening now carries that same logic forward, just with far better adhesive and a lot more restraint.
The current wave has a clear ignition point. Kylie Jenner’s rhinestone-covered birthday cake in August set off a broader bedazzling moment that spread from desserts to phone cases to skin to nails within weeks. That momentum found its real proving ground at Coachella, where Jenner debuted not one but two rhinestone manicures over a single festival weekend, first a soft gem-flower set, then a crystal-accented French manicure with muted pink on one hand and buttery yellow on the other, tiny stones scattered across every nail. Her nail artist, Zola Ganzorigt, described the look simply in her own caption as a custom French “with rhinestones for Coachella,” and the internet ran with it from there.
Jenner wasn’t alone. Sabrina Carpenter and Dua Lipa both wore gem manicures around the same window, Dua Lipa’s featuring rhinestone daisies, while Demi Lovato leaned into a fuller, pavé-style crystal look reminiscent of a diamond choker translated onto nails. Fall 2026 runway coverage sent out crystal embellishment in quantities that suggested, as more than one fashion outlet put it, a collective decision rather than a coincidence. That’s a lot of independent, high-visibility validation landing on the same trend within a single year, which is exactly the kind of signal that separates a real cultural moment from a one-week scroll-stopper.
Why This Trend Actually Has Staying Power
The detail that keeps rhinestone nails from feeling like a gimmick is how adaptable the whole category turns out to be. Jenner’s own two Coachella looks prove the point on their own, one soft and floral, one clean and minimal with just a scatter of crystals. The trend isn’t a single fixed look you either commit to fully or skip entirely. It scales from a single stone near the cuticle on one accent nail all the way up to a fully gem-covered set, and every point along that spectrum currently has real cultural cachet behind it.
There’s also a practical logic underneath the glamour. Nails remain one of the most forgiving canvases for this kind of embellishment precisely because a manicure is temporary, low-commitment, and easy to photograph in close-up. A rhinestone gown takes three hundred hours to construct. A rhinestone accent nail takes an afternoon and a bottle of glue.
Rhinestone Nail Designs Worth Knowing
French tip rhinestone nails are currently the single most requested version of this trend, and for good reason. Keeping the base a clean, classic French tip and adding crystals only along the tip line or scattered lightly across the nail gives you the credibility of a timeless manicure with just enough sparkle layered on top. This is the exact formula Kylie Jenner’s Coachella weekend two set was built around, and it remains the easiest entry point if you’ve never worn rhinestones before.
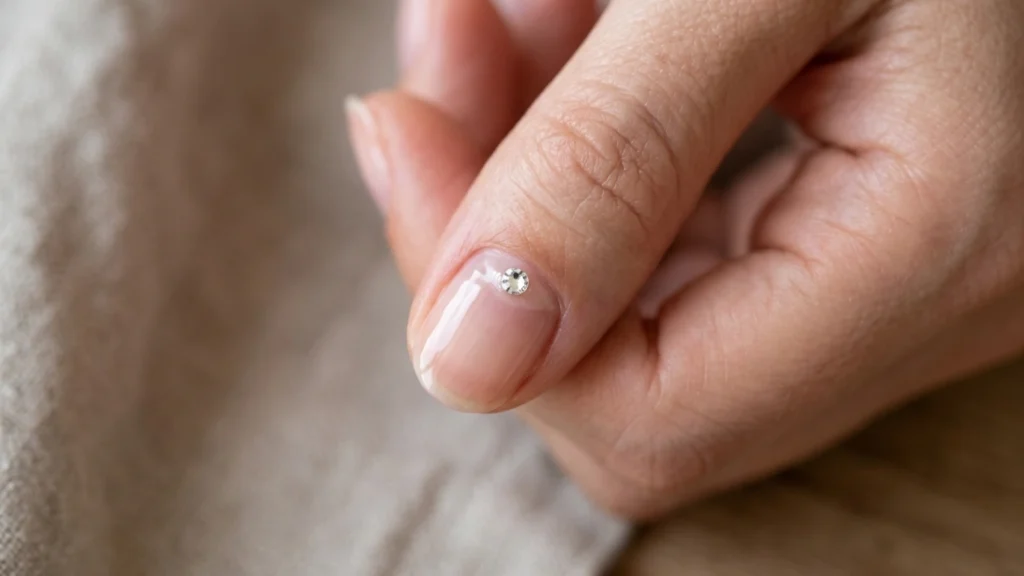
Minimalist gem nails take the opposite approach on volume while keeping the same underlying philosophy. A single rhinestone placed near the cuticle, or one small cluster on just an accent nail, delivers the trend’s visual signature without asking for a special occasion to justify it. This version works well for daily wear, since there’s simply less surface area for a stone to catch on something and pop off.
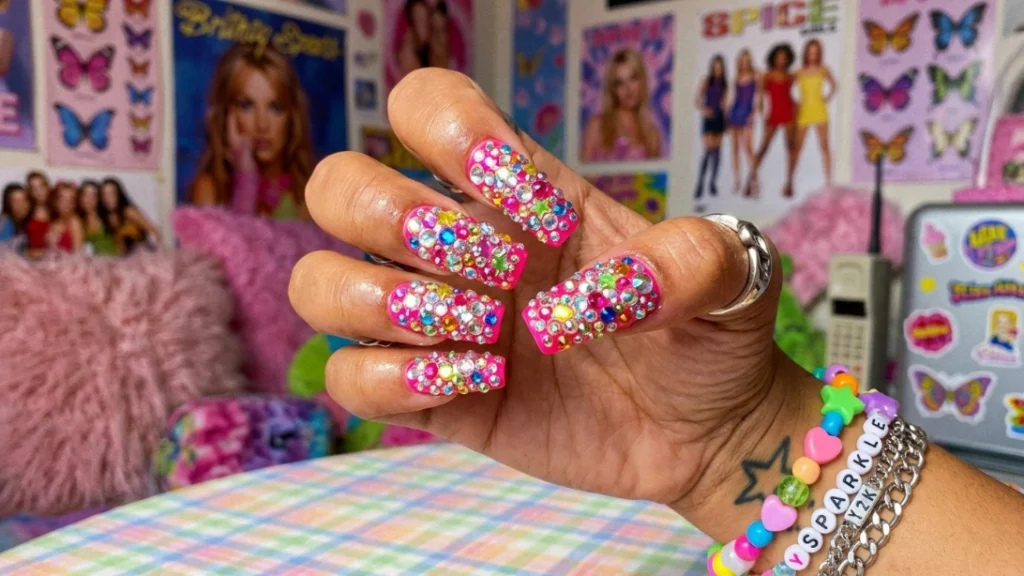
Y2K rhinestone nails lean fully into the trend’s actual origin, a nod to the 2000s aesthetic that started this whole cycle. Think scattered stones across the full nail, mixed shapes and sizes, sometimes paired with butterfly motifs or bright, saturated base colors that echo the era directly rather than updating it.
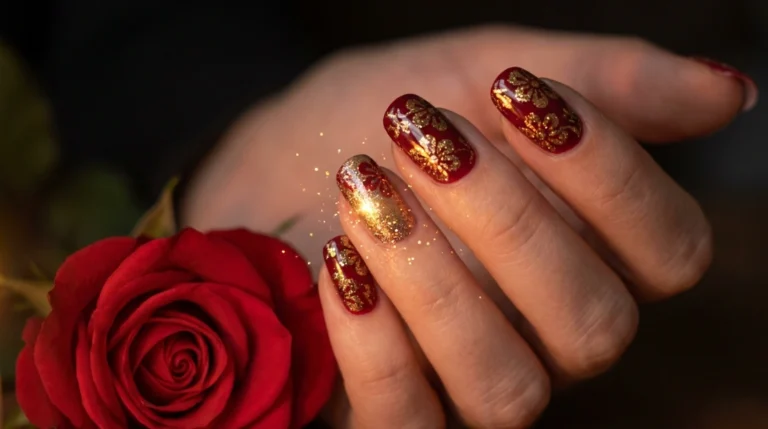
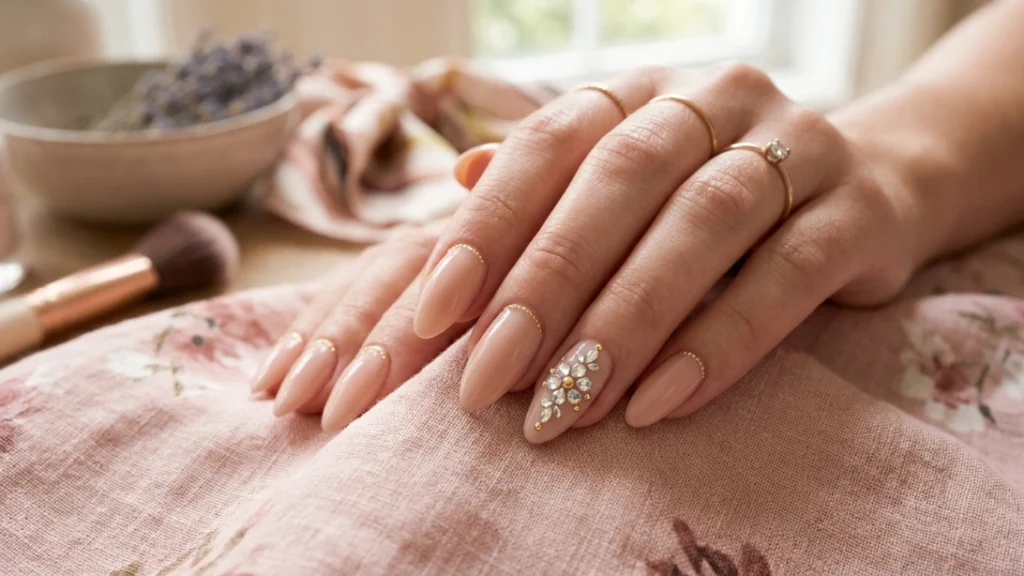
Gem flower nails, the style Jenner wore for her first Coachella weekend look, arrange small rhinestones into a floral shape rather than a scattered pattern. It reads as more intentional and slightly more delicate than a full crystal scatter, which makes it a strong middle-ground option between minimalist and maximalist.
Press-on rhinestone nails solve the biggest barrier to trying this look: application skill. Pre-decorated press-ons let you skip the glue-and-placement process entirely and still get the exact salon-style effect, which makes this the lowest-risk way to test whether you actually like wearing rhinestones before committing to a full DIY or salon set.
Are Rhinestone Nails Practical on Short Nails?
Short nails are, if anything, an easier canvas for this trend than long ones. A smaller nail surface naturally limits how much embellishment fits, which keeps the whole look proportional rather than overwhelming.
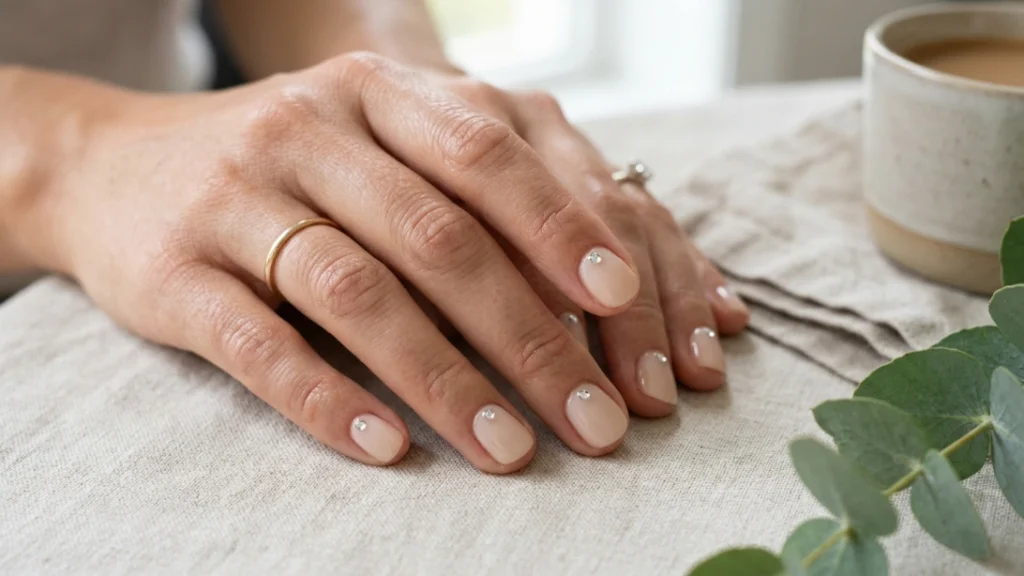
One or two well-placed stones near the cuticle of a short, rounded nail reads as polished and considered, while the same placement on a much longer nail can end up looking sparse by comparison. If you’re working with short nails, minimalist gem placement or a single-stone accent nail is generally the most flattering starting point.
How to Apply Rhinestones on Nails at Home
This is the part most rhinestone content skips past too quickly. Getting a professional-looking result at home comes down to the right materials and a handful of small technique details that make the difference between stones that last for weeks and stones that pop off by dinner.
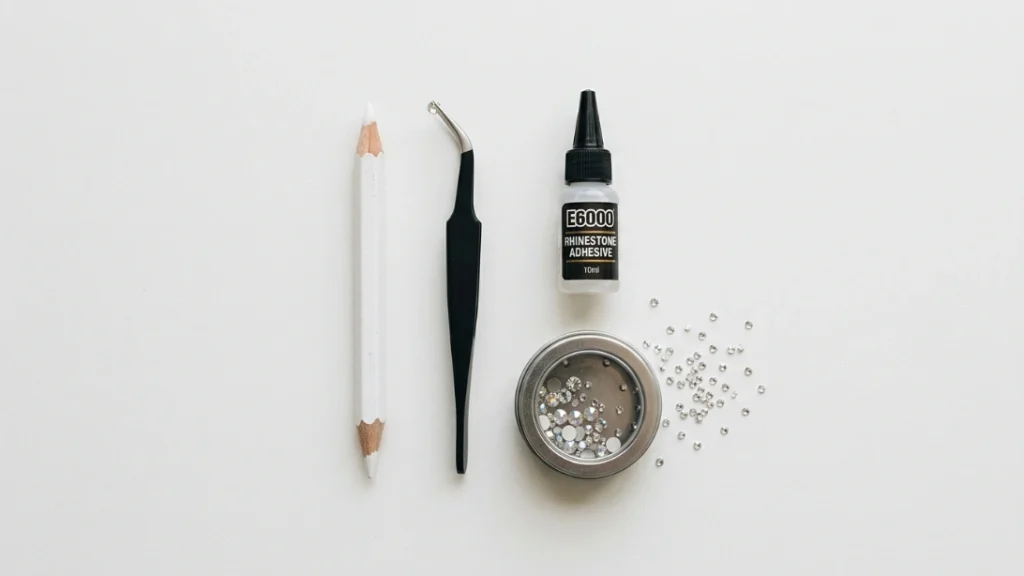
What You’ll Need
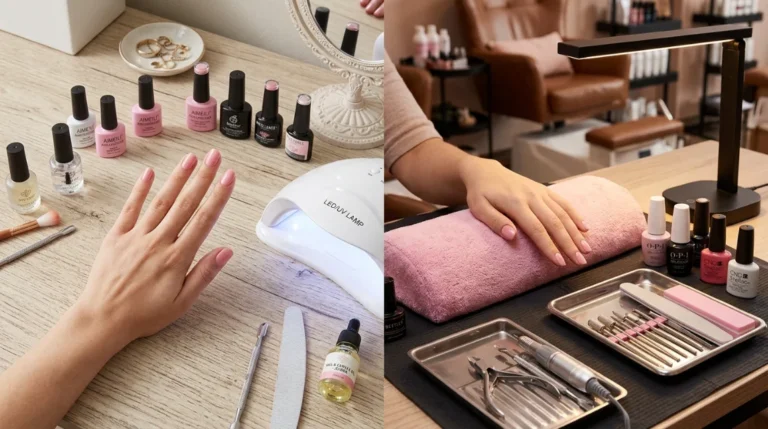
- A base manicure, either regular polish, gel, or a press-on set, fully dry or cured before you begin
- Rhinestones in your chosen size and shape
- A dedicated rhinestone or nail glue, not a generic craft glue
- A rhinestone applicator or wax pencil, though tweezers and a toothpick work as a reasonable substitute
- A top coat or gel sealant to finish
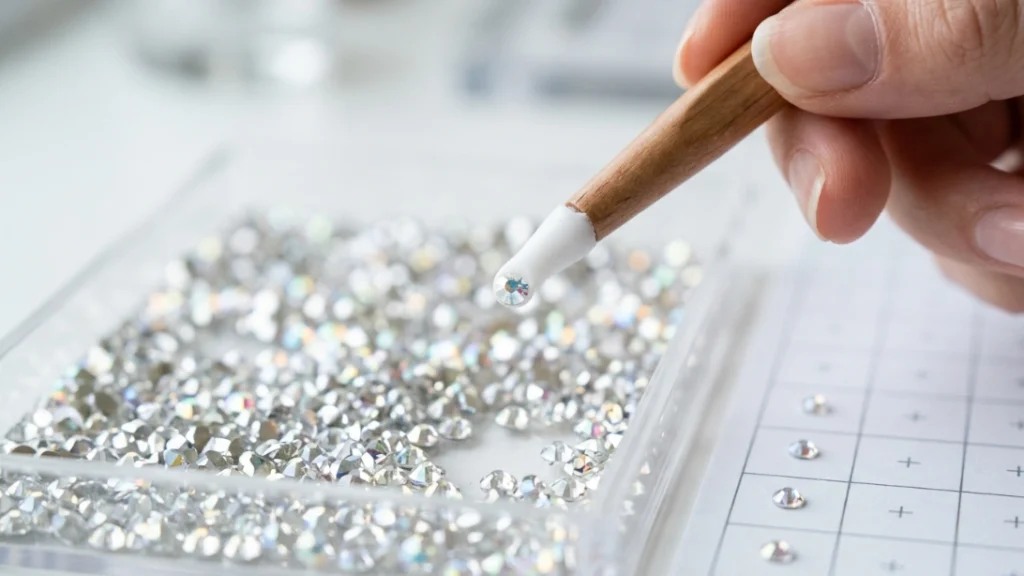
Step-by-Step Application
Step 1: Prep the nail. Start with clean, completely dry nails. Any lingering moisture or oil on the nail plate weakens the glue’s bond before you’ve even placed a single stone, which is one of the most common reasons a rhinestone falls off within the first day.
Step 2: Lay out your design first. Before any glue touches the nail, arrange your chosen rhinestones on a flat surface in the pattern you want. This lets you adjust spacing, mix shapes, or swap out a stone that doesn’t quite fit the design, without committing to anything permanent yet.
Step 3: Apply a small amount of glue. Using a thin applicator, toothpick, or the fine nozzle on most rhinestone glue bottles, place a very small bead of glue exactly where each stone will sit. Less is genuinely more here. Too much glue floods around the edges of the stone and creates a bumpy, uneven finish once it dries.
Step 4: Place the stone. Use a wax-tipped applicator, which picks up a stone without leaving a mark on its surface, or a pair of tweezers if that’s what you have on hand. Press the stone gently into the glue and hold for a few seconds to make sure it sets before moving to the next one.
Step 5: Cure or let dry. If you’re using a gel-based rhinestone adhesive, cure the nail under a UV or LED lamp for the time specified on the product, typically around sixty seconds. If you’re working without a lamp, a standard nail glue or clear top coat will hold the stones, though this method generally doesn’t last quite as long as a cured gel adhesive.
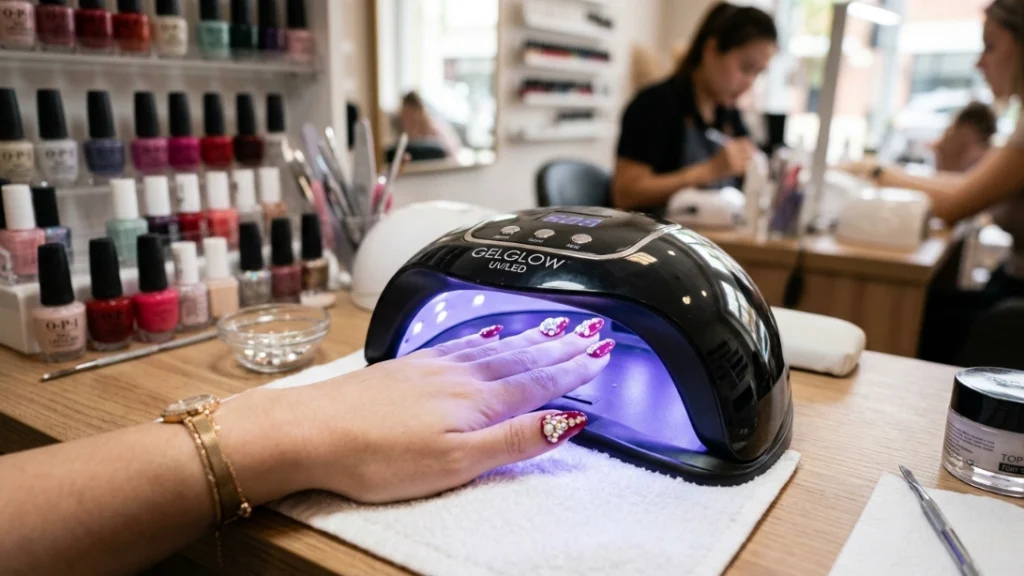
Step 6: Seal around, not over, the stones. Apply a thin layer of top coat around each rhinestone rather than directly across its surface. Sealing straight over the top of a stone dulls its sparkle and defeats a good part of the reason you’re doing this in the first place.
What’s the Best Glue for Rhinestone Nails?
Dedicated rhinestone or nail glue outperforms a generic craft adhesive in every practical sense, drying clear, holding stronger, and curing properly under a lamp if you’re using a gel formula. If you don’t have access to a lamp at home, a standard nail glue or a plain clear top coat can work as a substitute, but expect a noticeably shorter wear time compared to a properly cured gel adhesive. For heavier or larger stones specifically, a thicker, jelly-consistency adhesive holds up better than a thin, watery one, since it has more actual material to grip onto.
How Long Do Rhinestone Nails Last?
With proper application, cured gel adhesive, and a sealed top coat, rhinestone nails can reasonably last for one to a few weeks before stones start to loosen or the surrounding polish grows out. Placement matters more than most people expect here. Stones placed closer to the cuticle survive significantly longer than stones placed near the tip, simply because the tip of the nail takes the most physical contact throughout an average day, typing, opening things, everyday friction that a cuticle-adjacent stone never has to deal with.
Do Rhinestones Ruin Your Nails?
Rhinestones themselves don’t damage the nail plate directly, and the process of applying and properly removing them is comparable to any other nail embellishment. Where damage genuinely can happen is in removal technique, picking a rhinestone off by force, rather than soaking or gently working it loose, can pull layers of the natural nail away along with it. According to the FDA’s overview of nail care product safety, adhesive-based nail products are generally safe for typical use, but proper application and removal practices matter more for long-term nail health than the embellishment itself.
How Do You Keep Rhinestones From Falling Off Your Nails?
Three habits make the biggest difference. First, use a dedicated rhinestone or nail glue rather than a weaker substitute, and cure it properly if it’s a gel formula. Second, place stones closer to the cuticle rather than the tip whenever the design allows for it, since that area sees far less daily impact. Third, seal carefully around each stone with a thin top coat, reapplying that seal every few days if you’re aiming for the longest possible wear, since the edge where stone meets nail is the first place a seal typically starts to lift.
Can You Put Rhinestones on Regular Polish?
Yes, though with a caveat worth knowing before you start. Regular polish holds rhinestones reasonably well for short-term wear, especially with a strong top coat sealing the edges, but it won’t match the durability of stones set into cured gel. If you’re planning to wear the look for more than a few days, or through an event with a lot of hand movement, gel polish or a proper gel top coat gives the embellishment a meaningfully stronger foundation to grip onto.
Removing Rhinestone Nails Without Damage
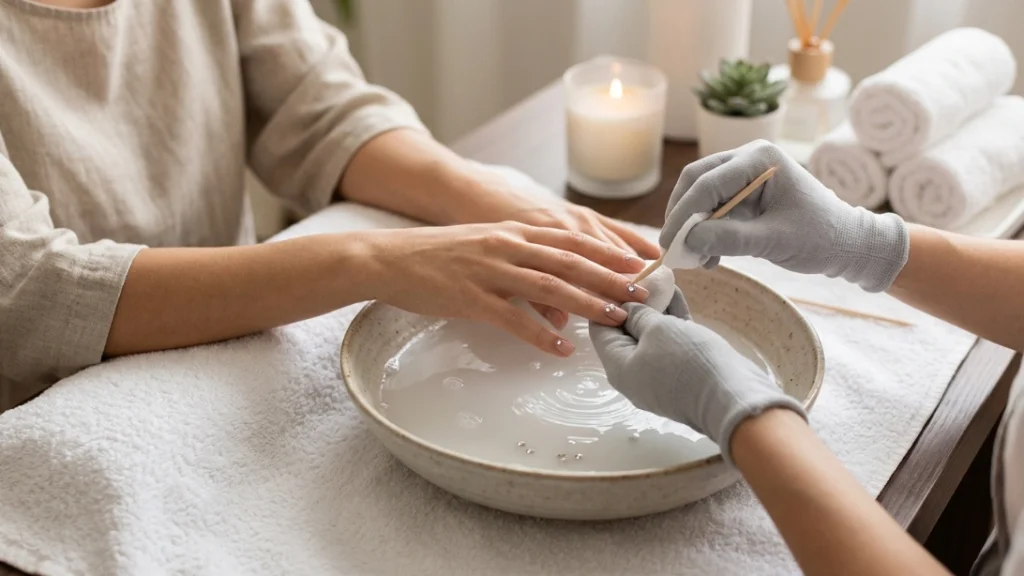
When it’s time to take the look off, patience matters more than speed. Soaking in warm, soapy water for a few minutes softens the adhesive enough that most stones lift away with gentle pressure rather than force. For stones set in cured gel, a standard acetone soak-off, the same method used for any gel manicure, works just as effectively on rhinestone-embellished sets as it does on plain polish.
Where This Trend Is Headed
Given how many separate celebrities and runway shows have independently landed on rhinestone embellishment within the same year, this reads less like a passing scroll-stopper and more like a genuine, extended trend cycle. Fashion and beauty coverage throughout the year has repeatedly framed the current wave as deliberate rather than accidental, which tends to be the exact signal that separates something with real staying power from a single viral moment that fades within a season. If you’ve been on the fence about trying a rhinestone set, this is very much still the right window to do it in.
Our full chrome nails guide is worth a look if you want to pair a metallic base with your rhinestone placement for even more shine, and our nail care tips page covers general upkeep between now and your next embellished set.
For broader trend context on this cycle, Marie Claire’s coverage of the current rhinestone revival and Bustle’s piece on the bling French tip trend both cover the celebrity side of this story in more depth, and InStyle’s 2026 nail trend forecast includes additional perspective from working nail artists on where the look is headed next.