Flower Nail Art for Beginners: Using Tools You Already Have at Home
That entire wall of dreamy little flower manicures on Pinterest looks like it needs a steady salon hand, a full nail art kit, and a good ten years of practice. It doesn’t. Every single one of those tiny, perfect blooms starts with the exact same move: a dot, dragged outward, repeated five times. You already own the tool that makes it happen. It’s sitting in a drawer somewhere in the shape of a toothpick or a bobby pin, and by the end of this guide, you’ll know exactly what to do with it.
No dotting tool, no artistic talent, and no prior nail art experience required. This flower nail art for beginners method just needs polish, patience, and about fifteen minutes.
What You’ll Need
- A base coat
- Two to three nail polish colors, one for the base, one or two for the petals and center
- A top coat
- A dotting tool, if you happen to own one, or a bobby pin and a toothpick as a substitute
- A flat, steady surface to rest your hand on while you work
If you’re using a bobby pin, the rounded closed end works exactly like the ball tip on a real dotting tool. A toothpick’s point does the same job with slightly smaller, more delicate dots. Either one gets you the whole design below, so don’t let a missing kit talk you out of trying this.
Step-by-Step: Your First Flower Nail Art for Beginners Design
Step 1: Apply Your Base Coat and Let It Dry Completely
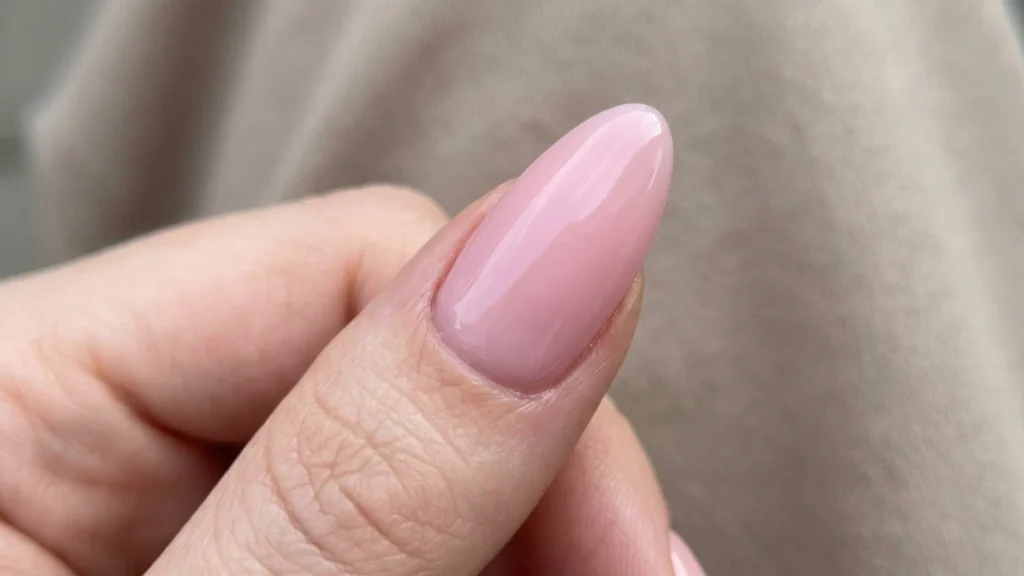
Paint on your base coat first, then your chosen base polish color over top. Let this dry fully before moving on, since working on a tacky base smears every dot you place afterward. A soft nude, pale pink, or milky white base makes the flower color pop the most, but any solid shade works as your canvas.
Step 2: Place a Single Center Dot
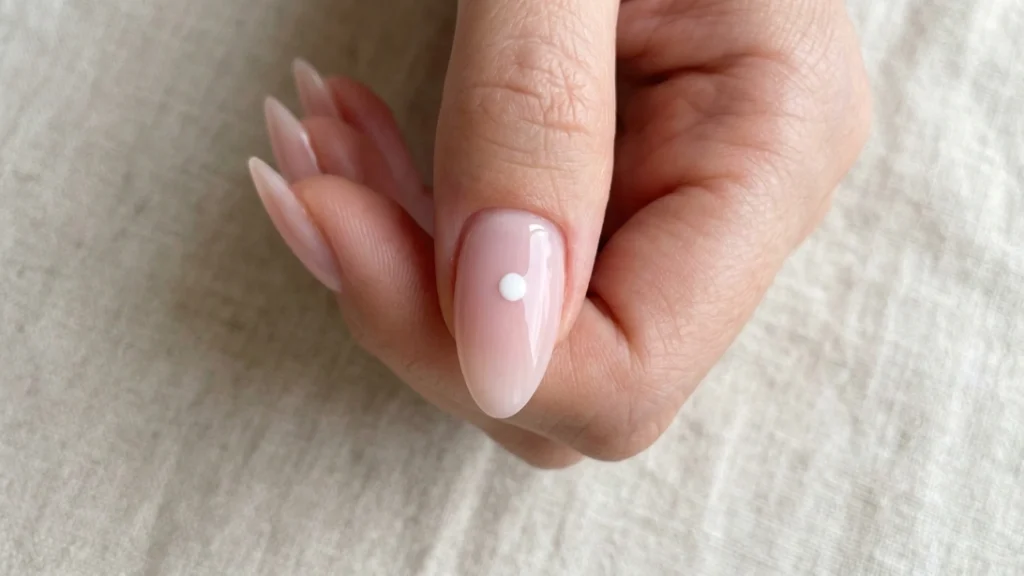
Dip the rounded end of your bobby pin or the tip of your toothpick into your petal color. Press it straight down onto the middle of the nail, then lift straight up without dragging. That single motion places your flower’s center dot, and everything else builds outward from this one point.
Step 3: Drag Your First Petal Outward From the Center Dot
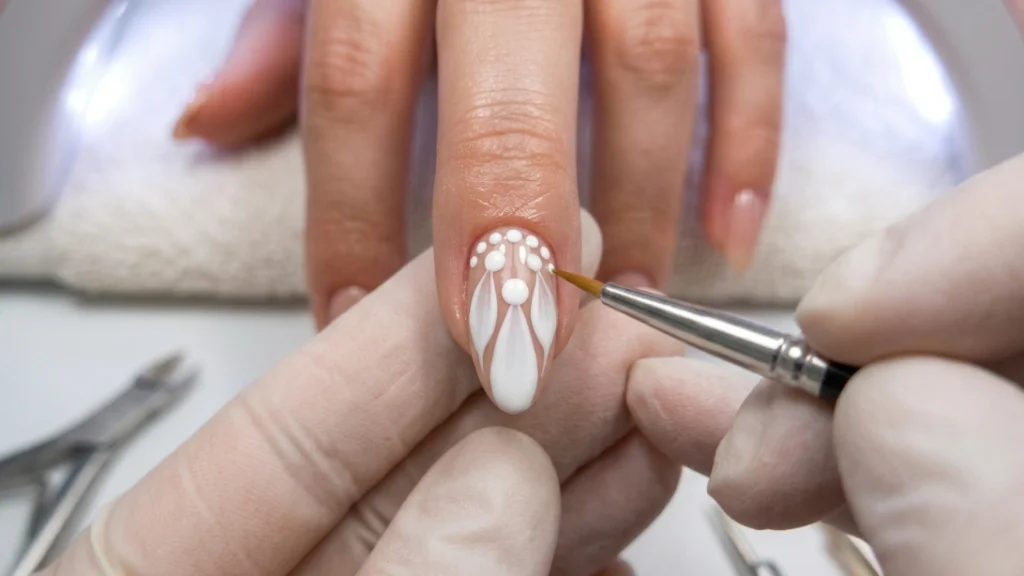
While that center dot is still slightly wet, dip your tool again and place a second small dot just touching the edge of the center dot. Gently drag that new dot outward and away from the center in one smooth motion, tapering it into a petal shape as you pull. This single drag-and-taper motion is the entire technique behind every petal in this design.
Step 4: Repeat to Complete All Five Petals
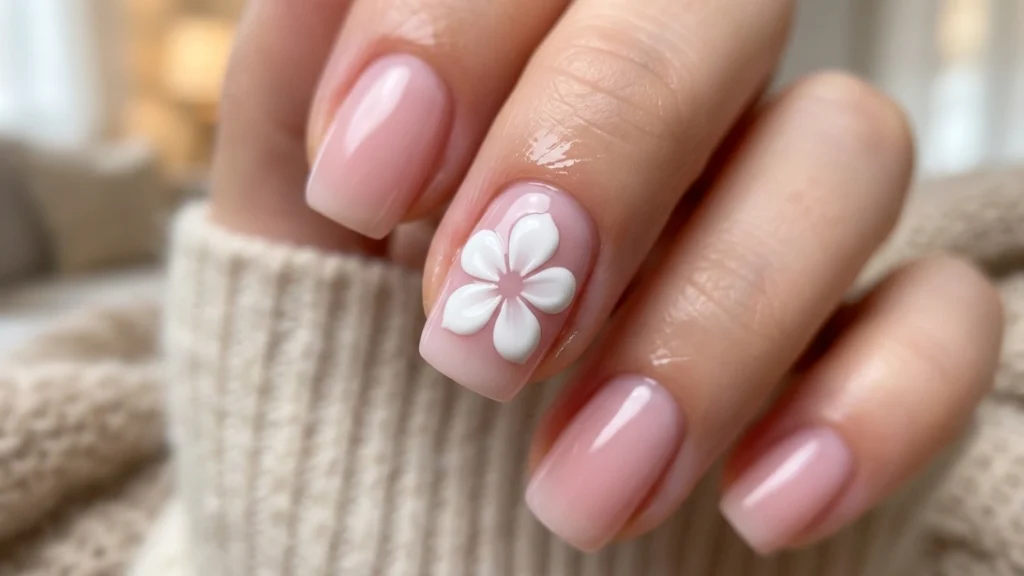
Working around the center dot like the numbers on a clock, repeat the same dot-and-drag motion four more times, spacing each petal evenly around the center. Uneven spacing is genuinely fine here. Slightly irregular petals read as a hand-painted, intentional look rather than a mistake, which is exactly what makes this technique so forgiving for a first attempt.
Step 5: Add a Contrast Dot to the Center
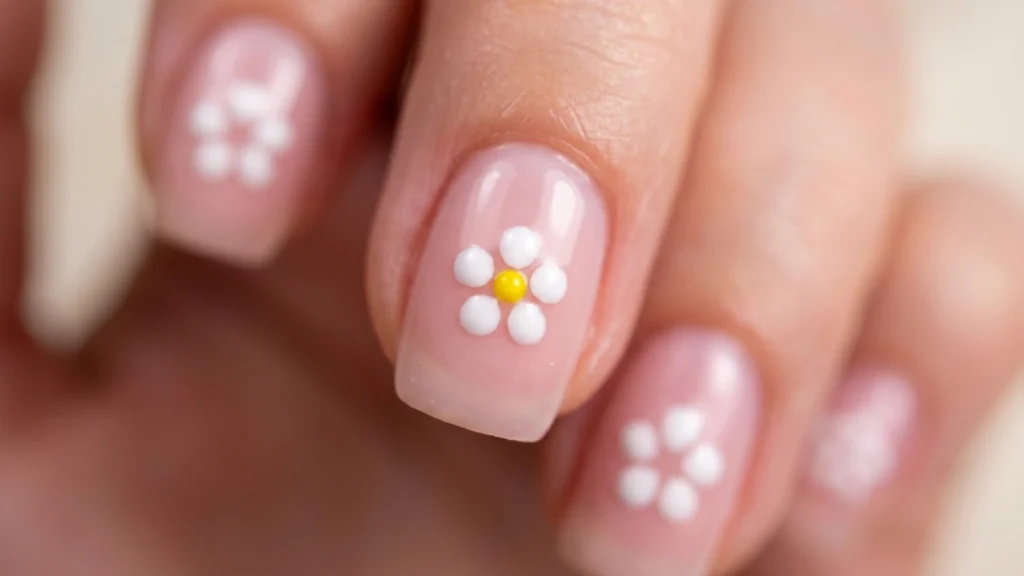
Once your five petals are in place, dip your tool into a second, contrasting color, a soft yellow or gold works beautifully against most petal shades, and place one clean dot directly in the center of the flower, right where all five petals meet. This single detail is what pulls the whole design together and makes it read as a finished flower rather than a loose cluster of petals.
Step 6: Let Everything Dry, Then Seal With Top Coat
Give the design a few minutes to dry fully before touching it. Once it’s dry to the touch, seal the whole nail with a top coat. This locks in the design, adds shine, and protects your tiny hand-painted flower from chipping the moment you go to open a jar or grab your keys.
Common Mistakes and How to Avoid Them
Uneven petals. This is the single most common worry for beginners, and it’s almost never actually a problem in the finished look. Slightly mismatched petal sizes read as a charming, hand-drawn quality rather than an error. If a petal comes out significantly larger or smaller than the rest, a quick wipe with a cleanup brush dipped in polish remover and a redo of just that one petal is much easier than starting the whole nail over.
Too much polish on the tool. Overloading your bobby pin or toothpick before placing a dot causes flooding, a blobby, oversized dot that spreads further than intended and swallows the delicate petal shape you were going for. Dip lightly, and if the dot looks too big the moment you place it, that’s your cue to use less polish on the next one.
Smudging while the design is still wet. Because this technique layers dots on top of dots while everything is still slightly tacky, it’s easy to accidentally drag a finger or brush across a nearly finished flower. Give each nail a moment to sit undisturbed between steps, and work through one nail at a time rather than rushing across the whole hand at once.
Flower Variations to Try Once You’ve Got the Basics
The Five-Petal Flower
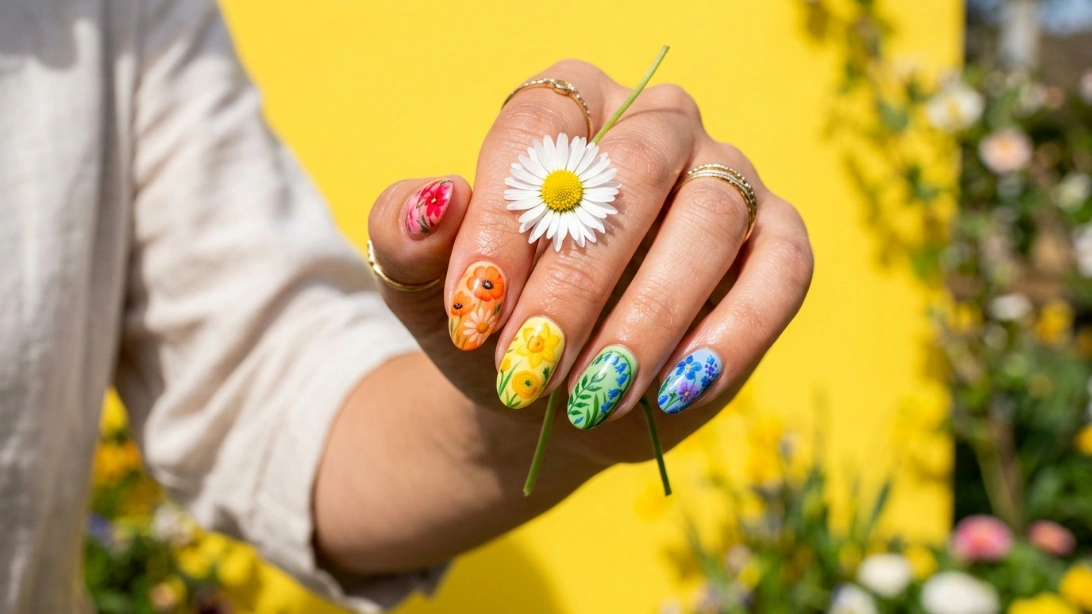
This is the exact design walked through above, and it’s the foundation every other flower nail art for beginners variation builds from. Once you’re comfortable with the dot-and-drag motion, this same five-petal shape works in literally any color combination, so it’s worth practicing until the motion feels automatic before moving on.
The Daisy
For a daisy, use white for all five petals and a bright yellow center dot instead of a soft pastel. Making the petals slightly longer and thinner than the classic five-petal flower, dragging a bit further before tapering off, gives this variation its distinct, recognizable daisy shape.
The Single Accent Flower
Rather than repeating the flower across every nail, paint one flower on a single accent nail, typically the ring finger, and keep the rest of your nails a plain, complementary solid color. This variation is the fastest of the three to execute and the easiest to fit into a quick at-home manicure when you don’t have time for a full set of hand-painted flowers.
Quick FAQ
How do you make a flower with a dotting tool? Place one center dot, then dot and drag five more dots outward from that center point, spacing them evenly around it like petals. Finish with a contrasting dot placed in the very center once the petals are done.
What tool do you use for flower nail art if you don’t own a dotting tool? A bobby pin’s rounded closed end or the pointed tip of a toothpick both work as effective substitutes, and either one produces the same dot-and-drag petal shape a purpose-made dotting tool would.
Can you do flower nail art without gel polish? Yes. This entire technique works with regular nail polish, no gel, no UV lamp, and no cure time required. Standard polish and a bit of drying time between steps is all this design actually needs.
According to Wikipedia’s overview of nail art, hand-painted decorative techniques like this one have a long history that predates any purpose-built nail art tool by a wide margin, which is part of why household substitutes work so well here. Once you’ve got this flower down, our short nails guide has more design ideas that pair especially well with a smaller nail canvas, and our nail care tips page covers how to keep hand-painted details like this one looking fresh for longer.