Green Leopard Print Nails: The Coffin Manicure That Makes a Statement
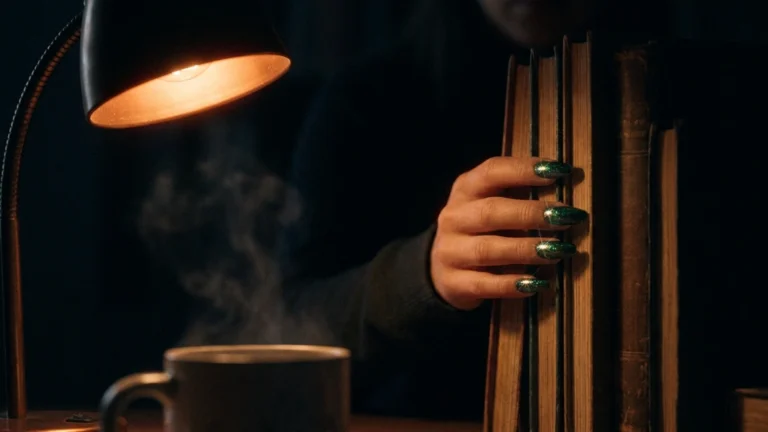
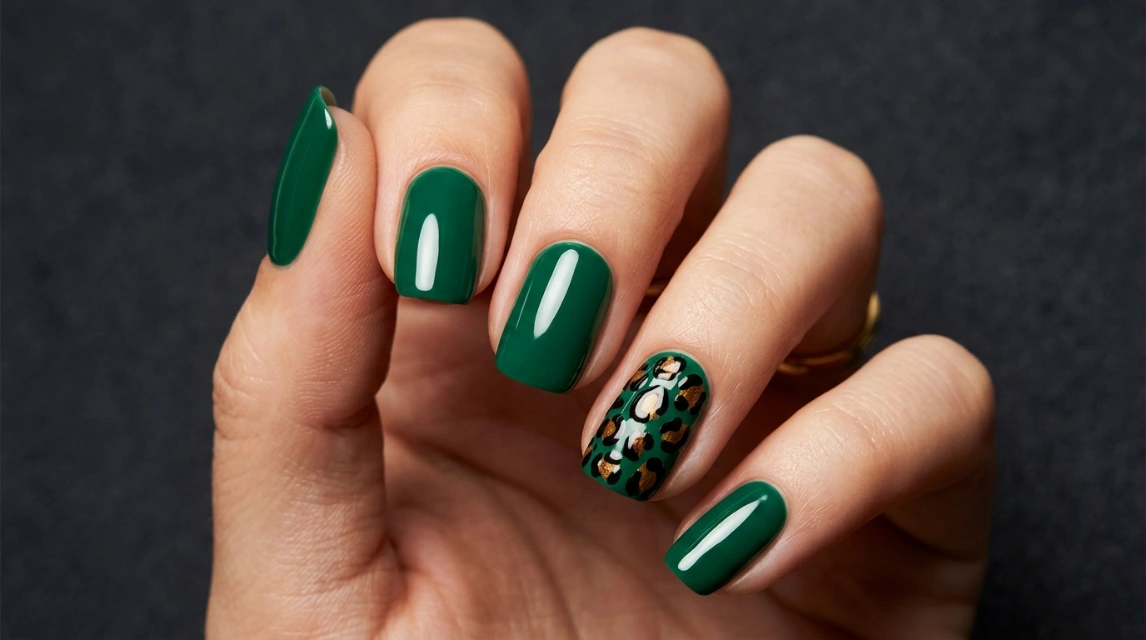
Green leopard print nails take two strong ideas, a bold, saturated green and one of the most recognizable animal prints in fashion, and combine them into a manicure that reads as confident without needing a single rhinestone or extra embellishment. Painted across long, glossy coffin nails with one accent nail carrying the full leopard pattern, this look has the kind of presence that photographs beautifully and holds up just as well in person.
This guide walks through the complete process for recreating this design at home, from the base color to the final rosette detail, along with the shape and color reasoning that makes green leopard print nails work as well as they do.
Why Green Works So Well With Leopard Print
Traditional leopard print sticks to browns, tans, and blacks, which makes sense given the pattern’s real-world origin, but swapping the base color for a bold green is exactly the kind of twist that keeps a classic motif feeling current rather than predictable. A deep, saturated green reads as confident and a little unexpected, while still letting the leopard rosettes stay instantly recognizable against it. The contrast between a solid, glossy green on most nails and a textured, patterned accent nail is what gives this manicure its real visual punch, one look built from two distinct finishes working together rather than one flat design repeated ten times.
Leopard or Cheetah: Getting the Print Right
Before starting, it’s worth knowing the actual difference between the two most commonly confused animal prints, since getting this detail right is what separates an authentic leopard look from something that reads as a generic spotted pattern. Leopard print uses open, two-toned rosette shapes, a ring or cluster outline with a lighter center, rather than a single solid dot. Cheetah print, by contrast, uses small, solid, evenly rounded dots with no ring or hollow center at all. This design specifically calls for that open rosette shape, since a solid dot pattern would technically be cheetah print rather than leopard, even in the same color palette.
What You’ll Need
- A base coat
- A solid, glossy green gel polish for the main nails
- A lighter olive or sage green for the leopard base on your accent nail
- Black gel polish or acrylic paint for the rosette outlines
- A small amount of brown or dark caramel for the rosette centers
- A fine detail brush or small dotting tool
- A glossy top coat
Step 1: Apply Your Base Color
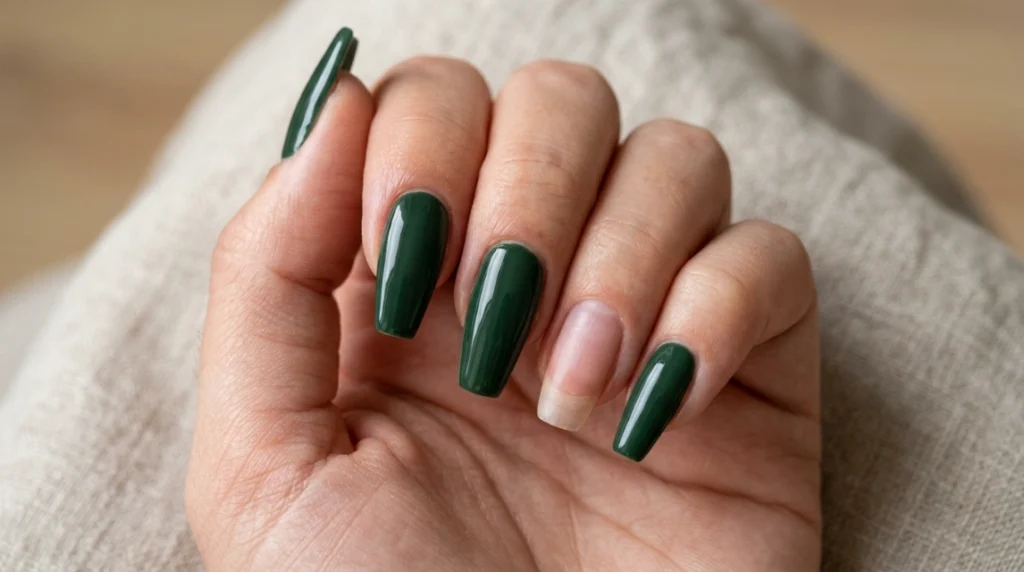
Start with a base coat, then apply and cure two coats of your main glossy green shade across every nail except the one you’ve chosen as your leopard accent nail. A rich, saturated green works best here, since it holds up the strongest visual contrast against the softer leopard pattern on the accent nail.
Step 2: Prep the Accent Nail With a Lighter Base
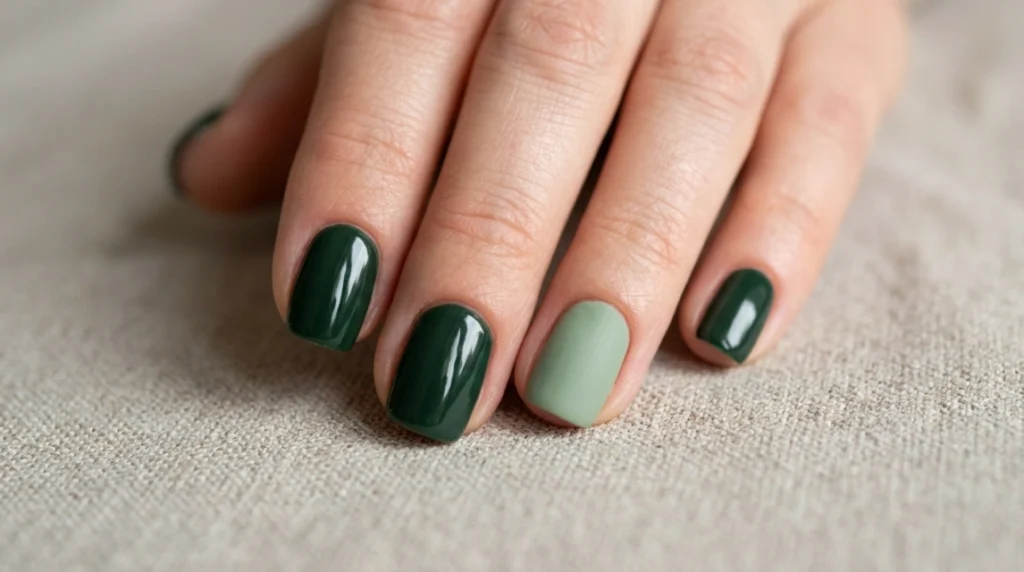
On your chosen accent nail, apply a lighter olive or sage green instead of the bold shade used everywhere else. This lighter base is what the leopard rosettes will sit on top of, and the tonal shift between the accent nail’s lighter green and the rest of the set’s deeper green is part of what makes the whole design feel intentional rather than mismatched.
Step 3: Paint the Rosette Outlines
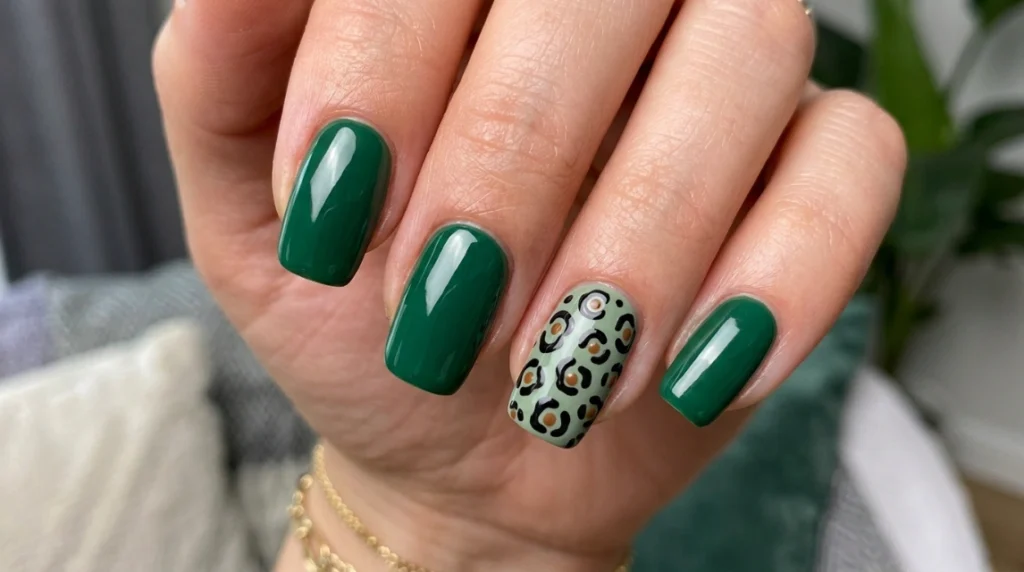
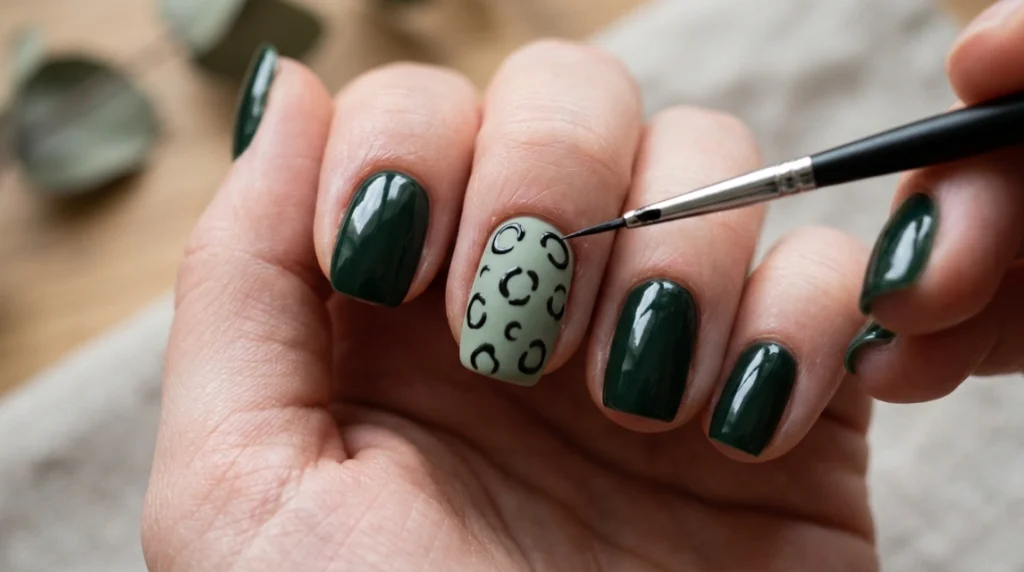
Using a fine detail brush or a small dotting tool loaded with black polish, paint a series of irregular, open ring shapes across the accent nail, some closed loops, some broken into two or three connected curves, mimicking the organic, uneven spacing real leopard rosettes have. Vary the size and orientation of each shape rather than repeating one uniform dot pattern, since that irregularity is exactly what makes the print read as leopard rather than a repeating geometric motif.
Step 4: Add the Rosette Centers
Once your black outlines are in place, use a smaller brush or the tip of a toothpick to add a small brown or dark caramel dot inside each rosette’s open center. This step is easy to skip in a rush, but it’s what gives the print its real depth and authenticity, an outline alone reads flat, while the added center color gives each rosette a sense of dimension.
Step 5: Cure and Clean Up Any Stray Detail
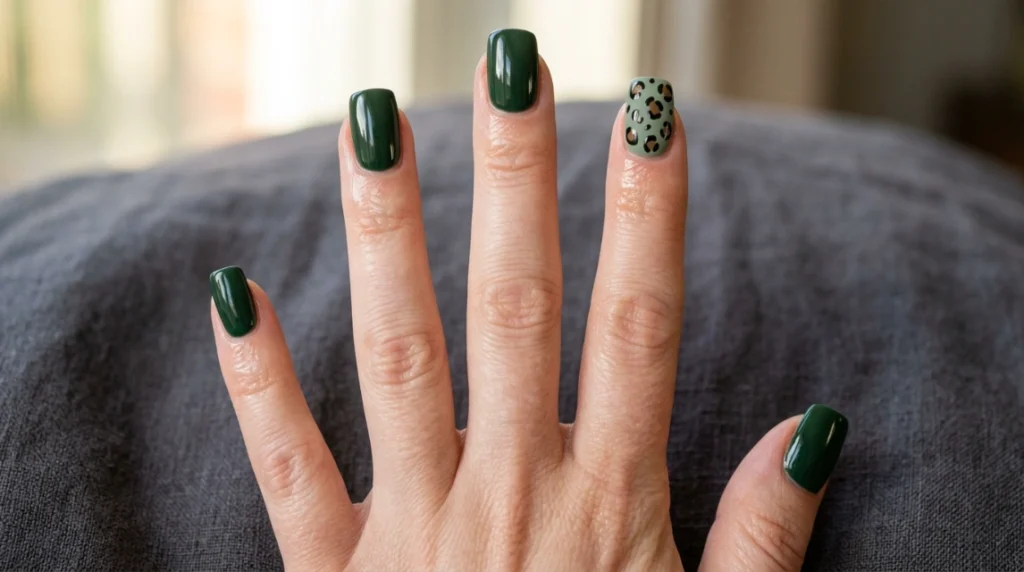
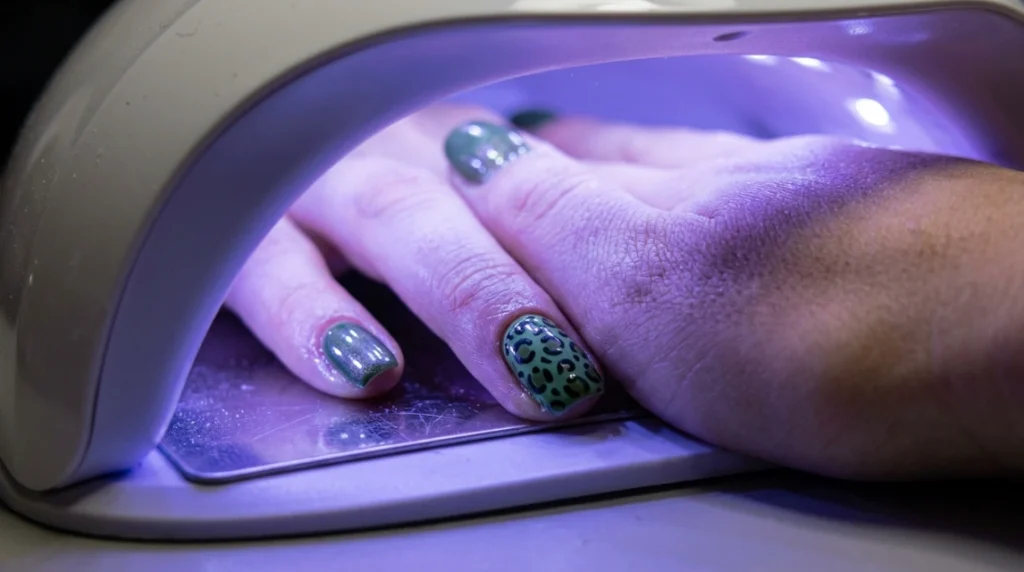
Cure the design under a UV or LED lamp if you’re working with gel polish, then check the accent nail closely for any smudged edges or stray dots that strayed outside the rosette shapes. A fine brush dipped in acetone can clean up small mistakes without disturbing the surrounding pattern.
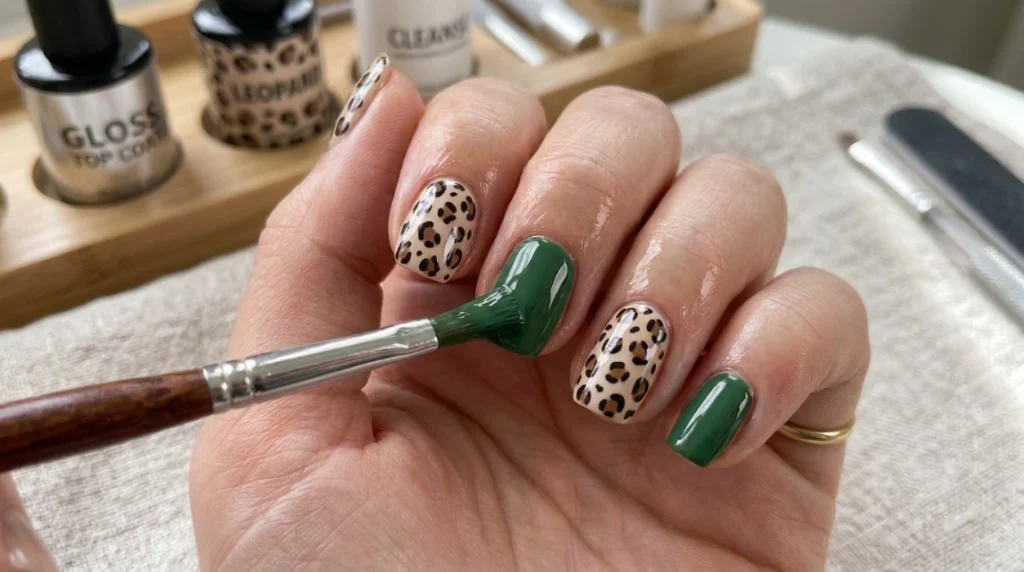
Step 6: Seal With a Glossy Top Coat
Finish every nail, both the solid green nails and the leopard accent, with a high-shine top coat. Gloss is what gives this particular design its polished, statement-making finish, a matte version can look striking too, but the glossy version is what makes the green pop and the rosette pattern catch light the way it does in the most eye-catching versions of this look.
Common Mistakes to Avoid
Making the rosettes too uniform. Real leopard print never repeats the exact same shape twice. Varying size, spacing, and orientation across the accent nail is what keeps the pattern looking organic rather than stamped.
Skipping the lighter base coat on the accent nail. Painting the leopard pattern directly over the same bold green used elsewhere flattens the contrast that makes the design work. The lighter base underneath is doing real visual work, not just serving as a placeholder.
Confusing leopard rosettes with cheetah dots. A solid, filled circle without an open center technically reads as cheetah print, not leopard. If the goal is genuinely green leopard print nails, the open, ringed rosette shape is the detail that matters most.
Overloading the brush with black polish. Too much product on the brush leads to thick, blobby rosette outlines that lose the delicate, organic quality real leopard print has. A lightly loaded brush gives you far more control over the shape.
Which Shape Suits Green Leopard Print Nails Best?
Long almond or coffin shapes give a leopard rosette enough surface area to sit fully on the nail without looking cramped near the cuticle, which is exactly why coffin has become such a popular pairing for this print specifically. The elongated, tapered silhouette gives each rosette room to breathe, whereas a very short or rounded shape tends to compress the pattern into something closer to a smudge than a recognizable print. If you’re working with shorter nails, scaling the rosettes down and keeping them tighter together, closer to the effect of a tortoiseshell accent than a full leopard scatter, tends to translate better than trying to shrink the same pattern proportionally.
How Long Does This Design Last?
Applied over a properly cured gel base and sealed with gel top coat, this manicure typically holds up as well as any standard gel manicure, roughly two to three weeks before regrowth or wear becomes noticeable. The solid green nails tend to show tip wear slightly sooner than the patterned accent nail, simply because a solid color has less visual texture to camouflage small chips, so keeping an eye on that accent nail’s edge as a reference point for when a fill is due is a genuinely useful habit.
Quick FAQ
Do I need to be good at freehand nail art to do green leopard print nails at home? Not especially. The rosette shapes are meant to look organic and slightly irregular rather than perfectly uniform, which actually makes this a fairly forgiving design for a first attempt, small imperfections read as authentic rather than as mistakes.
Can this design work with a shorter, more practical nail length? Yes, though scaling the rosettes down and placing them a bit closer together tends to read more clearly on a shorter nail than trying to shrink a full-scale leopard scatter proportionally.
What other colors work well with this technique besides green? Nearly any bold or pastel base works, pink, purple, and blue are all popular twists on traditional leopard print, using the exact same rosette and center-dot technique described above.
According to Wikipedia’s overview of nail polish and gel product composition, gel polish formulas cure through a chemical reaction under UV or LED light, which is why properly curing each layer, base, rosette detail, and top coat, matters for how long a detailed design like this one actually holds up. Our full nail art guide covers more hand-painted techniques like this one, and our green nails guide has more color pairing ideas if bold green shades are becoming a regular part of your rotation.
According to the American Academy of Dermatology’s guidance on gel manicures, proper curing and gentle removal matter more for long-term nail health than any specific design choice, which applies just as directly to a detailed accent nail like this one as it does to a plain gel set.