Marble Nail Art at Home: The Water Marble Method Explained
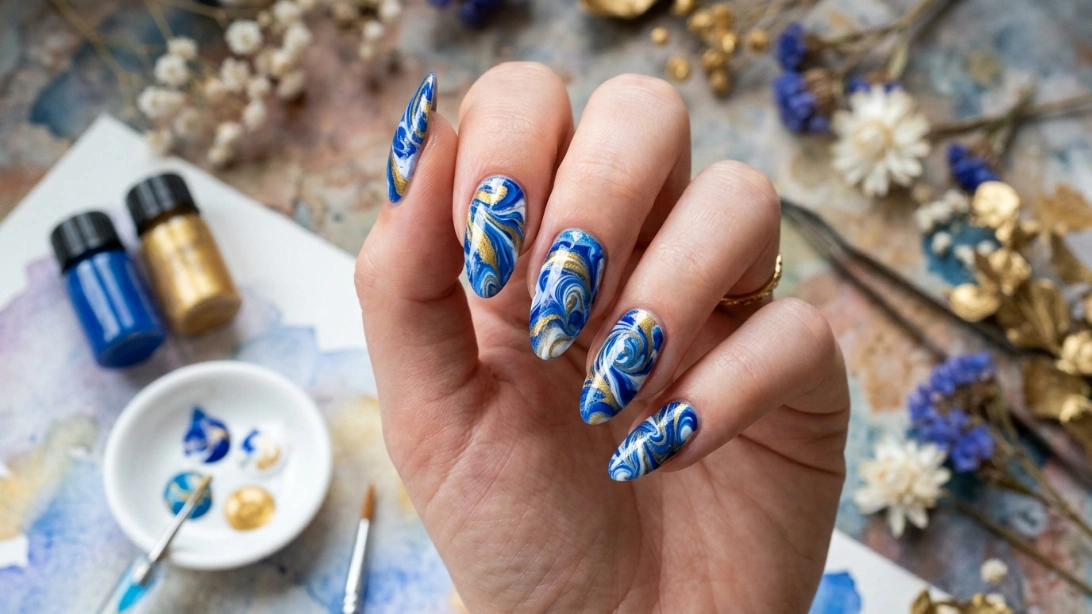
Search for water marble nails and you’ll find two very different stories. One is a dreamy, swirled manicure that looks like something out of a professional salon window. The other, tucked into the comments and forums nobody links to, is a person surrounded by six cups of water, ruined polish, and stained skin, wondering why their version looks nothing like the photo. Both stories are true, and the gap between them almost always comes down to a handful of small technique details that most tutorials skip past too quickly.
This guide covers the actual marble nail art at home method, the exact spots where it usually goes wrong, and how to avoid becoming the second story.
What Water Marble Nail Art Actually Is
The technique started in Japanese nail salons decades ago before spreading through magazines, product makers, and eventually video tutorials worldwide. The core idea is simple: nail polish colors are dropped onto the surface of water, where they spread into thin, floating rings rather than sinking or mixing together. A tool drags those rings into a pattern, and the nail is dipped through the design to transfer it directly onto the nail plate.
There are two recognized approaches. Free-dragging, where a toothpick or needle pulls the floating polish into swirls, flowers, or starburst shapes, is by far the more common method and the one this guide focuses on. Free-dropping, a less common variation, arranges the colors slightly differently before the dip, but the core water-and-polish physics behind both versions is identical.
What You’ll Need
- A cup or shallow bowl filled with room-temperature water
- Two to four nail polish colors, fresher bottles work noticeably better than old, thickened ones
- A toothpick, needle, or dotting tool for dragging the pattern
- Liquid latex or tape to protect the skin around your nails
- A base coat and top coat
- Cotton swabs or a cleanup brush with acetone nearby
- Paper towels, more than you think you’ll need
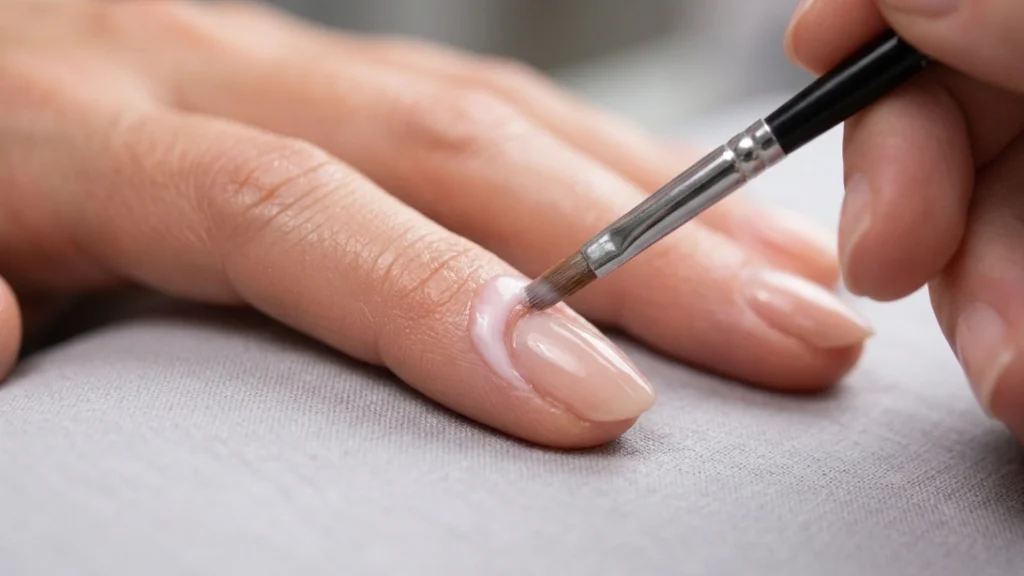
Skin protection is the single most skipped step in most tutorials, and it’s also the fix for the biggest complaint people have about this technique afterward: stained cuticles and skin that take days to fully fade. A thin coat of liquid latex painted around each nail, left to dry before you start, peels away cleanly at the end and takes any stray polish with it.
Step-by-Step: Marble Nail Art at Home Using the Water Marble Method
Step 1: Protect your skin first. Paint liquid latex around each nail, covering the skin right up to the cuticle line, and let it dry fully before moving on. If you don’t have liquid latex, thin strips of tape pressed close to the nail edge work as a reasonable substitute.
Step 2: Prep your nails with a base color. Apply a base coat, then one or two coats of a solid color, usually white, since it makes the marbled pattern on top read more clearly. Let this dry completely.
Step 3: Drop your first color into the water. Hold the polish brush just above the water’s surface and let a single drop fall into the center. It should spread out into a thin ring almost immediately. If it sinks or clumps instead of spreading, the polish is too old or too thick to use for this technique.
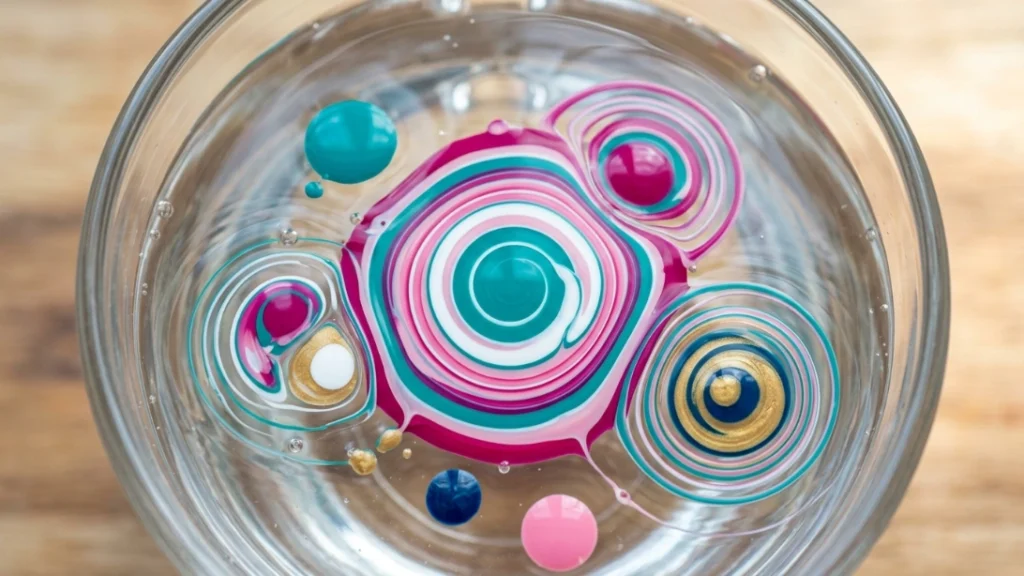
Step 4: Layer your remaining colors. Drop your second color directly into the center of the first ring, then continue with any additional colors, always dropping into the center of the previous ring rather than off to the side. Aim for five to ten total drops, alternating colors, to build enough layered rings to actually create a pattern.
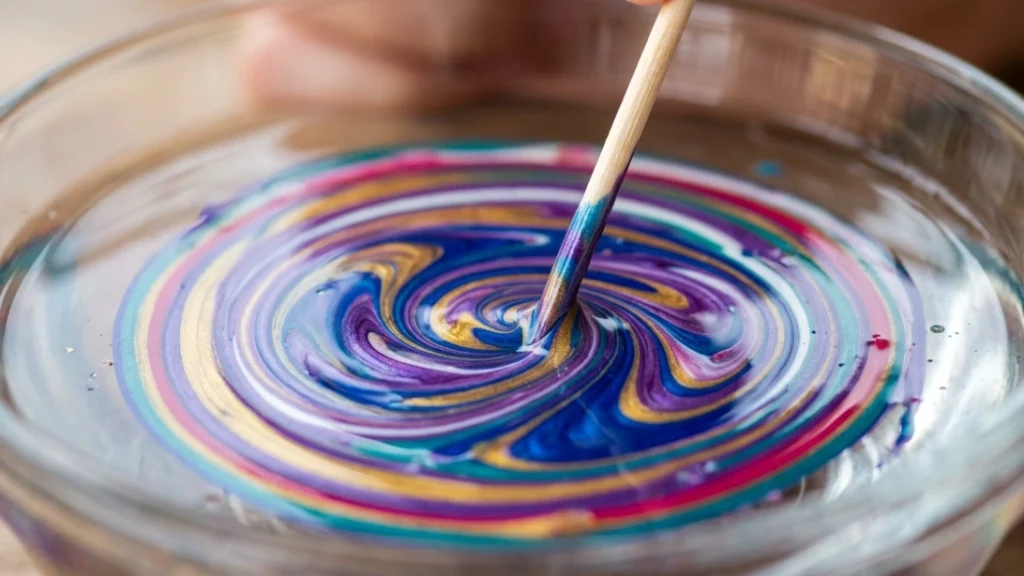
Step 5: Drag the pattern with your tool. Dip your toothpick or needle into the water just at the edge of the outer ring, without letting it touch the polish directly, and drag it inward toward the center. Repeat this motion at several points around the circle to create a starburst, or curve your drags slightly for a softer swirl. Wipe your tool clean between each drag so you’re not smearing old color into the new lines.
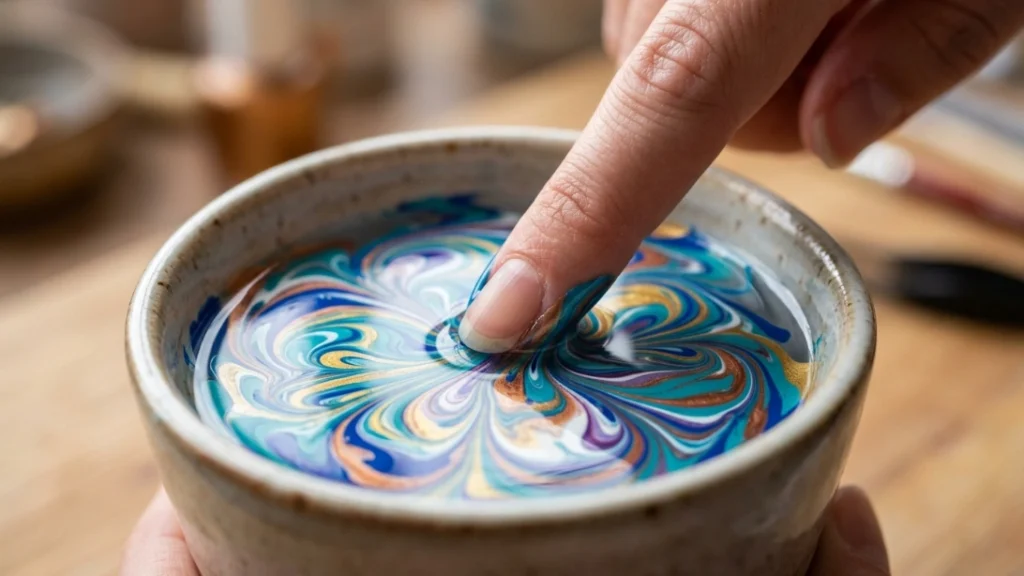
Step 6: Dip your nail into the design. Position your finger just above the part of the pattern you want, then lower it into the water at a slight angle, letting the film of polish wrap around the nail as it goes under. Hold for a few seconds before lifting straight back out.
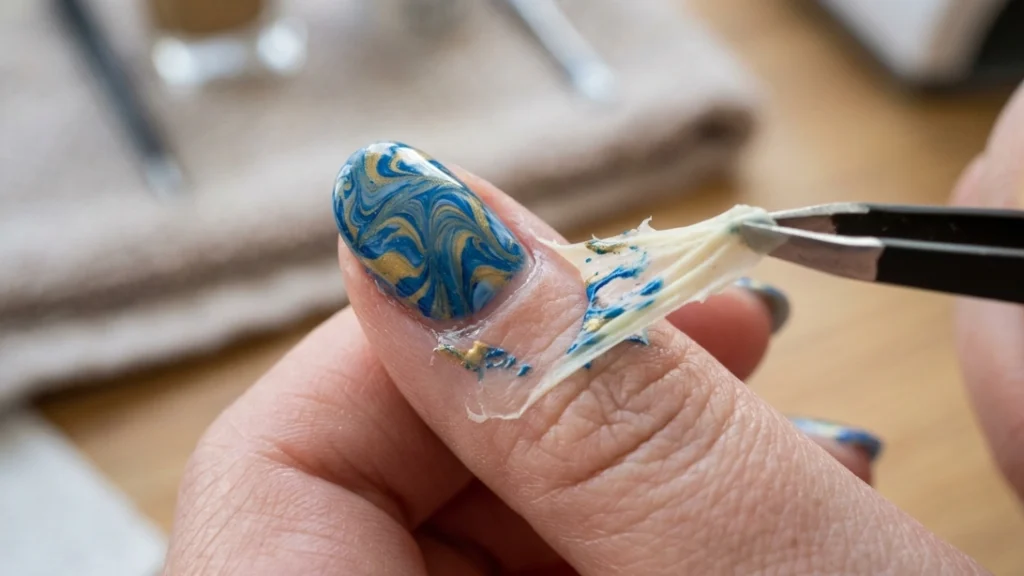
Step 7: Clean up the excess. Use a toothpick or cotton swab to skim any leftover polish off the water’s surface before it can transfer onto skin during the next nail. Peel away the dried latex or tape once your nail is fully dry, taking the stray polish with it.
Step 8: Seal with top coat. Once everything is dry, apply a top coat to smooth the slightly uneven texture the marbling process leaves behind and to protect the design from chipping early.
Why Marble Nail Art at Home Goes Wrong (And How to Actually Fix It)
The polish sinks instead of spreading. This is almost always a polish age or temperature issue. Older, thickened polish doesn’t spread thin enough to float properly. Switching to a fresher bottle, or adding a drop of polish thinner, usually solves this immediately.
The pattern looks muddy instead of crisp. Muddy results generally come from working too slowly. Polish begins to dry the moment it hits the water, so if too much time passes between drops or drags, the rings lose their sharp edges and blend into a blur instead of a clean pattern. Working briskly, and having all your colors and tools ready before you drop the first color, makes a noticeable difference.
The design doesn’t transfer evenly onto the nail. This usually comes down to dip angle. Going in too straight, rather than at a slight tilt, tends to leave gaps or an uneven wrap around the nail’s curve. A shallow angle, closer to the surface than you’d expect, gives the polish film more surface area to wrap around as you go under.
Skin ends up stained no matter what. If latex or tape wasn’t applied closely enough to the nail edge, this is the likely cause. A thicker, more deliberate coat of latex right up against the cuticle line closes that gap, and taking a few extra seconds here saves considerably more cleanup time later.
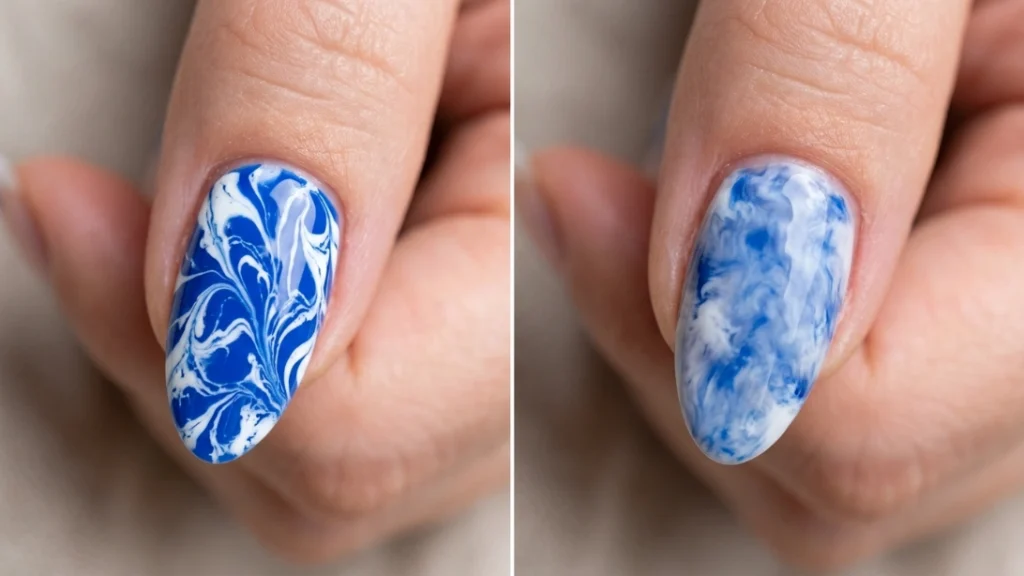
Caring for a Water Marble Manicure
Because this technique involves multiple thin layers of polish rather than a single coat, water marble designs can feel slightly more textured than a standard manicure until the top coat is applied.
A proper sealing top coat smooths this out and also meaningfully extends how long the design lasts before chipping starts at the tips. Removal works the same as any regular polish manicure, standard remover and a soak, since nothing about the water marble process changes the polish itself once it’s dry.
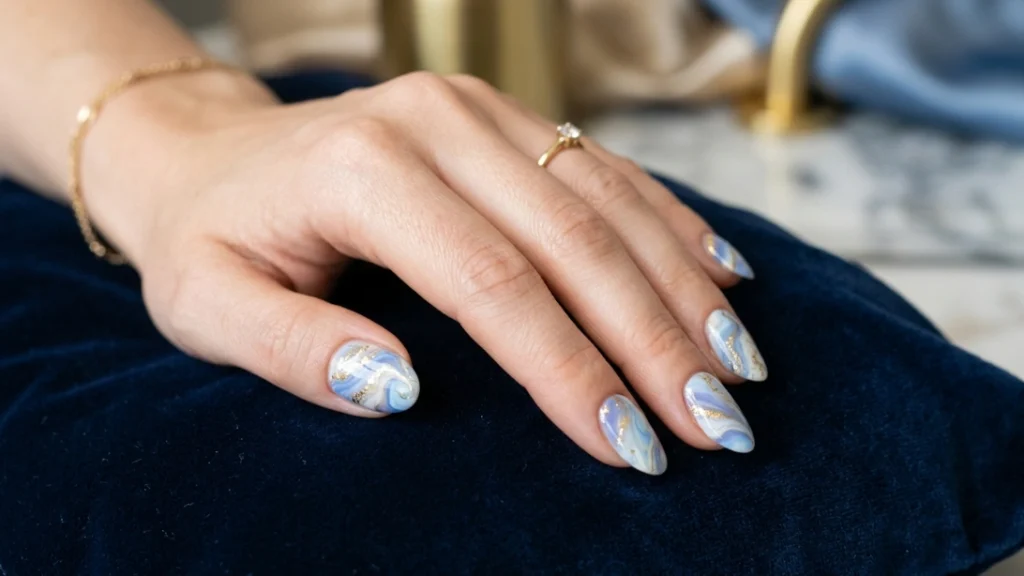
Quick FAQ
Does water marble nail art ruin your nails? No, the technique itself doesn’t damage the nail plate. Any irritation typically comes from repeated acetone cleanup around the skin rather than the marbling process itself, which is exactly why proper skin protection matters as much as the pattern technique.
Can you do water marble nails with regular nail polish? Yes, this is a regular polish technique from start to finish, no gel or UV lamp required. Fresher, thinner-consistency polishes simply spread and transfer more reliably than old, thickened bottles.
How long does water marble nail art actually last? With a proper top coat, expect wear similar to a standard polish manicure, roughly five to seven days before visible chipping, since the marbled layer is sealed the same way any regular polish design would be.
Our nail care tips guide covers general upkeep between designs like this one, and our DIY nail care guide has more at-home technique content if this is the kind of project you enjoy tackling yourself.
According to Wikipedia’s overview of the water marble nail technique, the method originated in Japanese salons decades before it became a mainstream DIY trend, which is worth knowing given how often it gets framed as a purely modern social media invention.